
Creating a secure environment for your growing child is one of the most important steps in preparing your home for active toddlerhood. As your little one begins to crawl and explore, blocking off hazardous areas like kitchens, bathrooms, and staircases becomes an immediate priority. A reliable fence barrier for kids is the most effective tool to establish these boundaries, but choosing the right type of installation can be confusing.
The decision primarily comes down to two mounting styles: pressure-mounted and hardware-mounted. Each system serves a distinct purpose, offers different levels of structural security, and suits specific areas of your home. Making the wrong choice can lead to preventable accidents, damaged walls, or a gate that fails when your child leans against it.
To make the right choice immediately, look at the location of your installation. If you are blocking the top of a staircase, you must use a hardware-mounted gate. This is a strict safety standard because pressure-mounted gates can slip under sudden force, creating a severe fall hazard. For flat doorways, hallways, or the bottom of stairs, a pressure-mounted gate is a highly convenient, drill-free option that works perfectly for temporary setups or rental properties.
Products mentioned in this guide
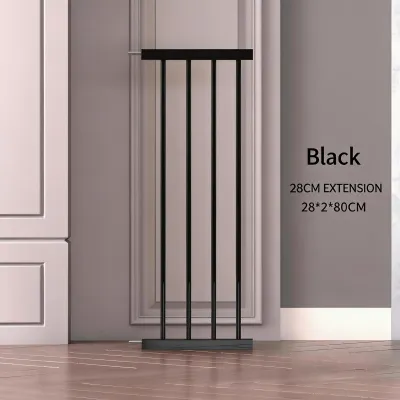
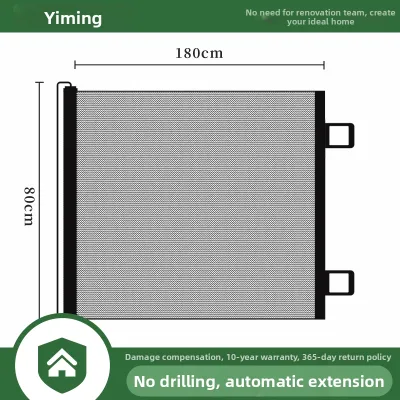
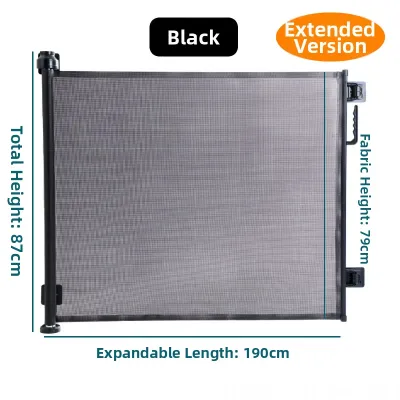
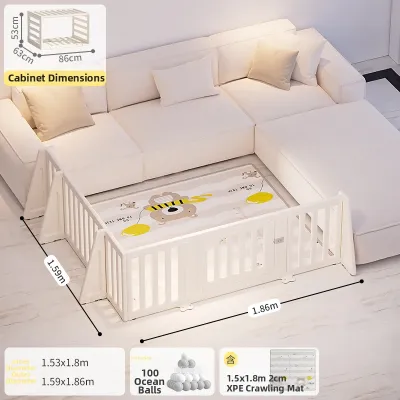
Prices are valid at publication and may change. Please refer to the product page for the latest price.
Evaluating Pressure-Mounted Gates for Low-Risk Areas
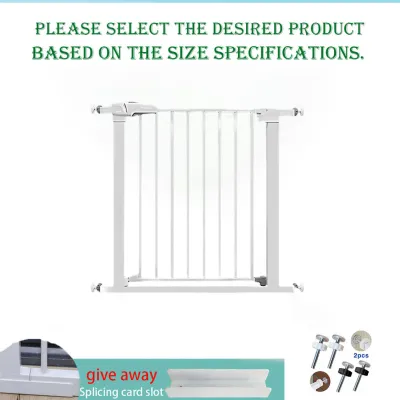
Pressure-mounted gates operate on a simple tension mechanism, similar to a spring-loaded shower curtain rod. You place the gate inside a door frame or hallway and turn the tension screws outward until the rubber pads press tightly against the opposing walls. This design allows you to set up a secure barrier in minutes without drilling holes, making it an incredibly popular choice for busy parents.
However, because these gates rely entirely on friction to stay in place, they require regular maintenance. Daily use, door slams, and changes in indoor humidity can cause the tension screws to loosen gradually over time. You must check the tightness of the tension pads weekly to ensure the gate remains secure and does not slide out of position when pushed.
These gates are ideal for low-risk, flat areas such as kitchen entryways, laundry rooms, hallways, and the bottom of staircases. They allow you to keep your child out of specific rooms while maintaining visibility and airflow throughout the house.
Despite their convenience, pressure-mounted gates have two major limitations. First, they feature a solid metal threshold bar along the floor that remains in place even when the gate door is open. This bottom bar is a significant tripping hazard, especially in high-traffic hallways or when carrying a sleeping baby. Second, the constant outward pressure can leave permanent scuffs, indentations, or even peel the paint off your walls if installed without protective accessories.
Evaluating Hardware-Mounted Gates for High-Risk Areas
Hardware-mounted gates are physically anchored to your home’s structure using screws, brackets, and mounting templates. This installation method creates a permanent, highly stable barrier that cannot be pushed over or dislodged, even by an energetic toddler. While it requires more initial effort and tools to install, it provides the maximum level of physical security available.

When you eventually remove a hardware-mounted gate, you will need to patch the screw holes with spackling compound and repaint the area. While this requires a bit of home maintenance, the structural integrity it offers is essential for high-risk zones.
This mounting style is mandatory for the top of stairs, where a gate failure could result in a catastrophic fall. It is also the only reliable option for uneven, angled, or slanted walls, as the mounting brackets can be adjusted to accommodate irregular architectural features that tension pads cannot grip.
To install a hardware-mounted gate safely, you must secure the screws into solid wood wall studs. If you are mounting the gate to drywall or hollow concrete blocks—which are very common in local residential construction—you must use heavy-duty masonry anchors or toggle bolts. Screwing directly into drywall without a structural anchor will cause the screws to pull out under the weight of a child leaning on the gate.
Comparing Stability, Installation, and Portability
To choose the best fence barrier for kids, you must weigh the trade-offs between structural stability, ease of installation, and long-term portability.
Installation effort varies significantly between the two types. Pressure-mounted gates require no specialized tools, no drilling, and can be fully assembled in under ten minutes. In contrast, hardware-mounted gates require a power drill, a level, a measuring tape, and a screwdriver. The process demands precise alignment to ensure the latch lines up correctly, often taking up to an hour of careful work.
Stability is where hardware-mounted gates excel. Because they are screwed directly into the wall studs, they can withstand heavy pushing, pulling, and climbing attempts without budging. Pressure-mounted gates can withstand moderate pressure, but a determined toddler who shakes the gate vigorously may eventually slide the tension pads out of alignment.
Portability is the main advantage of pressure-mounted models. If you travel to visit family, move to a new house, or simply want to block off a different room for the afternoon, you can loosen the tension screws and relocate the gate in minutes. Hardware-mounted gates are permanent fixtures; moving them requires unscrewing the brackets, patching the old walls, and drilling new holes in the next location.
| Feature | Pressure-Mounted Gates | Hardware-Mounted Gates |
|---|---|---|
| Primary Attachment | Friction and tension pads | Screws and wall brackets |
| Installation Time | 5 to 10 minutes | 30 to 60 minutes |
| Tools Required | None (usually includes a wrench) | Drill, level, screwdriver, tape measure |
| Wall Damage | Minimal (potential scuffs or paint peeling) | Permanent screw holes |
| Tripping Hazard | Yes (has a bottom threshold bar) | No (swings completely open with no bottom bar) |
| Best Locations | Doorways, hallways, bottom of stairs | Top of stairs, angled walls, high-risk areas |
| Portability | High (easy to remove and relocate) | Low (requires uninstallation and re-drilling) |
Choosing Based on Your Housing Type and Room Layout
Your living situation plays a major role in deciding which fence barrier for kids is right for your home. Renters face the unique challenge of baby-proofing while trying to preserve their security deposit. If you rent, drilling multiple holes into door frames or walls can lead to costly repair charges or deductions from your ₱5,000 to ₱10,000 deposit. In this scenario, pressure-mounted gates are highly appealing.
However, if your rental has a staircase, safety must always take precedence over cosmetic wall damage. You should discuss the installation with your landlord beforehand, or plan to patch and paint the screw holes before your lease ends.
Homeowners have the freedom to prioritize long-term safety and structural durability without worrying about landlord restrictions. Installing a hardware-mounted gate in high-traffic areas or at the top of the stairs is a smart, permanent investment in your family’s peace of mind.
To help you finalize your decision, use this simple framework:
- Choose pressure-mounted if… You need a temporary barrier for a flat doorway, you live in a rental property with no stairs, or you need a portable gate that you can easily pack for family trips.
- Choose hardware-mounted if… You need to secure the top of a staircase, your walls are angled or uneven, or you want a gate that swings completely open without a bottom tripping bar.
- Verify first if… Your walls are made of plaster, drywall, or concrete, as this will dictate the specific anchors and tools you need to purchase before starting the installation.
Measuring and Verifying Your Space Before Installation
Before purchasing any fence barrier for kids, taking precise measurements of your space is critical to avoid buying a gate that does not fit or cannot be installed safely.
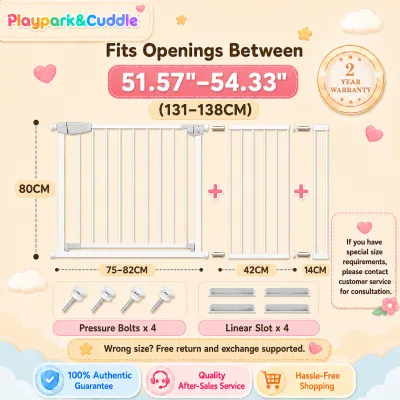
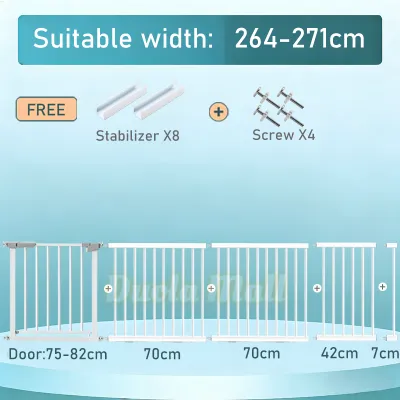
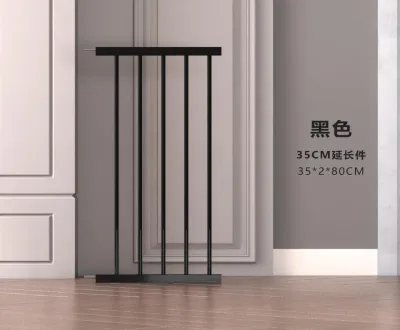
Do not rely on a single measurement across the floor. Walls are rarely perfectly straight, especially in older homes or tropical climates where humidity can cause subtle shifting. Measure the width of the opening at three distinct points: the floor level, the middle, and the top of where the gate will sit. Use the narrowest measurement when choosing a gate size, and check if you will need to purchase matching gate extensions to bridge any gaps.
Pay close attention to your baseboards and banisters. Thick or decorative baseboards can prevent a pressure gate from sitting flush against the wall, requiring you to adjust the top and bottom tension screws to different lengths. If you are mounting to a wooden banister or a round metal post, you cannot use standard flat tension pads. You will need to purchase specialized Y-spindles or banister adapters to wrap securely around the post without damaging the wood.
Examine your wall materials carefully. If you are mounting to solid wood door frames, standard wood screws will work perfectly. If you are mounting to drywall, you must locate the wooden studs behind the wall using a stud finder. For concrete or hollow block walls, you will need a masonry drill bit and plastic wall plugs to ensure the screws remain firmly anchored under pressure.
Finally, always verify the manufacturer’s specifications on the product label before finalizing your purchase. Check the recommended age, height, and weight limits. Most baby gates are designed for children between 6 and 24 months old. Relying on general assumptions rather than the official product documentation can compromise your child’s safety.
Frequently Asked Questions (FAQ)
Can I use a pressure-mounted gate at the top of the stairs?
No, you should never use a pressure-mounted gate at the top of a staircase. Because these gates rely entirely on friction and outward tension, they can slip or slide out of place if a child leans, pushes, or falls against them. Additionally, pressure-mounted gates feature a permanent bottom threshold bar that remains on the floor even when the gate is open, creating a severe tripping hazard right at the edge of the stairs. Always use a hardware-mounted gate for this high-risk area.
How do I protect my walls from pressure gate marks?
To protect your walls from scuffs, dents, and peeling paint, you can install silicone-backed wall protector cups over the tension screws. These cups distribute the outward pressure over a much larger surface area, preventing the rubber pads from digging into your drywall. Additionally, make sure to check the tension of your gate regularly. A loose gate can slide against the wall when opened or closed, causing friction marks and scraping off the paint.
When should I stop using a baby gate?
You should stop using a baby gate as soon as your child reaches the manufacturer’s maximum height or weight limit, or when they show signs of being able to climb over the barrier. For most children, this milestone occurs around 24 months of age or when their chin reaches the top of the gate. Once your child can climb or operate the latch mechanism, the gate becomes a climbing hazard rather than a safety barrier. At this stage, it is time to transition to active supervision and teaching consistent stair safety rules.
Community discussion
Share your experience or ask a question. Comments are reviewed before publication.