
Properly wearing and adjusting a baby hiking carrier requires a systematic, bottom-up approach to ensure both parent comfort and child safety. By securing the hip belt first to bear the load, placing your child in a secure cockpit, and fine-tuning the shoulder and tension straps, you create a stable system that prevents fatigue and protects your baby’s airway. In warm, humid environments like the tropical trails of the Philippines, proper adjustment also plays a critical role in maintaining airflow and preventing overheating for both you and your little adventurer.
Taking the time to master these adjustments before you hit the trail transforms a potentially exhausting trek into a comfortable, shared experience. A poorly fitted carrier concentrates weight on your shoulders and lower back, leading to rapid fatigue and soreness. Conversely, a correct fit distributes the weight to your hips, allowing your legs and core to do the heavy lifting while keeping your baby ergonomically supported and safe from sudden shifts in balance.
Pre-Hike Safety Checks and Carrier Inspection
Before leaving home or setting off from the trailhead, you must verify that your child meets the physical development milestones required for a framed hiking carrier. Most manufacturers specify that a baby must be able to sit upright completely unassisted and possess strong, consistent head and neck control. Always consult your specific carrier’s product label or instruction manual to verify the minimum and maximum weight and height limits, as these specifications vary widely between different models.
Products mentioned in this guide
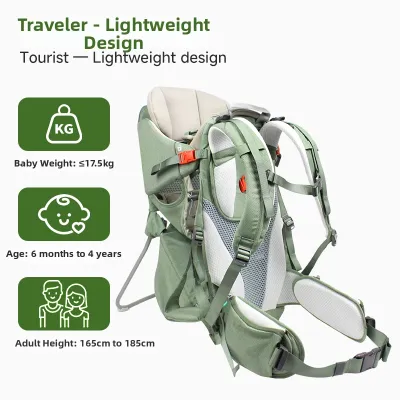
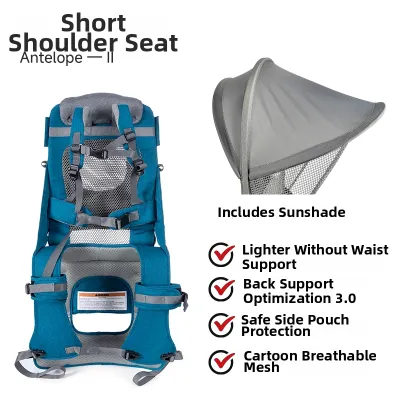
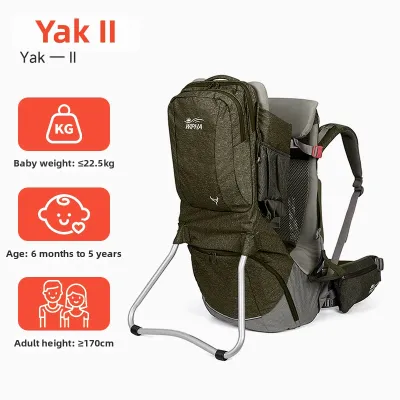
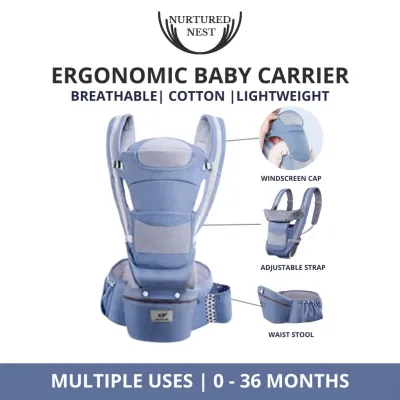
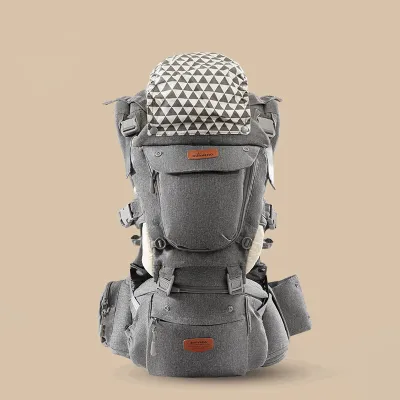
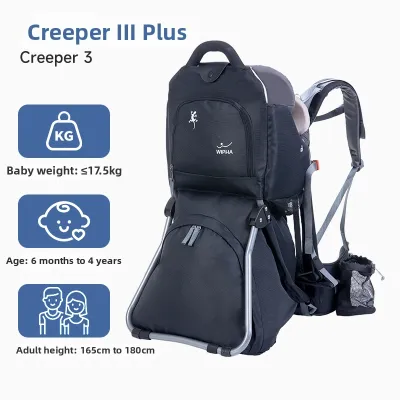
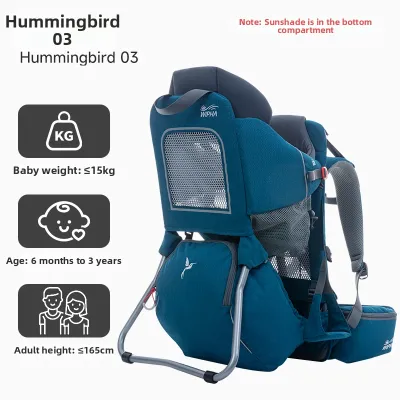
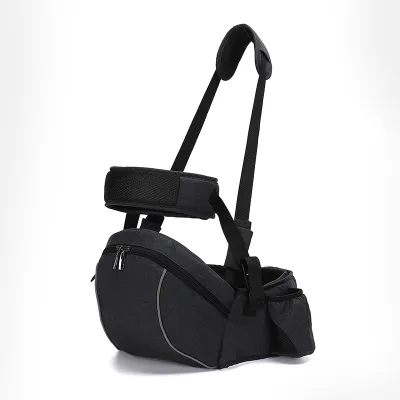
Prices are valid at publication and may change. Please refer to the product page for the latest price.
A thorough physical inspection of your gear is your first line of defense against trail accidents. Lay the carrier on a flat surface and examine all load-bearing seams, webbing straps, and plastic buckles for signs of fraying, cracking, or stretching. Test the metal frame joints and the kickstand mechanism to ensure they lock securely into place and do not collapse under pressure. Check that all zippers on storage compartments are fully functional, as a failing zipper could cause gear to fall out and destabilize your balance on steep terrain.
Preparing your baby for the trail also involves choosing the right clothing for the local climate. In tropical regions, high humidity and intense sun mean that the carrier cockpit can trap heat quickly, acting as an extra insulating layer around your child. Dress your baby in lightweight, light-colored, and breathable fabrics that offer sun protection without adding bulk. Avoid heavy cotton clothing that retains sweat, and instead opt for moisture-wicking synthetic blends or lightweight bamboo fabrics to keep your baby dry and comfortable.
Step-by-Step Guide to Putting on the Carrier
Before lifting the carrier onto your back, you must adjust the torso length of the frame to match your own back measurement. Most premium hiking carriers feature an adjustable suspension system on the back panel, marked with torso sizes. Slide this yoke up or down so that the shoulder straps align naturally with your shoulders when the hip belt rests comfortably on your pelvic bones. If multiple caregivers share the carrier during a hike, you must readjust this torso length setting every time you swap roles.

Once the frame is adjusted to your torso, fasten and tighten the hip belt first. Position the padded sections of the belt directly over your iliac crests—the prominent bones of your hips. Pull the adjustment straps forward to tighten the belt snugly; it should feel secure enough that the majority of the carrier’s weight rests on your pelvis rather than pulling down on your shoulders. A loose hip belt causes the carrier to sag, transferring the load to your lower back and causing premature fatigue.
With the hip belt secured, place the carrier on a stable, flat surface, such as a sturdy picnic table or the flat ground, and fully extend the integrated kickstand. If you are hiking with a partner, have them act as a spotter while you load your child into the cockpit. Carefully slide your baby’s legs through the designated openings, ensuring they do not get tangled in the internal straps. Fasten the internal five-point safety harness immediately, adjusting the shoulder and crotch straps so they are snug but do not pinch your baby’s skin.
To lift the loaded carrier onto your back safely, stand with your feet shoulder-width apart and bend your knees slightly. Grip the heavy-duty grab handles located on the front and back of the carrier frame; never lift the carrier by the fabric shoulder straps or the kickstand. Lift the pack smoothly and slide one arm through its corresponding shoulder strap, followed quickly by the other arm. Keep your core engaged and avoid twisting your spine as you lift the weight onto your back.
Once the carrier is on your shoulders, lean forward slightly to keep the weight centered while you buckle the chest or sternum strap. Pull the shoulder strap adjustment webbing downward and backward until the straps contour comfortably over your shoulders. Finally, reach behind your shoulders to locate the load-lifter straps, which connect the top of the shoulder straps to the main frame. Pull these forward at a 45-degree angle to draw the top of the carrier closer to your back, which stabilizes the load and prevents the pack from swaying as you walk.
Adjusting the Fit for Parent and Baby Comfort
Achieving a comfortable fit requires balancing the tension between your shoulder straps and the hip belt. If you feel a pinching sensation on your collarbones or tension in your neck, your shoulder straps are likely too tight, meaning the hip belt is not carrying its fair share of the load. Loosen the shoulder straps slightly to allow the weight to settle back onto your hips, then re-tighten the hip belt to secure the position. The shoulder straps should primarily serve to keep the carrier upright and close to your body, not to support the vertical weight.
The sternum strap plays a vital role in preventing the shoulder straps from sliding outward toward your upper arms, which can cause chafing and restrict your arm movement. Slide the sternum strap up or down along its piping track until it sits across the middle of your chest, well below your collarbones. Tighten it just enough to keep the shoulder straps parallel and secure, but avoid over-tightening it, as this can restrict your breathing and compress your chest during steep climbs.
Your baby’s physiological safety inside the cockpit is your highest priority on the trail. Peer over your shoulder or use a small trail mirror to check your baby’s airway frequently. Their face must remain fully visible, with their nose and mouth completely unobstructed by the carrier’s fabric, sunshade, or toy loops. Ensure your baby’s head is supported so that their chin does not rest heavily on their chest, as this position can compromise their breathing, especially if they fall asleep during the hike.
Examine your baby’s lower body to confirm they are sitting in an ergonomically correct position. Their hips and knees should form an “M” shape, where the knees are bent and positioned slightly higher than the hips, with the thighs supported by the seat. If your carrier features adjustable foot stirrups, adjust their height so your baby’s feet rest flat in them, preventing their legs from dangling straight down. Dangling legs can restrict blood circulation and cause discomfort over long distances.
On-Trail Adjustments and Monitoring
As you navigate uneven terrain, muddy paths, or steep inclines, the physical movement of hiking will naturally cause the carrier’s straps to settle and loosen slightly. Do not attempt to make major strap adjustments while actively walking, as this can compromise your balance and safety. Instead, scan the trail ahead for safe, flat pull-off spots where you can stand securely, or use a sturdy boulder or bench to support the weight of the carrier while you tighten loose straps.
Establish a consistent monitoring routine every 20 to 30 minutes to assess your baby’s physical condition. In warm tropical climates, check the back of your baby’s neck or their upper back with your hand; if the skin feels hot and sweaty, they may be overheating. Offer frequent sips of water or milk to keep them hydrated, and check their inner thighs and calves for any signs of red marks or skin chafing caused by friction against the carrier’s leg openings.
You must be prepared to recognize immediate stop-use conditions that require you to end your hike or take an extended break. If you experience sudden, sharp pain in your back, shoulders, or hips, stop immediately to inspect the carrier’s fit and frame integrity. Listen for any unusual squeaking, cracking, or rattling noises coming from the metal frame, which could indicate structural failure. If a primary safety buckle cracks or fails to stay latched, do not attempt to patch it with tape or cord; stop using the carrier immediately to prevent a catastrophic fall.
Frequently Asked Questions (FAQ)
Can I use a standard everyday baby carrier for hiking instead of a specialized hiking carrier?
Standard everyday baby carriers, such as soft-structured carriers or wraps, generally lack the rigid internal frame, advanced suspension systems, and ventilation clearance found in specialized hiking carriers. While they may work for short, flat walks, they do not distribute heavy loads efficiently over long distances, which can lead to severe parent fatigue and back strain. Additionally, everyday carriers hold the baby flush against your body, which limits airflow and can cause rapid overheating for both of you in hot, humid trail conditions. Always check your specific carrier’s manual to verify its maximum weight limits and approved use cases before attempting a trail hike.
How do I know if the baby hiking carrier is too big or too small for my child?
Your child has outgrown their hiking carrier if their shoulders rise above the top of the cockpit frame, if their head lacks adequate support from the headrest, or if their weight exceeds the manufacturer’s official limit. Conversely, the carrier is too big if your baby’s head sinks completely below the top edge of the cockpit, if they slump heavily to one side, or if the internal safety harness cannot be tightened securely against their body. Never rely on age alone to determine fit; always cross-reference your child’s current weight and height against the manufacturer’s official specifications to ensure a safe and ergonomic ride.
Community discussion
Share your experience or ask a question. Comments are reviewed before publication.