
Wearing a baby carrying belt correctly requires adjusting the waist belt snugly above your hips, securing your baby in an ergonomic “M-shape” position, and verifying that their airway remains completely clear. Whether you are navigating a busy market in the Philippines or managing chores at home, mastering the front, hip, and back carrying positions ensures your little one stays safe while you remain comfortable.
A poorly adjusted carrier can lead to back strain for the parent and physical discomfort or safety hazards for the baby. Learning correct adjustment techniques prevents these issues and makes babywearing a highly rewarding experience.
Not all positions are suitable for newborns; each stage of your baby’s growth dictates which carrying style is safest. You must always align the carrying position with your child’s physical milestones, such as head control and core strength.
Products mentioned in this guide
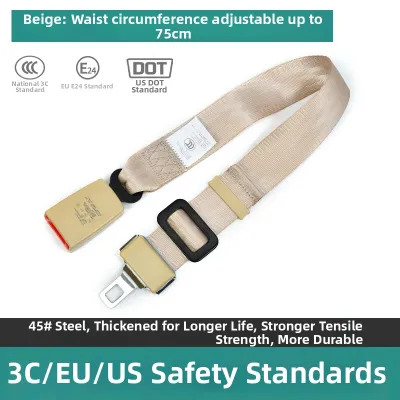
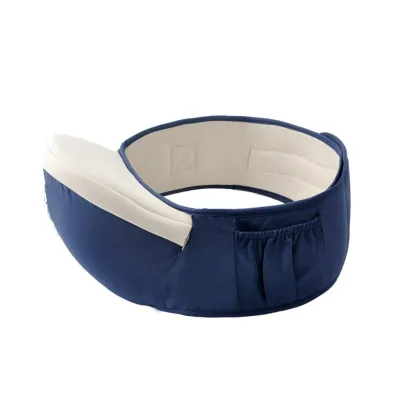

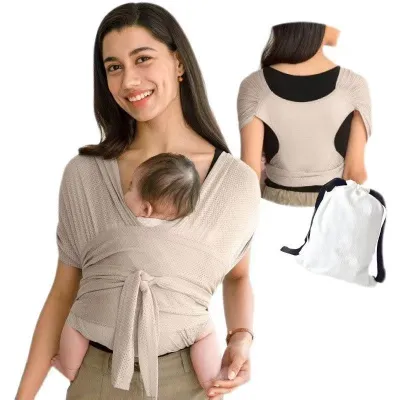
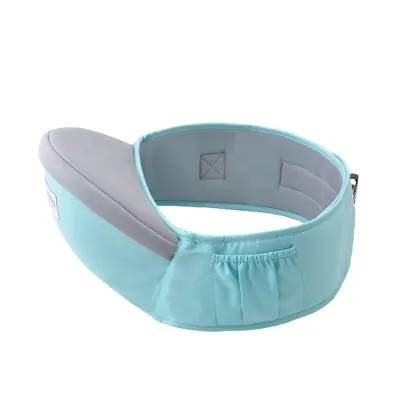
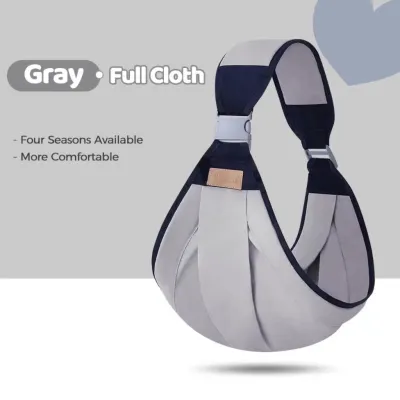
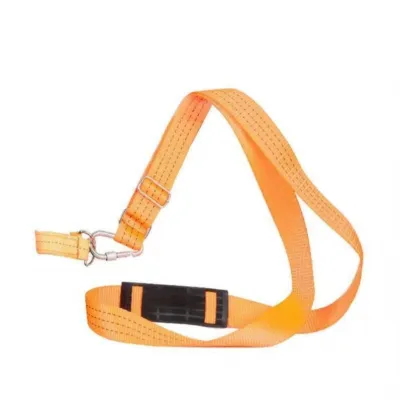
Prices are valid at publication and may change. Please refer to the product page for the latest price.
In warm, humid environments, choosing the right carrier adjustments and clothing is essential to prevent heat exhaustion. Proper airflow and lightweight fabrics keep both caregiver and child cool during daily use.
Preparing Your Baby Carrying Belt and Checking Safety
Before you even lift your baby, a thorough inspection of the baby carrying belt is your first line of defense. Examine every buckle, strap, zipper, and seam for any signs of fraying, cracking, or loose stitching. Even a minor tear in the fabric or a slightly chipped plastic buckle can compromise the structural integrity of the carrier under the baby’s weight.
Next, cross-reference your baby’s current physical development with the manufacturer’s instruction manual. Babies develop at highly individual rates, meaning age guidelines are only general estimates. You must verify that your child meets the specific weight limits and developmental milestones—such as consistent head control or the ability to sit upright unassisted—required for your chosen carrying position.
Dressing your baby appropriately is another critical safety step, particularly in the tropical climate of the Philippines. Opt for lightweight, breathable cotton clothing that does not bunch up or create pressure points inside the carrier. Avoid bulky outfits or footed onesies that can pull tightly against the baby’s toes when their legs are positioned in the carrier, as this can restrict circulation.
Front Carry: Steps for Inward and Outward Facing
The front inward-facing carry is the most common starting position for young infants, offering close physical contact and excellent head support. To begin, position the waist belt of your baby carrying belt high on your torso, well above your hips, and fasten the buckle securely. Pull the webbing tight so the belt sits snugly against your body; this high placement ensures the baby’s weight is distributed across your hips rather than pulling on your lower back.

Once the waist belt is secure, let the main body panel hang down and prepare the shoulder straps. For many structured carriers, it is helpful to pre-adjust the straps to a loose setting and locate the chest clip. Hold your baby securely against your chest with one hand, ensuring their chest rests against yours and their head is positioned high enough for you to easily kiss the top of their forehead.
With your free hand, pull the carrier panel up over your baby’s back, supporting their weight at all times. Slip your arms through the shoulder straps one at a time, then reach behind your neck to fasten the chest clip. Once the clip is secured, pull the adjustment straps forward or backward to tighten the carrier, bringing the baby snugly against your torso.
As you tighten, pay close attention to the baby’s leg positioning. Their hips should rest in a deep squat, forming an “M-shape” where the knees are positioned higher than the bottom, and the fabric supports them from knee crease to knee crease. This ergonomic position supports healthy hip joint development and prevents the legs from dangling straight down, which can strain the infant’s developing spine.
For the front outward-facing position, timing is everything. You must wait until your baby exhibits strong, consistent head and neck control, and meets the manufacturer’s specific weight and age minimums. When adjusting the carrier for outward facing, toggle the seat width to the narrower setting if required by your specific model, ensuring the baby’s thighs are supported without forcing the legs into an unnatural spread.
Always monitor your baby closely while they face outward. This position exposes them to a high volume of visual stimuli, which can lead to overstimulation, and does not offer the same level of head support when they fall asleep. If your baby shows signs of fatigue or their head begins to slump forward, immediately transition them back to the inward-facing position or stop using the carrier.
Hip Carry: Steps for Older Babies
The hip carry is an excellent option for older babies who want to look around but still require the comfort of facing their caregiver. This position is generally suitable once your baby has developed strong core stability and can sit with minimal assistance. To set up a hip carry, start by shifting the waist belt of your baby carrying belt so that the main support panel rests over one of your hips.
Fasten the waist belt securely, ensuring it sits flat against your lower waist or hip bone depending on the carrier’s design. Carefully lift your baby and place them on your hip, letting their legs straddle your torso in a natural, comfortable position. While supporting the baby with one arm, pull the carrier panel up over their back to keep them secure.
Take the shoulder strap and thread it diagonally across your torso, securing it to the opposite side of the carrier according to the manufacturer’s instructions. This diagonal alignment is crucial as it balances the baby’s weight across your shoulder and back, preventing the uneven muscle strain that often occurs when carrying a child on your hip without support.
Adjust the tension of the shoulder strap and the waist belt until the baby is held firmly against your side. The fabric should support the baby’s back up to their shoulder blades, preventing them from leaning outward or slumping. Walk a few steps to test the fit; if you feel yourself leaning to one side to balance the weight, stop and readjust the straps to bring the baby closer to your center of gravity.
Back Carry: Steps and Safety Precautions
Transitioning to a back carry is a major milestone that offers maximum freedom of movement for the parent, but it requires practice and careful execution. Because you cannot see your baby directly while they are on your back, safety precautions during the transition are paramount. Always practice the transfer methods over a soft surface, such as a mattress, or have another adult act as a spotter until you are completely confident in your technique.
To begin, secure the waist belt of the baby carrying belt tightly around your natural waist. The belt must be snug enough that it will not slip or rotate vertically when the baby’s full weight is applied. Place your baby in the carrier in a front inward-facing position first, keeping the shoulder straps relatively loose but secure.
Using the “scooping” or “hip-slide” method, carefully guide one of your arms out of its shoulder strap while keeping a firm grip on your baby. Gently slide the baby around your hip toward your back, shifting the carrier fabric along with them. Once the baby is centered on your back, slip your arms back through the shoulder straps and immediately fasten the chest strap to secure the system.
Alternatively, some parents prefer the “secure slide” method where the baby is placed in the carrier on the front, and the entire waist belt is rotated around the torso. Whichever method you choose, keep at least one hand on your baby’s body at all times until the shoulder straps are fully tightened and the chest clip is securely locked.
Once the baby is positioned on your back, verify that their head is well-supported and their airway is completely unobstructed. You can use a small hand mirror or the reflective surface of a window to check on your baby’s face. If your baby becomes highly distressed, starts crying, or if you feel the carrier shifting or slipping at any point during the transfer, stop immediately, sit down on a safe surface, and bring the baby back to the front.
Final Fit Checks for Parent Comfort and Baby Airway
After securing your baby in any of the carrying positions, you must perform a final safety and comfort check before starting your day. The absolute priority is the baby’s airway. Ensure that the baby’s chin is not resting on their chest, as this position can restrict their breathing; there should always be a gap of at least two fingers’ width between their chin and chest.
Visually inspect your baby’s face to confirm that it is completely visible, free from fabric, and that their nose and mouth are clear. In the warm and humid climate of the Philippines, ensuring adequate airflow around the baby’s face is also vital to prevent overheating. Never cover the baby’s head with heavy blankets or tight hoods that block fresh air circulation.
Next, assess your own physical comfort. Check that the shoulder straps are spread flat across your shoulders and back rather than bunching up near your neck, which can pinch nerves and cause tension headaches. The chest strap should be positioned at mid-chest level to keep the shoulder straps from slipping off your shoulders without pulling them too close together.
Finally, examine the waist belt to ensure it has not ridden up toward your ribs. A waist belt that slips upward transfers the baby’s weight directly to your shoulders and lower back, defeating the ergonomic design of the baby carrying belt. If you feel any localized digging, pinching, or if you find it difficult to take a deep breath, loosen the straps slightly, reposition the belt, and retighten.
Frequently Asked Questions (FAQ)
When can my baby start using a back carry position?
Your baby can typically transition to a back carry position once they have achieved consistent, strong head and neck control and can sit completely unassisted. This stage of physical development ensures their spine and neck muscles are strong enough to withstand the movement and lack of immediate head support inherent in a back carry. Because every baby carrying belt has unique structural designs and weight limits, you must consult your specific carrier’s instruction manual or product label to verify the exact weight and developmental requirements before attempting a back carry.
How do I know if the baby carrying belt is too tight or too loose?
To determine if your baby carrying belt is adjusted correctly, perform a simple two-finger tension check. You should be able to slide two fingers flat between the carrier straps and your baby’s body comfortably, ensuring the fabric is snug enough to support them without restricting their breathing or chest expansion. If the carrier is too loose, you will notice your baby slumping down, their chin pressing against their chest, or the fabric gaping away from their body, which often causes a noticeable pulling sensation on your shoulders. If you observe any of these signs, immediately adjust the straps to secure a safer, more supportive fit.
Community discussion
Share your experience or ask a question. Comments are reviewed before publication.