
On-the-go feeding requires precision and speed, especially when dealing with a hungry baby outside the comfort of your home. A milk powder container with a built-in scraper simplifies this process by allowing you to pre-measure and level your baby’s formula accurately before you travel. By utilizing the integrated leveling edge, you eliminate the guesswork of scoop measurements while keeping the powder dry and hygienic until it is time to mix.
Using this specialized container involves a simple sequence of home preparation, precise leveling, secure transport, and sanitary mixing. In tropical climates like the Philippines, managing humidity is just as important as measuring the powder itself. This guide provides a comprehensive, step-by-step walkthrough to help you master your formula dispenser, maintain high hygiene standards, and ensure your baby receives a properly balanced feed every single time.
Preparing Your Container and Formula at Home
Before you pack any formula for an outing, your storage container must undergo thorough preparation to ensure it is safe for your baby. Start by disassembling all removable parts of the dispenser, including the lid, the individual compartment dividers, and the scraper attachment. Wash each component thoroughly with warm, soapy water using a dedicated baby bottle brush to remove any manufacturing residues or dust.
Products mentioned in this guide
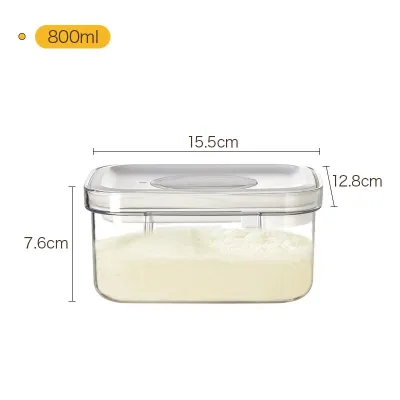
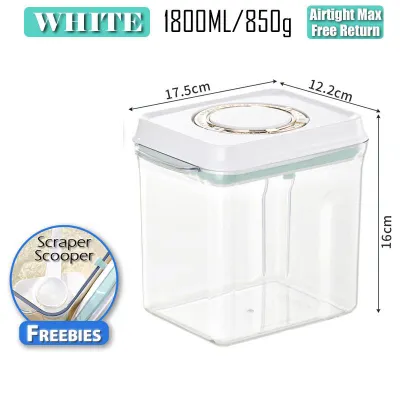
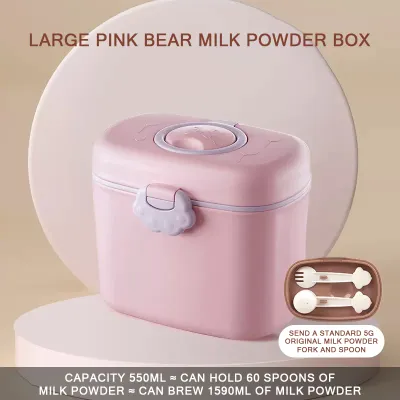
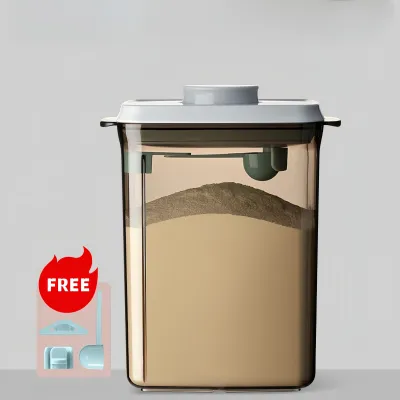
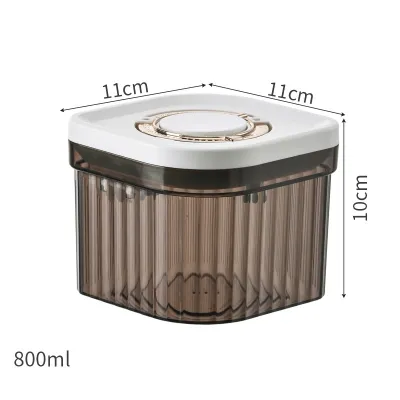
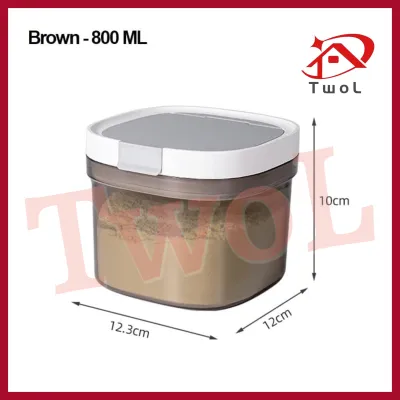
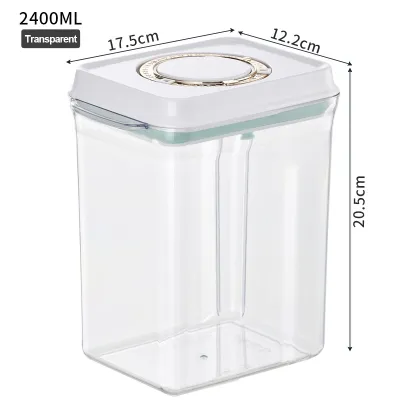
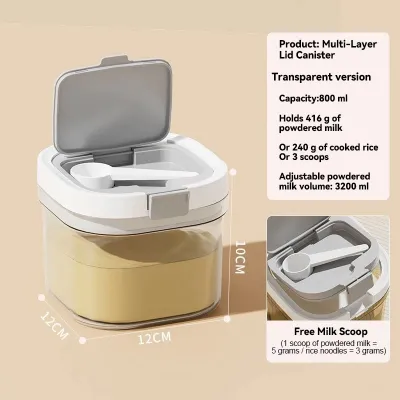
Prices are valid at publication and may change. Please refer to the product page for the latest price.
Sterilization is the next critical step in safeguarding your infant’s health. Depending on the manufacturer’s instructions, you can sterilize the parts using a steam sterilizer, boiling water, or a cold-water sterilizing solution. Always verify the temperature limits of your specific container material in its user manual, as some plastics may warp under high heat.
In highly humid environments, moisture is the primary enemy of dry milk powder. After sterilization, place all components on a clean, elevated drying rack in a well-ventilated area. Allow every piece to air-dry completely; even a single droplet of trapped water can cause the formula to clump, spoil, or encourage bacterial growth inside the sealed container.
Before assembling the unit, verify the container’s age suitability, weight or size limits, and specific manufacturer warnings from the product documentation. Caregivers must also check for food-grade certifications, such as BPA-free labels, and verify on the manufacturer’s official website that there are no active product recalls for your specific model.
Once the container is dry and verified, consult your formula manufacturer’s packaging to confirm the exact water-to-powder ratio. Different brands and stages of formula require specific scoop sizes and water volumes to prevent under-concentration or over-concentration. Keep the original formula scoop nearby, as you will need it to transfer the powder into your portable dispenser.
Step-by-Step: Filling and Leveling With the Scraper
To begin filling, place your clean, dry dispenser on a flat, stable surface. If your container features multiple compartments, rotate the lid or open the specific chamber you intend to fill first. Ensure your hands are thoroughly washed and dried before handling any feeding equipment or formula powder.

Take a loose, heaping scoop of formula from the original tin using the scoop provided by the formula manufacturer. Avoid packing the powder tightly into the scoop unless the brand’s instructions explicitly direct you to do so. Gently hover the scoop over the open compartment of your portable container.
Locate the built-in scraper edge inside your container. This edge is designed to mimic the flat rim of your original formula tin. Drag the filled scoop across the scraper edge to level off the excess powder, leaving a flat, flush surface of formula inside the scoop. This action ensures you are measuring an exact, safe dose for your baby’s nutritional needs.
Carefully tip the leveled scoop of powder into the designated compartment of the container. Repeat this process for the exact number of scoops required for a single feeding bottle. If you are preparing multiple feeds for a longer trip, move to the next compartment and repeat the leveling process, keeping track of the scoop count for each section.
Any excess powder scraped off during the process can be returned to the original formula tin, provided your hands, scoop, and scraper are completely clean and dry. If there is any risk of contamination or moisture exposure, discard the excess powder instead.
Once all compartments are filled with the correct portions, align the container’s lid and press or screw it down firmly. Double-check that the silicone seals are properly seated in their grooves to create an airtight barrier. A secure seal prevents the powder from migrating between compartments or spilling into your diaper bag during transit.
Mixing Formula On the Go
When your baby is ready to feed, find a clean, stable area to prepare the bottle. Hygiene remains a priority even when away from home, so sanitize your hands thoroughly before handling the feeding equipment. Retrieve your baby’s bottle and the pre-filled formula container from your bag.
Always pour the correct volume of water into the bottle before adding the formula powder. Using pre-boiled water that has cooled to a safe temperature—or safe drinking water as recommended by your pediatrician—ensures the powder dissolves correctly. Pouring the water first also allows you to verify the liquid volume accurately against the bottle’s measurement markings.
Open the spout or lid compartment of your dispenser that corresponds to the pre-measured dose. Carefully align the opening with the neck of the baby bottle. Tilt the dispenser slowly to pour the entire contents of the compartment into the water, ensuring no powder clings to the edges of the spout.
Secure the nipple and collar onto the bottle tightly to prevent leaks. Shake or swirl the bottle gently but thoroughly until the formula powder is completely dissolved and no clumps remain at the bottom. Avoid vigorous shaking if it introduces excessive air bubbles, which can contribute to gas or colic in some infants.
Before offering the bottle to your baby, always test the temperature of the mixed formula. Squeeze a few drops onto the inside of your wrist; the liquid should feel lukewarm or neutral, never hot. If the formula feels too warm, cool the bottle under running water before feeding. If your baby shows signs of persistent feeding discomfort, colic, or unusual digestive symptoms, stop using the current setup and consult a qualified healthcare professional.
Cleaning and Maintaining the Dispenser
Prompt cleaning after use prevents milk residue from drying and hardening in the corners of the container. As soon as you return home, disassemble all removable parts of the dispenser. Pay close attention to the scraper attachment, the silicone sealing rings, and the threads of the lid, as these areas easily trap fine powder.
Wash all parts in warm water mixed with a mild, baby-safe dishwashing liquid. Use a small, soft-bristled brush to reach into the tight crevices of the scraper and the corners of the compartments. Avoid using abrasive scrubbing pads or harsh chemical cleaners, which can scratch the plastic and create microscopic grooves where bacteria can hide.
Rinse every component thoroughly under clean, running water to remove all soap residue. Place the disassembled parts on a clean drying rack in a well-ventilated space. In tropical climates where humidity is high, ensure the parts are left to dry completely before reassembly, as trapped moisture can lead to mold growth.
Regularly inspect your dispenser for signs of wear and tear. Examine the silicone seals for elasticity and check the plastic scraper edge for any cracks, warping, or discoloration. If you notice any damage, degradation, or persistent mold that cannot be cleaned, replace the container immediately to maintain a safe feeding environment.
Common Mistakes to Avoid for Safe Feeding
One common error is guessing the powder amount or using non-standard scoops instead of the scraper to level every dose. Inaccurate measurements can lead to formula that is too concentrated, which may strain your baby’s kidneys and digestive system, or too diluted, which deprives them of essential nutrients.
Storing a filled formula container in hot, humid environments can compromise the quality of the powder. Avoid leaving the dispenser in a closed car, in direct sunlight, or next to heat sources. High temperatures can degrade the nutrients in the formula and encourage bacterial proliferation if any moisture is present.
Mixing formula with water that is too hot can destroy beneficial nutrients and probiotics, while water that is too cold may prevent the powder from dissolving fully. Always follow the specific preparation temperatures recommended on your formula brand’s packaging.
Reusing unwashed compartments for subsequent feeds during the same outing is highly discouraged. Residual moisture and powder left behind from a previous feed can quickly become a breeding ground for bacteria, especially in warm climates. Always use a fresh, clean compartment for each individual feed.
Frequently Asked Questions (FAQ)
Can I use the scraper for different brands of formula?
Yes, but you must verify the compatibility of the scoop size with your container’s design. Different formula brands use scoops of varying diameters, depths, and densities. Ensure that the built-in scraper edge is positioned such that your specific brand’s scoop can easily slide across it for an even level. If you switch formula brands, check the manufacturer’s guidelines to ensure the dispenser’s compartment volume is sufficient to hold the required number of leveled scoops for your typical bottle size.
How long can I keep formula powder in the container?
Dry formula powder should generally be used within 24 hours of being transferred to a portable dispenser. While the container is designed to be airtight, opening and closing it exposes the remaining compartments to ambient air and humidity. To minimize the risk of moisture absorption and spoilage, fill the dispenser only a few hours or the night before your planned outing, and store it in a cool, dry place.
What should I do if the powder gets stuck in the compartment?
If formula powder clings to the walls or spout of the compartment, it is usually due to static electricity or minor moisture exposure. Gently tap the bottom or sides of the container against your hand to loosen the powder. If a clump remains stuck, use a clean, completely dry utensil to gently dislodge it. Never use wet fingers or damp tools to clear the blockage, and discard the powder if you observe any signs of severe clumping, dampness, or unusual odor.
Community discussion
Share your experience or ask a question. Comments are reviewed before publication.