
You know it is time to replace your Dr. Isla duckbill valve when you experience a sudden drop in suction, notice the valve tip gaping open instead of sealing flat, or see milk backing up into the connector. Because silicone naturally degrades over time from stretching, washing, and exposure to milk fats, these small parts require regular replacement to maintain pump efficiency.
For breastfeeding mothers in the Philippines, dealing with high humidity and frequent sterilization cycles can accelerate this wear. Let’s look at how to diagnose a worn-out valve and keep your milk expression routine running smoothly.
Quick Answer: Key Signs Your Duckbill Valve Needs Replacing
Identifying a failing duckbill valve early prevents unnecessary stress and ensures your pumping sessions remain productive. The most common indicators that your silicone valve has reached the end of its lifespan include:
Products mentioned in this guide
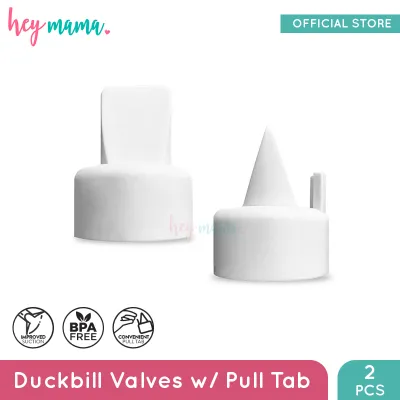
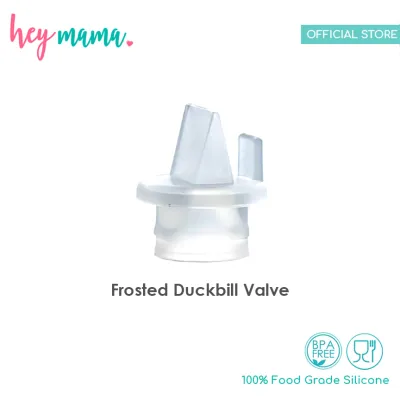
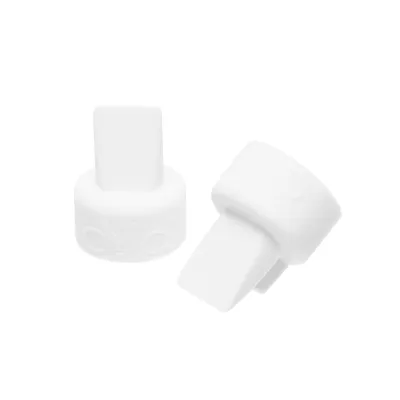
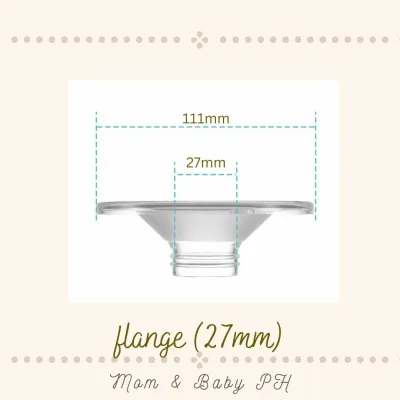
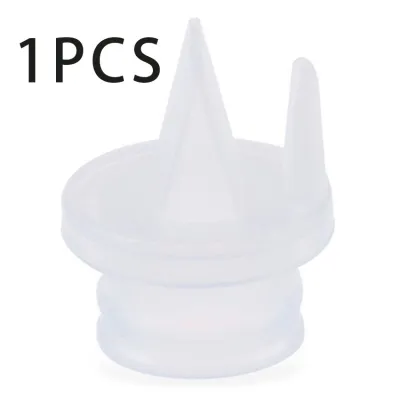
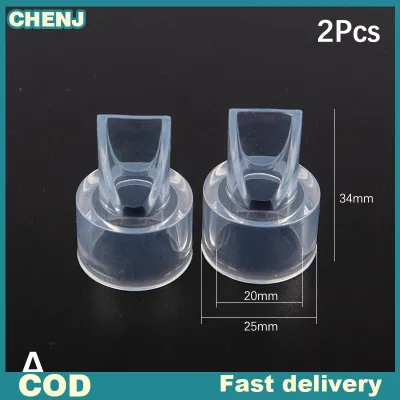
Prices are valid at publication and may change. Please refer to the product page for the latest price.
- Noticeable loss of suction strength: The pump motor runs normally, but the pull on your breast feels weak or ineffective.
- Visible stretching or gaping: The delicate slit at the tip of the valve remains open when the pump is at rest, preventing a proper vacuum.
- Milk leaking backward: Liquid travels into the tubing or upper connector instead of flowing straight down into the collection bottle.
- Decreased milk output: You spend the same amount of time pumping but express significantly less milk than your usual average.
Performance Issues: Recognizing Suction and Output Changes
A sudden drop in suction strength is often the first warning sign of a worn-out valve. If your flange fit is correct and the pump motor sounds normal, but you feel barely any pull, the culprit is almost always a compromised silicone seal.

You might find yourself increasing the vacuum level on your pump to achieve the same suction you used to get at a lower setting. This is a clear indicator that air is escaping through a weakened valve that can no longer hold a tight seal.
Inconsistent milk flow and prolonged pumping sessions are also common. When the valve loses its elasticity, the pumping rhythm becomes less effective, meaning it takes much longer to empty your breasts and complete your session.
Pay attention to your body’s let-down response during expression. A weak vacuum fails to stimulate the nerves in the nipple properly, which can delay or completely prevent your milk from letting down.
Listen closely to the pump motor while it operates. If you hear a slight whistling sound or notice the motor straining or changing pitch, it may be working harder to compensate for an air leak caused by a loose valve connection.
Do not mistake a worn-out valve for a failing motor. Replacing a small silicone part is a simple, low-cost fix that often restores the pump to its original performance instantly, saving you from unnecessary equipment expenses.
Visual Inspection: What to Look for on the Silicone Valve
To inspect the valve, remove it from the connector, wash it, and let it dry completely. A wet valve can temporarily stick closed, hiding structural issues that only appear when the material is dry.
Hold the valve up to a good light source and look closely at the tip. The two flat sides of the duckbill must touch completely, forming a perfect, airtight seal; if there is any gap or gaping when dry, the valve is stretched out and must be replaced.
Gently pinch the base of the valve and examine the slit. Look for micro-tears along the edges or at the corners of the opening, as even a microscopic tear will ruin the vacuum.
Inspect the circular base that stretches over the connector. If the silicone has become loose, stretched, or warped, it will slip off easily or let air leak in around the edges during operation.
Check the texture and color of the silicone. Over time, exposure to milk fats, dish soap, and heat can cause the silicone to become cloudy, yellowed, sticky, or stiff.
If you are unsure whether a valve is worn out, compare it directly to a brand-new spare from your inventory. The difference in elasticity, shape, and how tightly the tip closes is usually obvious when held side-by-side.
Troubleshooting Before Replacing the Valve
Before throwing away your valve, verify that the entire pump assembly is correct. A loose connector, a poorly seated diaphragm, or a cross-threaded bottle can mimic the symptoms of a bad valve.
Check your flange size and fit. If your breasts have changed shape or size, a poorly fitting flange can cause discomfort and poor milk expression, making it seem like the pump has lost suction.
Examine the pump tubing carefully. Look for moisture droplets, condensation, kinks, or tiny punctures that restrict airflow and reduce the vacuum pressure reaching your breast.
Ensure the duckbill valve is pushed firmly onto the connector. It must sit flush against the plastic housing without any gaps or twisting.
Verify that the valve is oriented correctly. While duckbill valves are simple, inserting them at an angle or failing to push them all the way up can prevent the vacuum from sealing properly.
How to Care for Your Duckbill Valve to Extend Its Lifespan
Clean the valve with extreme care. Avoid inserting bottle brushes, toothpicks, or fingers into the delicate slit at the tip, as this is the most common cause of accidental tears.
Wash the valve in warm, soapy water using a mild dishwashing liquid, gently rubbing it between your fingers to remove milk residue.
In the tropical climate of the Philippines, high humidity can prolong drying times. Ensure the valves air-dry completely on a clean, elevated drying rack in a well-ventilated area to prevent mold and material degradation.
Follow the manufacturer’s instructions regarding sterilization. Avoid excessive boiling or high-heat steam cycles, which can break down silicone faster than normal daily use.
Always keep a backup supply of spare duckbill valves in your baby bag or pumping station. Spending a few hundred pesos (₱) on spare parts ensures you never have to skip a session if a valve suddenly tears or loses suction.
Frequently Asked Questions (FAQ)
Can I use a different brand's duckbill valve with my pump?
While some third-party silicone valves look identical, using non-compatible parts carries risks. A valve that does not fit perfectly can cause air leaks, reduce suction, or slip off during pumping.
An ill-fitting valve can also allow milk to back up into the pump’s motor, potentially causing permanent damage or voiding your manufacturer’s warranty. Always check the manufacturer’s compatibility guidelines before using alternative parts.
Why is milk getting into my pump tubing?
Milk entering the tubing is a classic sign of a failing duckbill valve or a compromised backflow protector. When the valve stretches or tears, it cannot release milk quickly enough into the bottle, causing liquid to back up.
If you see milk in the tubing, stop the pump immediately to protect the motor from moisture damage. Disconnect the tubing, wash it if recommended by the manufacturer, or replace it entirely to prevent mold growth.
Community discussion
Share your experience or ask a question. Comments are reviewed before publication.