
Storing breastmilk safely in storage bags requires a strict chain of hygiene, precise sealing, and careful temperature management. By maintaining clean hands, using pre-sterilized single-use bags, removing excess air, and freezing the milk promptly, you protect your baby from harmful bacterial contamination while preserving the milk’s nutritional quality.
In a tropical climate like the Philippines, where high humidity and warm ambient temperatures accelerate bacterial growth, mastering these storage steps is even more critical. Every step, from the moment you pump to the second you thaw the milk, must minimize exposure to heat and contaminants.
Using dedicated breastmilk storage bags is one of the most convenient ways to build a milk stash. These bags are specifically designed to withstand freezing temperatures and protect the milk from freezer burn, provided they are handled and sealed correctly.
Products mentioned in this guide
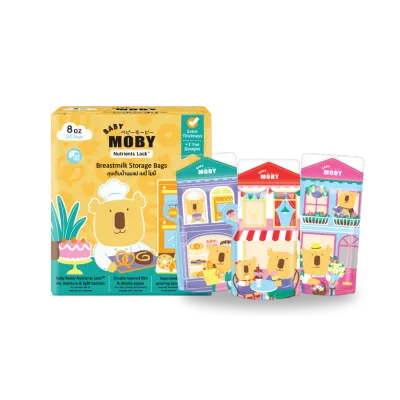
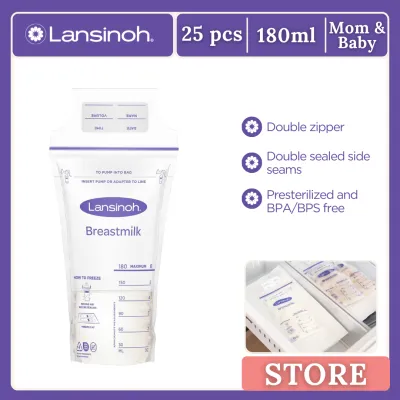
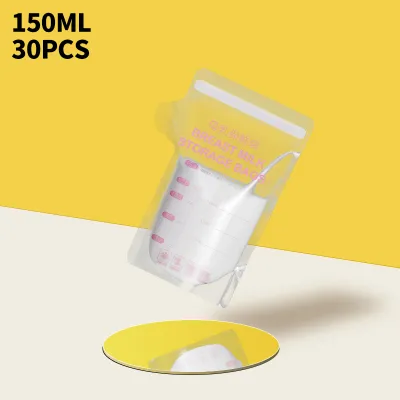
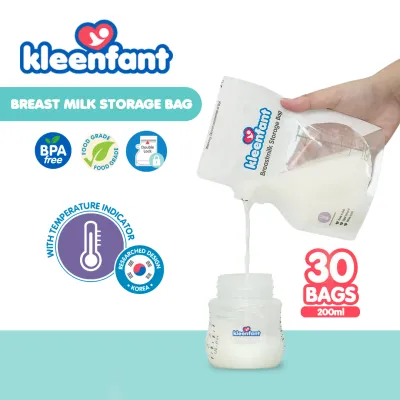
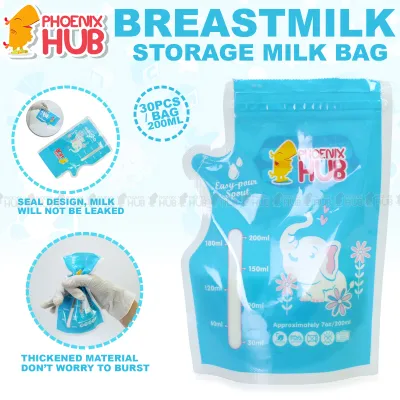
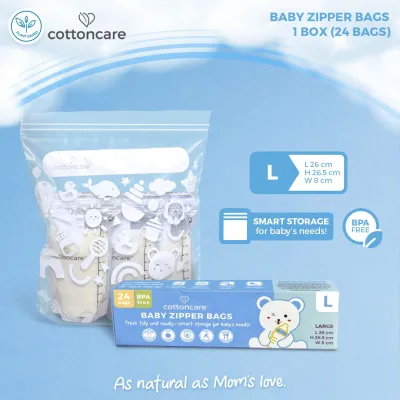
Prices are valid at publication and may change. Please refer to the product page for the latest price.
Preparing for Safe Breastmilk Storage
Before touching any storage bag or pump part, thorough hand hygiene is your first line of defense. Wash your hands with soap and clean water for at least twenty seconds, paying close attention to the backs of your hands, between your fingers, and under your fingernails. Dry your hands with a clean, single-use paper towel or a freshly laundered cloth to avoid reintroducing bacteria.
Ensure that all breast pump parts, collection bottles, and accessories have been thoroughly cleaned and sanitized according to the manufacturer’s instructions. In warm, humid environments, damp pump parts can quickly become breeding grounds for mold and bacteria. Allow all components to air-dry completely on a clean, dedicated drying rack or paper towel before assembly.
Inspect your breastmilk storage bags before opening them. Check the outer packaging for any signs of damage, dust, or moisture that might compromise the sterile environment inside. Ensure the bags are within their usable lifespan and verify that the manufacturer labels them as pre-sterilized and BPA-free.
Prepare your labeling tools before you begin the pouring process. A waterproof, permanent marker is ideal for writing on the bag’s designated label area. Writing on the bag while it is still flat and empty prevents you from accidentally puncturing the plastic or smudging the ink once the bag is filled with cold liquid.
Set up a clean, dry workspace on your kitchen counter or dining table. Wipe down the surface with a food-safe sanitizer and let it dry completely. Keeping your workspace organized reduces the risk of knocking over open bottles of freshly expressed milk.
Step-by-Step Guide to Filling and Sealing Breastmilk Bags
Carefully open the breastmilk storage bag by tearing along the designated perforated line or pulling apart the safety seal. Avoid inserting your fingers inside the bag or blowing air into it to open it, as this immediately introduces bacteria into the sterile interior. Gently pinch the outer sides of the bag to widen the opening.

Pour the expressed breastmilk slowly from the collection bottle into the bag. Keep the bottle’s rim slightly above the bag’s opening without letting it touch the inner zip track or the interior walls of the bag. This technique minimizes the risk of transferring any external contaminants from the bottle’s exterior into the milk.
Pay close attention to the maximum fill line printed on the storage bag. It is tempting to fill the bag to its absolute brim to save space, but breastmilk expands as it freezes. Leaving a clear gap of at least an inch or two at the top prevents the bag from bursting or leaking along the seams when the liquid transitions to ice.
To seal the bag securely, place it on a flat, clean surface and gently slide your fingers upward from the liquid line to push out any trapped air. Removing excess air reduces the risk of freezer burn and prevents the bag from expanding excessively. Once the air is expelled, press the double-zipper seal firmly from one end to the other.
Run your fingers across the zip track a second time to ensure there are no gaps or misaligned sections. A partially sealed bag will leak during the freezing or thawing process, leading to wasted milk and potential contamination. Gently tilt the sealed bag horizontally over a clean surface to verify that no liquid escapes from the seal.
Labeling and Organizing Your Breastmilk Inventory
Accurate labeling is essential for maintaining a safe and efficient milk rotation system. Every bag must clearly display the date and time of expression, along with the exact volume of milk stored. If your baby attends a daycare center or is cared for by a relative, write your baby’s full name on the label to prevent mix-ups.
Always write the details on the designated label tab, which is usually positioned above the zip track. This design feature ensures that the marker ink does not come into direct contact with the portion of the bag holding the milk. Using a waterproof marker prevents the text from running or fading when exposed to condensation or warm water during thawing.
Organize your freezer inventory using the “first in, first out” method. This practice ensures that you always use the oldest milk first, minimizing the risk of milk expiring before it can be consumed. Arrange the bags chronologically, placing the newest additions at the back or bottom of your storage container.
Using dedicated plastic bins, storage baskets, or specialized breastmilk organizers helps keep the bags upright or neatly stacked. In tropical regions where power interruptions or brownouts can occur, keeping your freezer organized allows you to locate and retrieve milk quickly, minimizing the time the freezer door remains open.
Freezing, Thawing, and Warming Safe Practices
When placing freshly filled breastmilk bags into the freezer, lay them completely flat on a clean baking sheet or a flat freezer shelf. Freezing the bags flat makes them thin and uniform, which saves a significant amount of freezer space and allows them to freeze much faster. Once the bags are frozen solid, you can stack them vertically like files in a cabinet.
To thaw frozen breastmilk safely, transfer the bag from the freezer to the main compartment of the refrigerator and let it thaw gradually overnight. If you need the milk immediately, place the sealed bag into a bowl of lukewarm water or hold it under running warm water. Never use hot or boiling water, as extreme heat can destroy the beneficial antibodies and nutrients in the milk.
Strictly avoid thawing breastmilk at room temperature on the kitchen counter. In warm tropical climates, leaving milk out allows bacteria to multiply rapidly on the outer edges of the liquid while the center remains frozen. Additionally, never use a microwave to thaw or warm breastmilk, as microwaves heat unevenly and create dangerous hot spots that can burn your baby’s mouth.
Once breastmilk is completely thawed, it must be used within the timeframe recommended by authoritative health guidelines or your pediatrician. Never refreeze breastmilk after it has been thawed, even partially. If your baby does not finish a bottle of thawed milk within two hours of starting a feed, the remaining milk must be discarded due to bacterial introduction from the baby’s saliva.
Troubleshooting Common Storage Bag Issues
If you discover a leak or a broken seal after thawing a bag of breastmilk, it is safest to discard the milk. A compromised bag allows bacteria from the surrounding environment or the thawing water to enter the milk, making it unsafe for your baby. Inspect the remaining bags in that specific batch to ensure the issue was an isolated incident rather than a manufacturing defect.
You may occasionally notice that thawed breastmilk has separated into a thick, creamy layer at the top and a watery layer at the bottom. This separation is entirely normal and does not indicate spoilage. Gently swirl the bag to redistribute the fats; avoid shaking the milk vigorously, as this can break down delicate proteins.
Sometimes, thawed breastmilk may develop a soapy or metallic smell and taste, which is usually caused by high levels of the lipase enzyme breaking down milk fats. While this milk is safe for most babies to drink, some infants may reject it. If your baby refuses lipase-heavy milk, consult a lactation consultant for safe techniques, such as scalding freshly expressed milk before freezing.
If you notice a distinctly sour smell, a curdled texture that does not mix when swirled, or if the milk tastes rancid, the milk has spoiled and must be thrown away. If you frequently encounter spoiled milk despite following all storage guidelines, consult a pediatrician or a certified lactation consultant to review your sanitization and storage setup.
Frequently Asked Questions (FAQ)
Can I reuse breastmilk storage bags?
No, standard breastmilk storage bags are strictly designed for single-use only. Attempting to wash, sanitize, and reuse these bags compromises their structural integrity, leading to a high risk of leaks, tears, and seam failures. Furthermore, the narrow corners and zip tracks of disposable bags are incredibly difficult to clean thoroughly, creating pockets where bacteria and mold can easily grow. Always check the manufacturer’s packaging for specific product instructions, and discard disposable bags immediately after a single use.
How do I know if the stored breastmilk has gone bad?
You can identify spoiled breastmilk through simple sensory checks. Fresh or safe thawed breastmilk should have a mild, slightly sweet, or occasionally soapy scent, and any separated fat layers should easily blend back into the liquid when gently swirled. If the milk has a strong sour or rancid odor similar to spoiled cow’s milk, contains persistent clumps or curdles that do not dissolve, or tastes distinctly sour, it has gone bad. If you have any doubts about the safety or smell of a specific bag of milk, it is always best to err on the side of caution and discard it.
Community discussion
Share your experience or ask a question. Comments are reviewed before publication.