
Starting your cloth diapering journey with an older child might seem daunting, but selecting a washable diaper for toddler wear is an excellent, sustainable decision that benefits both your budget and your child’s comfort. Unlike newborns, toddlers present unique diapering dynamics: they produce larger volumes of urine, move constantly, and have transitioned to solid foods. Successfully navigating this transition requires understanding the specific gear needed, mastering a leak-proof fit, and implementing a reliable washing routine that stands up to tropical humidity. By establishing a consistent system, you can easily integrate cloth diapers into your toddler’s daily routine.
Essential Supplies for Toddler Cloth Diapering
Toddlers have vastly different diapering needs compared to infants. Because their bladders are larger, they release a high volume of urine all at once rather than in small, frequent increments. Furthermore, their constant running, jumping, and climbing mean that diapers must be exceptionally durable and secure. Standard newborn setups will quickly saturate or shift out of place, making specialized toddler configurations essential.
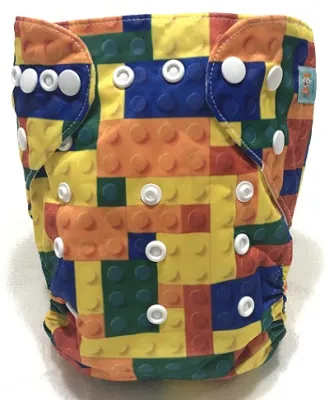
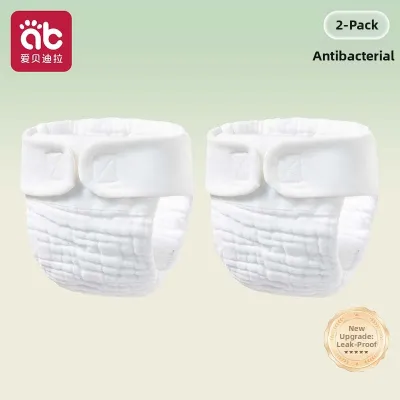
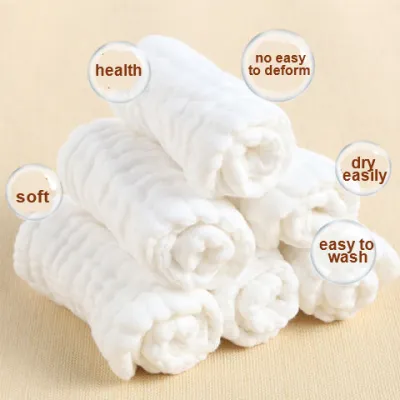
When choosing a washable diaper for toddler use, several styles are particularly well-suited for active older children. Pocket diapers are highly popular because they feature a built-in pocket where you can customize the absorbency. You can easily stuff them with heavy-duty inserts to match your child’s specific wetting patterns. All-in-One (AIO) diapers have the absorbent layers sewn directly into the waterproof shell, offering the closest experience to a disposable diaper. This simplicity makes AIOs excellent for busy caregivers, grandparents, or daycare workers, though they typically take longer to dry. Alternatively, diaper covers paired with heavy-duty prefold or fitted diapers allow you to reuse the waterproof outer shell multiple times by simply swapping out the wet inner fabric.
Products mentioned in this guide
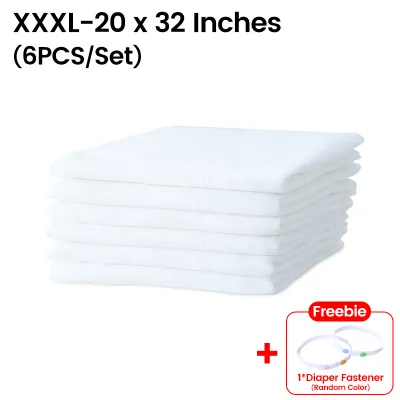
Prices are valid at publication and may change. Please refer to the product page for the latest price.
To make your daily routine manageable, you will need a few essential accessories. Waterproof wet bags are indispensable for storing soiled diapers when you are away from home; look for bags with dual zippered compartments to keep clean and wet items completely isolated. Reusable or flushable diaper liners are placed directly on top of the diaper’s inner lining to catch solid waste, allowing you to lift and dispose of it quickly without scrubbing. For home storage, a dedicated, well-ventilated diaper pail or an open-air laundry basket lined with a mesh bag is highly recommended. Keeping the storage area well-ventilated, rather than sealed in an airtight bin, prevents the rapid buildup of strong ammonia odors.
Washing these diapers requires a cloth-friendly, toddler-safe laundry detergent. Always verify the ingredients on the product label before purchasing. Avoid fabric softeners, as they coat the fabric fibers with a water-repellent layer that destroys absorbency. Refrain from using detergents containing optical brighteners, synthetic fragrances, or harsh enzymes, which can linger in the fabric and cause severe skin irritation on your toddler’s sensitive skin.
How to Fit a Washable Diaper for Toddler Use on Active Kids
Securing a cloth diaper on a highly active toddler requires a slightly different technique than diapering a quiet infant. To prevent leaks during active play, you must first adjust the rise snaps on the front of the diaper. Most modern washable diapers are designed to grow with your child, featuring rows of snaps that adjust the length of the torso. For a toddler, configure these snaps so the diaper sits comfortably just below the belly button in the front and high enough on the lower back to prevent gaps when they sit down or bend over.

Once the diaper is positioned, use the “two-finger rule” to verify the tightness of the waist and leg elastics. After fastening the waist snaps or hook-and-loop tabs, you should be able to slide two fingers easily between the diaper and your toddler’s tummy. Perform the same check around the leg openings. The elastic must be snug enough to prevent any liquid from escaping but loose enough that it does not leave deep, painful red marks on your child’s skin or restrict their natural movement.
Next, carefully inspect the leg gussets. Run your finger along the elastic leg openings to ensure the inner fabric and elastics are tucked completely into the leg creases, much like the fit of standard underwear. If any part of the absorbent inner lining or insert peaks out past the waterproof outer shell, moisture will quickly wick onto your toddler’s clothing, resulting in avoidable leaks.
Properly positioning the absorbent inserts within the diaper is also crucial for preventing leaks, especially since toddlers wet heavily in specific areas. For boys, fold or position the inserts so that the bulk of the absorbency is concentrated toward the front of the diaper. For girls, position the inserts so the absorbency is centered in the middle. If you are preparing your toddler for a nap or overnight sleep, consider adding a booster insert—such as a thin bamboo or hemp pad—to handle the prolonged wetting without adding excessive bulk that could compromise the diaper’s fit.
Step-by-Step Toddler Changing Routine
Establishing an efficient, mess-free changing routine is key to keeping both you and your toddler calm. Since toddlers are often eager to return to their toys, keeping the process structured and fast will minimize resistance.
Step 1: Safely remove the soiled diaper. Lay your toddler on a clean, stable changing surface. If you are using a flushable or reusable diaper liner, simply lift the liner containing the solid waste and dispose of it directly into the toilet. If you do not use liners, use a toilet-attached diaper sprayer to rinse the solid waste from the diaper directly into the toilet bowl. Always ensure that solid waste is deposited into the toilet rather than left in the diaper pail, as this is essential for hygiene and odor control.
Step 2: Clean the toddler’s skin thoroughly. Use warm water with soft cloth wipes or cloth-safe disposable wipes to clean the diaper area completely. Gently pat the skin dry and check for any signs of redness, chafing, or diaper rash. If you need to apply a barrier cream, ensure it is explicitly certified as cloth-diaper safe. Standard diaper creams containing petroleum or zinc oxide can coat the diaper fibers, causing them to repel moisture and leak. If you must use a non-safe cream, always place a reusable liner between your toddler’s skin and the diaper to protect the fabric. If severe redness or irritation persists, stop using the diapers temporarily and consult a qualified pediatrician.
Step 3: Store the soiled diaper. Fold or roll the soiled diaper shell and inserts, using the snaps to secure it into a tight bundle. Place it directly into your wet bag or open-air diaper pail. Avoid leaving wet diapers in sealed, airtight plastic bags for extended periods, as the trapped moisture promotes mold growth and makes odors much harder to wash out.
Step 4: Fasten the fresh diaper. Slide the clean, pre-stuffed diaper under your toddler and secure the snaps quickly. Double-check that the leg elastics are tucked into the creases and that the waist is snug but comfortable. To keep your toddler cooperative during this step, offer them a favorite toy, book, or song to distract them while you secure the fasteners.
Washing and Drying Cloth Diapers in a Humid Climate
Maintaining a hygienic laundry routine in the tropical climate of the Philippines requires special attention. High humidity and warm temperatures create an ideal environment for bacteria, mold, and ammonia buildup if diapers are not washed and dried thoroughly.
Begin your routine with a dedicated pre-wash cycle. Run a short, cold or warm rinse cycle with a small amount of cloth-safe detergent (approximately half of a standard load’s dose). This initial step is critical because it flushes away the bulk of the urine and surface soil, ensuring that your main wash cycle is executed in clean water rather than dirty, saturated water. Spin the water out completely before moving to the next step.
For the main wash, select a heavy-duty, long cycle. Use warm water, but always verify the maximum temperature limits on your diaper manufacturer’s care label to avoid damaging the waterproof polyurethane laminate (PUL) layer. Add the full recommended dosage of detergent for a heavily soiled load. Ensure that the water level in your washing machine is balanced; there must be enough water to wash the diapers, but not so much that they float freely. The diapers need to rub against one another during the cycle, as this mechanical friction is what scrubs the deep fibers clean.
Always include an extra rinse cycle at the very end of your wash routine. This step is essential to completely remove any remaining detergent residue from the fabric. Leftover soap can trap bacteria, cause the diapers to repel liquid, and lead to painful skin rashes on your toddler. Inspect the rinse water to ensure it is completely clear and free of soap bubbles.
When it comes to drying, utilize direct sunlight whenever possible. Hanging your diapers outdoors under the tropical sun is highly effective, as solar ultraviolet rays act as a natural sanitizer and safely bleach out stubborn organic stains. Hang the diaper shells horizontally over the clothesline to prevent stretching out the leg elastics over time. If you must use a clothes dryer, select a low-heat setting for the waterproof shells to protect the PUL, while the inserts can be dried on medium or high heat.
During the rainy or monsoon season, high humidity makes air-drying a challenge. Never store diapers, inserts, or liners in your closets or drawers if they feel even slightly damp. Storing damp fabrics in a humid environment will rapidly lead to mildew and persistent, musty odors that are incredibly difficult to remove. If outdoor drying is not possible, set up an electric fan or a dehumidifier indoors to speed up the drying process and ensure every piece is 100% dry before storage.
Troubleshooting Leaks, Odors, and Fit Issues
It is common to encounter minor setbacks during your first few weeks of using washable diapers. Fortunately, most issues can be resolved with a few simple adjustments.
If you experience frequent leaks, first identify the specific type of leak. Compression leaks occur when a highly saturated insert is squeezed—such as when your toddler sits down on a chair—causing liquid to escape like water from a squeezed sponge. To resolve this, replace fast-absorbing but low-capacity microfiber inserts with denser, high-capacity natural fibers like bamboo or hemp. Repelling leaks happen when liquid sits on top of the diaper lining instead of absorbing. This is typically caused by detergent buildup or the accidental use of incompatible diaper creams. You can test for this by pouring a small amount of warm water onto a clean, dry diaper; if the water beads up and rolls off, you will need to deep-clean or “strip” the diapers. Lastly, ensure your toddler has not simply outgrown the diaper’s current absorbency capacity, which means it is time to add a booster insert or transition to a larger size.
Strong, stinging odors that resemble ammonia indicate that bacteria are breaking down trapped urea within the fabric fibers. If your standard wash routine fails to eliminate these odors, you may need to strip your diapers to remove mineral and detergent buildup. Always consult your diaper manufacturer’s specific care instructions before using any stripping products, as improper chemical use can permanently damage the waterproof PUL layer and void your warranty.
Fit issues can also cause persistent leaks. If you notice gaps around the thighs or waist when your toddler crawls, climbs, or runs, adjust the rise snaps. A toddler’s body shape changes rapidly as they grow and become more active. If gaps persist despite adjusting the snaps, you may want to experiment with a different diaper style or brand that is better suited to your child’s unique build.
Frequently Asked Questions (FAQ)
Can I use cloth diapers while potty training my toddler?
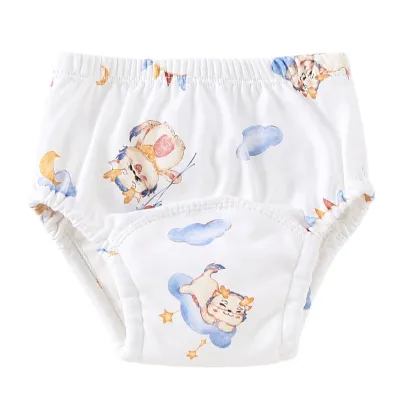
Yes, washable diapers are excellent tools during the potty training transition. Unlike disposable diapers, which contain chemical gelling agents that instantly lock away wetness, cloth diapers allow your toddler to feel the physical sensation of being wet. This immediate sensory feedback helps them connect the urge to urinate with the natural consequence of wet pants, fostering potty awareness. As your toddler shows signs of readiness, you can transition to specialized cloth training pants that feature a waterproof outer layer but are easy for your toddler to pull up and down independently.
Do I need to change a toddler's cloth diaper more often than disposables?
Yes, you should plan to change a washable diaper every 2 to 3 hours during the day, or immediately if your toddler has a bowel movement. While disposable diapers are designed to hold multiple wettings over many hours, leaving a wet cloth diaper on your toddler for too long can lead to skin breakdown, diaper rash, and ammonia buildup. Regular, timely changes protect your toddler’s sensitive skin and maintain the integrity and absorbency of your cloth diaper fabrics over their lifespan.
Community discussion
Share your experience or ask a question. Comments are reviewed before publication.