
Starting your newborn on washable diapers from day one is a highly rewarding, sustainable, and skin-friendly choice. While the prospect of managing cloth diapers alongside the frequent changes of the newborn stage might seem intimidating, establishing a simple, structured routine makes the transition seamless. In tropical climates, where high humidity and heat can make diaper rash a frequent concern, the breathability of natural cloth fibers offers a gentle, airy alternative for sensitive newborn skin. By understanding the basic mechanics of cloth diapering, you can confidently skip single-use options right from the hospital.
To ensure a successful start, focus on selecting the right materials, mastering a secure fit, and establishing a consistent washing routine. Every baby is shaped differently, so learning how to adjust the diaper to your newborn’s unique proportions is key to preventing leaks. With a little preparation before your baby’s arrival, you can create a diapering system that fits your lifestyle and keeps your baby comfortable.
Preparing Your Cloth Diaper Stash Before Birth
Building a functional newborn cloth diaper stash begins with evaluating the structural differences between newborn-specific sizes and adjustable one-size-fits-all (OSFM) diapers. Newborn-specific cloth diapers are tailored to fit babies weighing roughly 2 to 5 kilograms, featuring a narrower crotch and lower rise that prevents leaks around tiny, slender thighs. In contrast, OSFM diapers, while highly cost-effective because they adjust as your baby grows, are often too bulky for a fresh newborn and can leave gaps around the legs where moisture easily escapes. Always verify the recommended weight range and manufacturer warnings on the product packaging before use.
Products mentioned in this guide
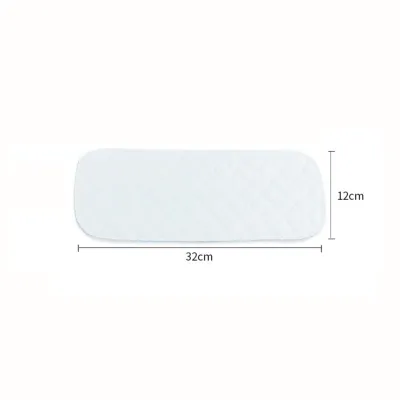
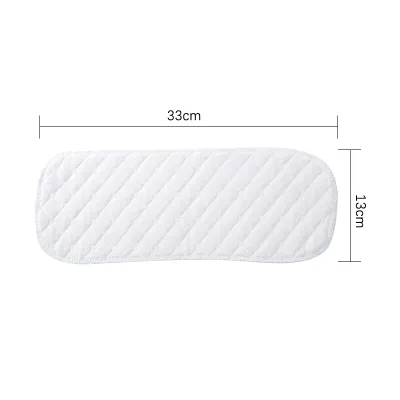

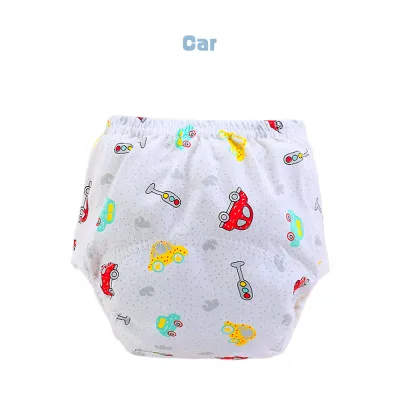
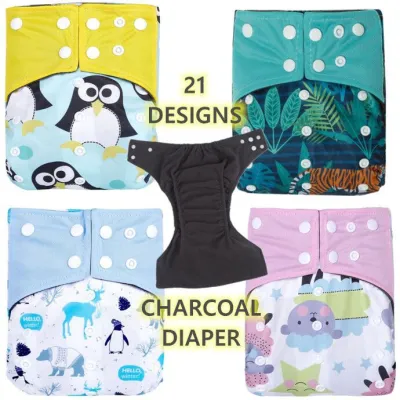
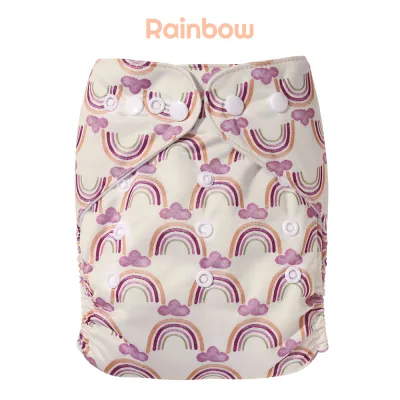
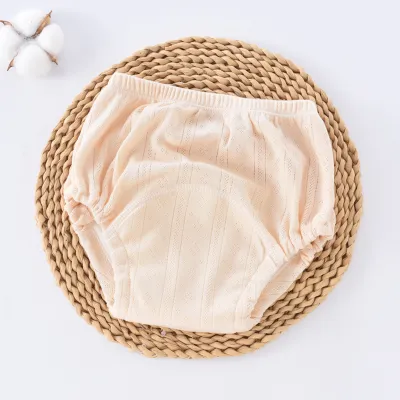
Prices are valid at publication and may change. Please refer to the product page for the latest price.
To calculate your minimum stash size, consider your baby’s expected daily output and your household’s planned washing frequency. Newborns typically require 10 to 12 diaper changes within a 24-hour period. If you plan to wash your diapers every single day, you will need a minimum of 12 to 15 diapers to allow for washing and drying time. If you prefer to wash every other day, a stash of 24 to 30 diapers is highly recommended to ensure you never run out of clean options. In humid tropical environments, drying times can vary significantly depending on the weather, so having a slightly larger buffer is always a practical choice.
Alongside the diapers themselves, several essential accessories will streamline your daily routine. Boosters or extra absorbent inserts made of bamboo or hemp are invaluable for increasing absorbency as your baby’s bladder capacity grows. If you choose traditional flat or prefold diapers, you will need secure fasteners, such as stretchable silicone diaper fasteners, to hold the fabric in place without using sharp safety pins. Finally, invest in high-quality, waterproof wet bags featuring dual zippered compartments to separate clean and soiled diapers when you are away from home.
Setting Up Your Diapering Station
An organized, highly efficient diapering station is crucial for managing the frequent changes of the newborn stage safely. Keep all core essentials within arm’s reach of your changing pad so you never have to turn your back on your baby. Your station should be fully stocked with clean, prepped diapers, cloth wipes or cotton balls, a small spray bottle of plain water for cleaning, cloth-safe barrier creams, and a designated disposal container.

Safety must always remain your top priority during diaper changes. Never leave your baby unattended on an elevated changing surface, such as a changing table or bed, even for a split second. Newborns can move unexpectedly, and keeping one hand securely on your baby at all times is the most effective way to prevent accidental falls. If you need to retrieve an item that is out of reach, pick up your baby and take them with you to keep them safe.
When organizing your station, carefully compare your storage options for soiled diapers to manage odor and moisture effectively. In warm, humid climates, storing dirty diapers in an open-air dry pail lined with a breathable mesh bag is often superior to using a tightly sealed container. The constant airflow prevents anaerobic bacteria from multiplying rapidly, which significantly reduces strong ammonia odors and minimizes the risk of mold growth. If you prefer a closed system, utilize a large, zippered hanging wet bag made of breathable polyurethane laminate (PUL) and wash the contents every 24 to 48 hours to prevent moisture buildup.
Step-by-Step Guide to Fitting a Cloth Diaper on a Newborn
Achieving a proper fit is the single most important factor in preventing leaks and ensuring your newborn’s comfort. Begin by preparing your absorbent inserts, prefolds, or flats. If you are using flat or prefold diapers, employ a folding technique that concentrates absorbency where your baby needs it most while keeping the bulk minimal around the hips. For newborns, the jelly roll fold is highly effective; it involves rolling the outer edges of the diaper inward along the thighs to create a natural, built-in barrier that contains runny newborn stools.
Once the absorbent layer is prepared and placed inside the diaper cover, gently slide the diaper under your baby. Position the back of the diaper so it sits level with your baby’s waistline. Bring the front panel up between your baby’s legs, keeping the fabric flat and wide. If your baby’s umbilical cord stump has not yet fallen off, you must take special care to prevent friction. Fold down the front edge of the diaper outward, or utilize the built-in umbilical snap-down feature found on many newborn-specific diaper covers. This keeps the delicate stump exposed to the air, dry, and free from irritating rubbing.
Next, secure the waist snaps or hook-and-loop closures. When fastening the diaper, focus on the leg fit rather than pulling the waist too tight. Gently tuck the leg gussets into your baby’s natural groin creases, similar to the fit of underwear. The elastic should sit flat against the skin of the inner thigh, with no gaps visible. If any of the inner fabric or lining is poking out of the leg openings, tuck it back inside to prevent moisture from wicking onto your baby’s clothes.
Finally, perform a quick physical check to verify the fit. Slide two fingers easily into the front waistband; it should feel snug but comfortable, allowing your baby to breathe and move their legs freely. Check the skin around the thighs and waist during your next diaper change. While light, temporary sock-like marks are normal, deep red indentations or broken skin indicate that the diaper is fastened too tightly or that the rise settings need adjustment.
Managing Newborn Poop and Pre-Wash Routines
Handling newborn waste is one of the most common concerns for beginners, but a systematic approach makes it highly manageable. During the first few days of life, your baby will pass meconium, a sticky, tar-like substance. To protect your cloth diapers from staining and to make cleanup easier, consider using ultra-thin, flushable or reusable fleece liners. These liners sit directly against your baby’s skin, catching the sticky waste so you can easily lift it away and wash the diaper without heavy scrubbing.
Once your baby transitions past the meconium stage, their stool will change depending on their diet. The poop of an exclusively breastfed baby is highly water-soluble, meaning it does not require pre-rinsing or scraping before going into the washing machine. You can place the soiled diapers directly into your dry pail or wet bag, as a standard washing machine cycle will easily dissolve and flush the waste away. However, if your baby is formula-fed or has started solid foods, the waste is not water-soluble; you must scrape, spray, or shake the solid waste into the toilet before placing the diaper in your storage container.
To maintain the longevity and absorbency of your cloth diapers, establish a consistent two-step washing routine. Always consult the manufacturer’s care labels on your specific diaper covers and inserts to verify approved water temperatures and detergent types.
The first step of your routine should be a short, cold pre-wash cycle with a small amount of detergent. This cycle flushes away the bulk of the organic waste and urine, preventing stains and odors from setting into the fabric. Follow this immediately with a long, heavy-duty main wash cycle using hot or warm water (as permitted by the manufacturer) and a full dose of a residue-free detergent. Avoid using fabric softeners, bleach, or heavy optical brighteners, as these additives can coat the fibers, causing them to repel liquid and lead to premature leaks. Hang your diapers to dry in the sun whenever possible, as natural sunlight acts as a gentle, natural sanitizer and stain remover, though you should avoid leaving waterproof covers in direct, intense midday heat for extended periods to protect the laminate backing.
Troubleshooting Common Newborn Cloth Diaper Issues
Even with careful preparation, you may encounter minor challenges during the first few weeks of cloth diapering. If you experience persistent leaks, systematically diagnose the cause. First, check if the absorbent insert is completely saturated; if it is, you may need to change the diaper more frequently or add a slim booster to increase capacity. Next, inspect the fit to ensure there are no gaps around the legs or waist, and verify that no clothing fabric is touching the wet inner lining of the diaper, which causes moisture to wick outward.
Preventing diaper rash requires maintaining a dry environment and choosing compatible skin care products. Change your newborn’s diaper every two hours, or immediately after they bowel movement. If your baby develops mild redness, apply a thin layer of barrier cream. However, you must verify that the cream is compatible with cloth diapers. Formulations containing petroleum, mineral oil, or heavy zinc oxide can coat the diaper fibers, creating a waterproof barrier that causes the diaper to repel liquid. If you must use these creams, always place a reusable fleece or disposable liner between the diaper and your baby’s skin to protect the fabric.
While mild redness can often be managed at home with frequent changes and air time, you must know when to seek professional medical advice. Stop home treatment and consult a qualified pediatrician or healthcare professional immediately if you observe severe redness that does not improve within 48 hours, broken or bleeding skin, pustules, blisters, or if your baby shows signs of discomfort, fever, or persistent crying. Never attempt to diagnose complex skin conditions or apply medicated antifungal creams without professional guidance.
Frequently Asked Questions (FAQ)
How many cloth diapers do I need for a newborn?
The ideal size of your cloth diaper stash depends on your baby’s daily output and how frequently you plan to run your washing machine. Because newborns typically require 10 to 12 diaper changes per day, a minimal stash for daily washing is 12 to 15 diapers. If you prefer to wash every other day, aim for 24 to 30 diapers. This calculation provides a comfortable buffer, ensuring you always have clean, dry diapers available even during rainy days or periods of high humidity when line-drying takes longer.
Can I use cloth diapers if my baby has an umbilical cord stump?
Yes, you can safely use cloth diapers from day one even while the umbilical cord stump is healing. To prevent friction and allow the area to dry properly, choose newborn-specific diapers that feature a curved front waist or a built-in umbilical snap-down button. Alternatively, if you are using flat, prefold, or standard pocket diapers, simply fold the front panel of the diaper downward and outward before securing the fasteners. This keeps the stump fully exposed to the air and free from irritation.
Do I need to prep new cloth diapers before the first use?
Yes, prepping new cloth diapers is essential to ensure they reach their full absorbency. The preparation process depends entirely on the material composition of your diapers and inserts. Synthetic materials, such as microfiber or fleece, only require a single wash with a mild detergent to remove manufacturing residues. Natural fibers, such as organic cotton, bamboo, or hemp, contain natural oils that must be stripped away; these materials require three to five hot washes and dry cycles before they become fully absorbent. Always check the manufacturer’s specific prep instructions included with your purchase to avoid damaging the materials.
Community discussion
Share your experience or ask a question. Comments are reviewed before publication.