
Properly storing and transporting expressed breastmilk when going out with your baby requires a reliable system of temperature control, hygienic handling, and durable containment. In a tropical climate where high humidity and ambient temperatures can rapidly accelerate bacterial growth, keeping breastmilk safe is a top priority. By using a high-quality, pre-sterilized breastmilk storage bag, a well-insulated cooler, and heavy-duty gel ice packs, you can safely preserve your liquid gold for hours while running errands, traveling, or visiting family.
Taking your baby out should not mean compromising their nutrition or safety. Understanding the science of milk preservation and the physical limits of your gear ensures that every feeding remains as fresh and nutrient-rich as possible. With a structured approach to packing, sealing, and warming, you can transition seamlessly from your home to any destination with complete confidence.
Build Your Breastmilk Transport Kit: Essential Supplies
Gathering the correct tools before leaving the house is the foundation of a leak-proof and temperature-controlled transport process. A makeshift setup can lead to spilled milk, rapid temperature drops, or bacterial contamination. To build a reliable transport kit, you need specialized gear designed to withstand external heat and physical movement.
Products mentioned in this guide
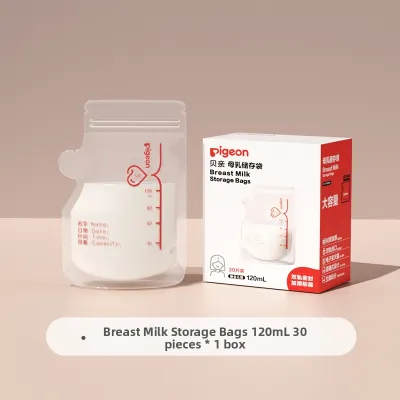
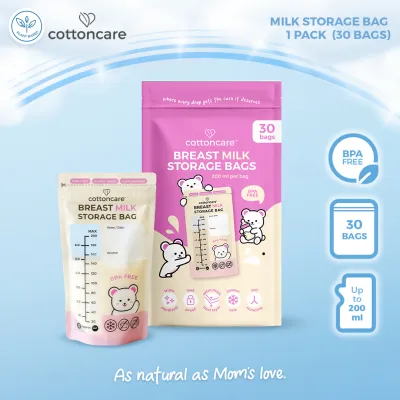
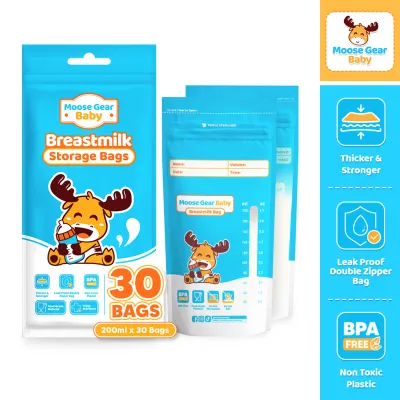
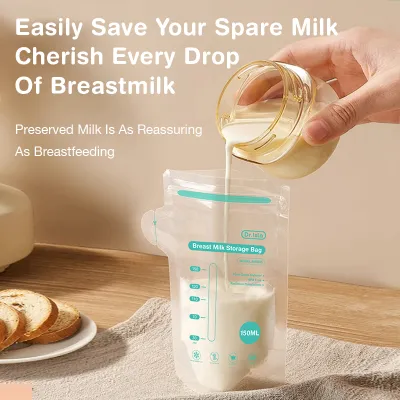
Prices are valid at publication and may change. Please refer to the product page for the latest price.
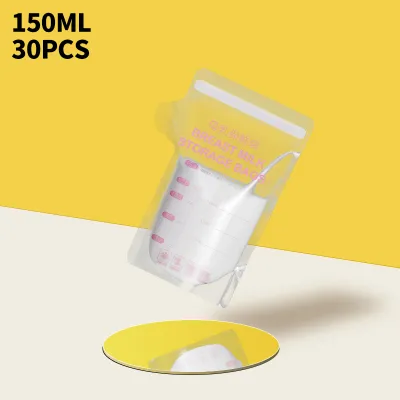
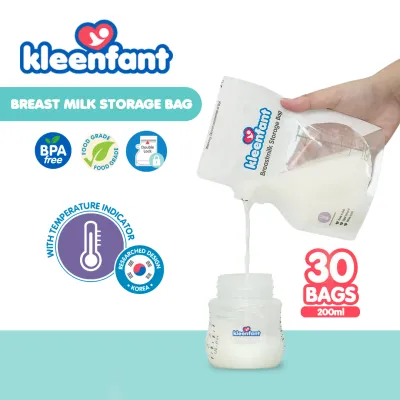
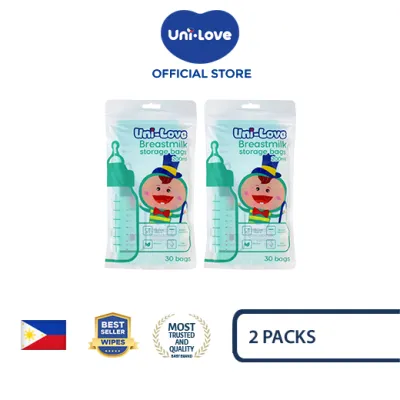
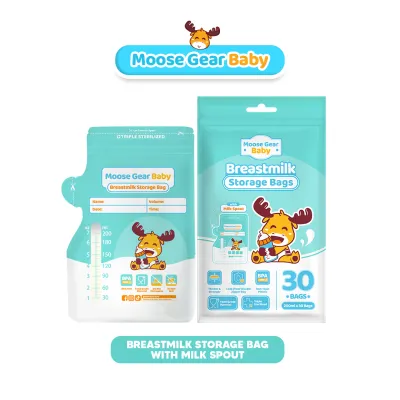
Your kit must center on high-quality, pre-sterilized breastmilk storage bags. When selecting these bags, verify that they are made from food-grade, BPA-free materials and feature robust double-zipper seals. Clear, easy-to-read measurement lines on the side of the bag are also essential for tracking exact feeding volumes.
An insulated cooler bag acts as your portable refrigerator. Look for a cooler with thick, high-density thermal insulation and a wipeable, leak-proof inner lining. Before purchase, review the manufacturer’s instructions for both the storage bags and the cooler bag to understand their specific cooling capacities, material limits, and recommended cleaning methods.
Reusable gel ice packs are highly superior to regular ice cubes for mobile storage. Gel packs maintain freezing temperatures significantly longer and do not melt into a pool of water, which prevents a waterlogged mess inside your cooler. Keeping the storage bags dry also reduces the risk of external contamination on the bag’s surface.
To complete your kit, include a waterproof permanent marker for labeling, clean zip-top bags for secondary leak protection, and a few clean burp cloths to wipe away condensation. Investing in dedicated gear ensures safety; a reliable insulated cooler bag typically ranges from ₱500 to ₱2,500, while a pack of premium storage bags often costs between ₱200 and ₱600.
How to Fill, Seal, and Label Breastmilk Storage Bags Properly
Handling breastmilk requires strict hygiene to prevent the introduction of harmful pathogens. Before you begin expressing or transferring milk, wash your hands thoroughly with soap and water for at least 20 seconds. Ensure your workspace, pump parts, and collection containers are clean and dry.

Filling and Sealing Techniques
When transferring expressed milk into a breastmilk storage bag, pour the liquid slowly and carefully to avoid spills. Avoid filling the bag to its maximum indicated capacity. If you plan to freeze the milk later, leave at least one to two inches of headspace at the top, as liquids expand when frozen.
Once the milk is inside, prepare to seal the bag by gently pressing out any excess air from the bottom upward. Removing this air minimizes oxidation, which helps preserve the delicate nutrients and lipids in the milk. It also allows the bag to lie flat, optimizing space inside your cooler bag and ensuring more even cooling.
After expelling the air, firmly press the double-zipper seal from one end to the other, verifying that both tracks are completely locked. For an added layer of safety during transit, place the sealed breastmilk storage bag inside a clean, secondary zip-top bag. This precaution contains any accidental leaks caused by sudden movement or pressure changes.
Labeling for Safety and Freshness
Accurate labeling is crucial for maintaining a safe milk rotation system and preventing waste. Always write the required information on the designated label area of the bag before you fill it. Writing on a flat, empty bag prevents you from accidentally puncturing the plastic with the pen tip.
Use a waterproof permanent marker to ensure the details remain legible. Standard ink pens or non-permanent markers can easily smudge, run, or completely rub off when the bag is exposed to condensation or moisture inside the cooler.
On the label, clearly record the exact date and time of expression, the precise volume of milk in milliliters or ounces, and your baby’s name. Including the baby’s name is especially critical if you are dropping the milk off at a daycare center, a shared nursery, or leaving it with a relative who cares for multiple children.
Keeping Milk Safe and Cool During Transit
Maintaining a stable, cold environment is the most critical factor in preventing bacterial growth while you are on the move. How you pack your cooler bag directly impacts how long the breastmilk remains safe for consumption.
To pack your cooler optimally, place frozen gel ice packs both below and above the breastmilk storage bags. Because cold air naturally sinks, this “sandwich” configuration ensures even temperature distribution throughout the bag, keeping the milk uniformly cold.
For exact time limits on how long breastmilk can safely remain in a cooler with ice packs versus at room temperature, consult current guidelines from authoritative bodies such as the Philippine Department of Health (DOH), the Centers for Disease Control and Prevention (CDC), or your pediatrician. Under standard guidelines, breastmilk stored in a well-insulated cooler bag with frozen ice packs can remain safe for up to 24 hours, whereas milk left at room temperature in warm climates should be used or cooled within 4 hours.
Protect your cooler bag from environmental heat sources throughout your journey. Keep the cooler entirely out of direct sunlight, avoid leaving it in a hot car trunk, and never place it near vehicle air vents blowing warm air. Minimize the number of times you open the cooler bag during your trip to prevent cold air from escaping.
Upon arriving at your destination, perform an immediate verification check. Touch the storage bags to ensure they feel ice-cold, and inspect the gel packs to see if they are still partially frozen. If the ice packs have completely melted and the milk feels warm, consult a healthcare professional before feeding it to your baby.
Storing and Warming Milk at Your Destination
Once you arrive at your destination, transition the breastmilk to appropriate long-term storage or prepare it for immediate feeding. Handling this transition correctly preserves the integrity of the milk’s nutrients.
If you do not plan to feed your baby immediately, transfer the breastmilk storage bags directly from your travel cooler into a refrigerator or freezer. Always follow the strict safety rule: once breastmilk has completely thawed, it must be used within 24 hours and must never be refrozen, as refreezing compromises its immunological properties and encourages bacterial growth.
To prepare the milk for immediate feeding, use safe, gradual warming methods. Place the sealed storage bag into a bowl of warm (not hot) water, or use a manufacturer-approved bottle warmer set to a low, safe temperature. Never submerge the zipper seal of the bag in the water to avoid contamination.
Do not use a microwave or boiling water to heat breastmilk. Microwaving creates dangerous hot spots in the liquid that can burn your baby’s mouth, and it destroys vital antibodies and enzymes. Boiling water can degrade the plastic storage bag, potentially releasing chemicals or damaging the milk’s proteins.
During storage, breastmilk naturally separates into a watery lower layer and a thick, creamy fat layer on top. Before transferring the milk to a sterilized baby bottle, gently swirl the storage bag to redistribute the fat layer. Avoid shaking the bag vigorously, as intense agitation can break down protective bioactive proteins.
Critical Safety Rules and Mistakes to Avoid
Protecting your baby’s health requires strict adherence to safety protocols. Infants have developing immune systems, making them highly vulnerable to foodborne illnesses caused by improperly handled milk.
If your baby does not finish a bottle of breastmilk, discard any leftover milk within 1 to 2 hours after the feeding ends. Bacteria from your baby’s saliva enter the bottle during feeding and can multiply rapidly in the nutrient-rich milk; saving leftovers for a later feed is unsafe.
Before using any breastmilk storage bag, inspect it closely for physical defects. Look for micro-punctures, weak side seams, or signs of frostbite damage if the bag was previously frozen. If you detect any tears, leaks, or structural weaknesses, discard the bag immediately and do not attempt to salvage the milk.
Recognize when to stop and seek professional advice. If your cooler bag failed during transit, if the milk was exposed to high heat for an unknown duration, or if your baby has specific health vulnerabilities (such as being born prematurely or having a compromised immune system), do not risk their safety. Discard the questionable milk and consult a pediatrician or a certified lactation consultant.
Frequently Asked Questions (FAQ)
Can I mix freshly pumped warm milk with already cooled milk in the same bag?
Avoid mixing freshly expressed warm breastmilk directly with already cooled or frozen milk. Adding warm liquid to a cold batch raises the overall temperature of the older milk, creating an environment that encourages rapid bacterial growth. To combine batches safely, cool the freshly pumped milk in a separate container inside your cooler bag first. Once both portions have reached the same cold temperature, you can safely pour them into a single breastmilk storage bag, ensuring the combined volume does not exceed the bag’s safe fill line.
How can I tell if the breastmilk has spoiled during the trip?
Perform a thorough sensory check before feeding your baby. Start by smelling the milk; spoiled breastmilk has a distinct sour, rancid, or highly metallic odor that differs sharply from its normal sweet or slightly soapy scent. Next, observe the texture: while separation is normal, the layers should easily blend back together when gently swirled. If you see persistent clumps, curdles, or a chunky texture that does not mix, the milk has spoiled. If the milk was kept outside recommended temperature limits for an unknown period, prioritize safety and discard it, even if it lacks an obvious sour smell.
Community discussion
Share your experience or ask a question. Comments are reviewed before publication.