
To safely fill, seal, and freeze breast milk in a breast milk storage bag without contamination, you must follow a strict hygienic routine, leave adequate space for expansion, remove excess air, and store the bag flat in the coldest part of your freezer. Because breast milk is packed with living antibodies and essential nutrients, improper handling can introduce bacteria or degrade its quality.
In the tropical and highly humid climate of the Philippines, maintaining a clean environment is particularly critical. Warm ambient room temperatures accelerate bacterial growth, making swift, sanitary handling of your liquid gold essential. By mastering the correct techniques for filling, sealing, and freezing, you can confidently build a safe, nutritious milk stash for your baby.
Hygiene and Preparation Before Pumping
Preventing contamination begins long before milk ever touches the storage bag. Your hands, pumping equipment, and workspace must all be thoroughly prepared to ensure no unwanted pathogens are introduced into the milk.
Products mentioned in this guide
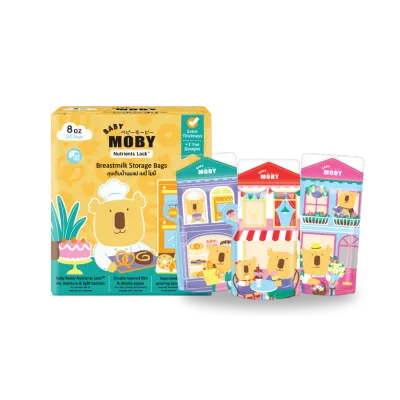
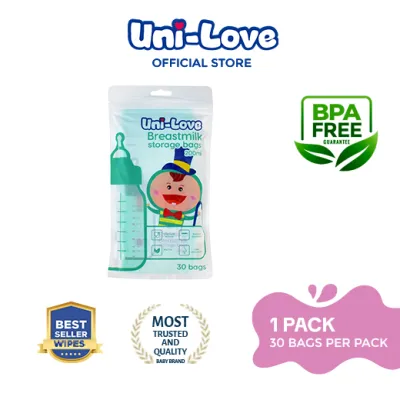
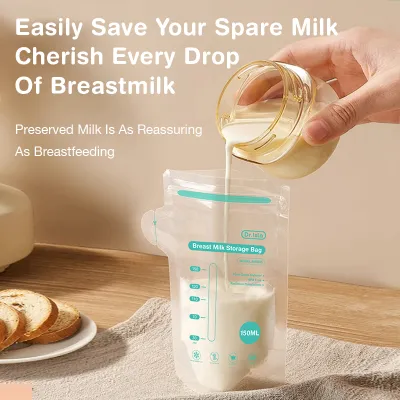
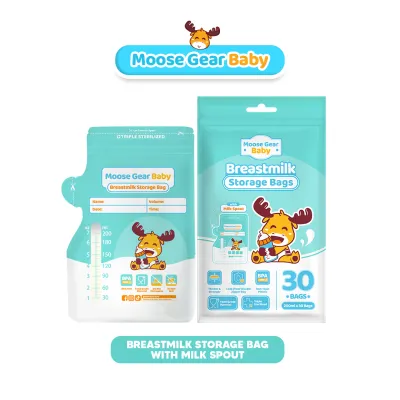
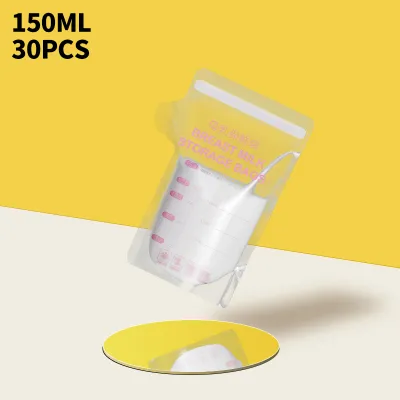
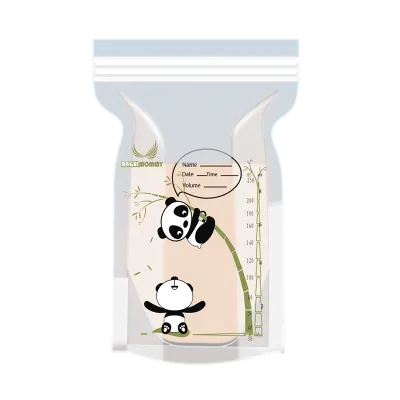
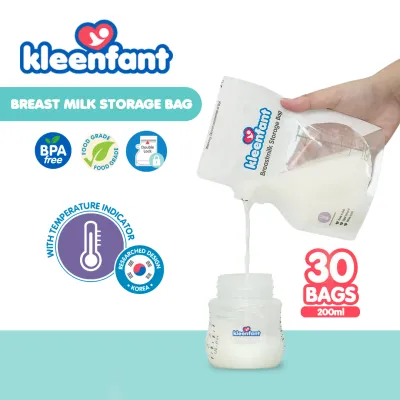
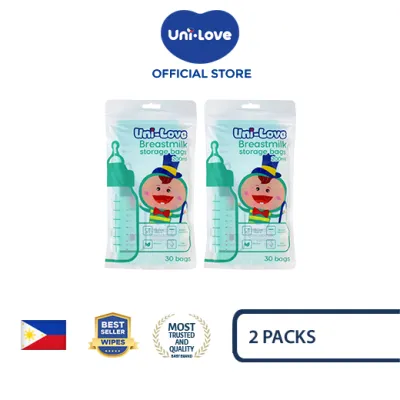
Prices are valid at publication and may change. Please refer to the product page for the latest price.
Start by washing your hands thoroughly with soap and water for at least 20 seconds. Pay close attention to the backs of your hands, between your fingers, and under your fingernails. Dry your hands with a clean, single-use paper towel or a dedicated clean cloth rather than a multi-use family towel, which can harbor bacteria.
Next, ensure all breast pump parts that come into contact with your breast or milk have been properly cleaned and sanitized. After every use, disassemble these parts, wash them in warm, soapy water, and rinse them thoroughly. For sanitization, follow the manufacturer’s instructions, which may involve boiling the parts in water for five minutes, using a steam sterilizer, or utilizing a dedicated sanitizing solution. Allow all parts to air-dry completely on a clean, unused paper towel or a sanitized drying rack.
Prepare a clean, dry workspace where you will handle your pump parts and storage bags. Wipe down your chosen surface with a food-safe sanitizing spray or wipe, and let it dry completely before setting down your equipment.
Before opening a new breast milk storage bag, inspect the packaging to ensure it is sealed and undamaged. Always check the specific manufacturer instructions for both your breast pump and your storage bags. Different brands may have unique guidelines regarding sterilization, material compatibility, and handling that you must verify to maintain product integrity and safety.
How to Fill and Seal Breast Milk Storage Bags Step-by-Step
Once your milk is pumped and your workspace is ready, the next critical phase is transferring the milk into the storage bag and sealing it securely. This process requires steady hands and careful attention to detail to prevent spills and preserve milk quality.

Transferring Milk Without Contamination
Moving breast milk from a collection bottle into a storage bag is a common point where spills or contamination can occur. To minimize these risks, check if your storage bags are compatible with a dedicated pump-to-bag adapter. Many modern breast pumps allow you to screw or clip the storage bag directly onto the pump flange, allowing milk to flow straight into the bag during pumping. This direct transfer eliminates the pouring step entirely, reducing the risk of accidental spills and limiting the milk’s exposure to open-air contaminants.
If you are pouring the milk manually from a collection bottle, place the storage bag on your clean, flat workspace. Carefully unzip the bag, holding it open wide by gripping the outer tabs of the zipper track. Do not blow into the bag to open it, and never touch the inside of the bag or the inner zipper track with your fingers or the rim of the bottle, as this can introduce bacteria. Hold the bag firmly near the top, tilt your collection bottle, and pour the milk slowly and steadily to prevent splashing.
Managing Headspace and Removing Air
A common mistake when using a breast milk storage bag is filling it to the absolute brim. Breast milk, which is primarily water, expands physically as it transitions from a liquid to a solid frozen state. If there is no room for this expansion, the pressure will force the seams of the bag to split, leading to messy leaks and wasted milk when you thaw it later.
To prevent this, always leave adequate headspace at the top of the bag. Most manufacturers print a maximum fill line on the bag; never exceed this mark. As a general rule, leave about an inch of empty space between the milk level and the zipper seal.
Before sealing the bag, you must remove the excess air trapped inside. Oxygen inside the bag can contribute to freezer burn and speed up the degradation of the milk’s beneficial lipids. To remove the air, hold the bag upright just above the milk line. Gently squeeze the bag from the bottom upward, guiding the air out through the open top until the liquid level rises close to the zipper track. Be careful not to squeeze too hard, or the milk may overflow.
Securing and Testing the Seal
Once the air is removed, you must secure the seal immediately to prevent leaks. Press the ziplock track firmly at one end and slide your fingers across to the other end, ensuring the tracks lock together completely. Many high-quality bags feature a double-zipper design, which requires you to repeat this sliding motion across both tracks to ensure an airtight seal. Ensure no milk is trapped within the zipper tracks themselves, as trapped liquid can freeze, expand, and force the seal open in the freezer.
After sealing, it is crucial to test the integrity of the bag. Gently press the body of the bag to check for any air escaping or liquid seeping through the zipper. You can also turn the bag upside down over a clean sink for a few seconds to verify there are no leaks.
If the seal fails, or if you notice a manufacturing defect or puncture in the bag, do not attempt to tape or patch it. Immediately transfer the milk into a new, sterile breast milk storage bag to prevent contamination and future leakage.
Labeling and Freezing Your Milk for Maximum Freshness
Proper storage management ensures that your baby receives the freshest milk possible while minimizing waste. This involves clear labeling, smart freezing techniques, and strategic placement within your appliance.
Always write the essential details on the storage bag before you fill it with milk. Writing on a filled bag can be difficult and risks puncturing the plastic with your pen. Use a permanent, waterproof, and food-safe marker to record the following information on the bag’s designated label area:
- The exact date and time the milk was pumped.
- The volume of milk contained in the bag.
- Your baby's name, which is vital if your child attends a daycare center or is cared for by a relative.
To maximize freezer space and ensure rapid, even freezing, use the “lay flat” method. Place the filled and sealed bags completely flat on a clean baking sheet, plastic tray, or inside a flat-bottomed container in your freezer. Freezing the bags flat makes them thin and uniform, which allows them to freeze much faster. Once the bags are frozen solid, you can easily stack them horizontally or stand them upright like files in a storage bin, saving significant freezer space.
Where you place the milk in your freezer directly impacts its shelf life. Always store your breast milk bags toward the back of the freezer, where the temperature remains the most consistent. Avoid placing bags in or near the freezer door or at the very front of the shelves. Every time you open the freezer door, warm air rushes in, causing temperature fluctuations that can partially thaw the outer edges of the milk and compromise its safety.
In the tropical climate of the Philippines, where high ambient temperatures and humidity are the norm, prompt cooling is essential. Do not leave freshly pumped milk sitting on a countertop in a warm room; transfer it to the refrigerator or freezer immediately. If you are traveling or commuting from work, place your storage bags in an insulated cooler bag packed tightly with frozen gel packs to maintain a cold chain until you reach a freezer.
Additionally, you must verify the safe storage time limits for your specific setup. Consult your storage bag manufacturer’s instructions and local health authority guidelines (such as the Department of Health). Storage limits can vary significantly depending on whether you are using a shared refrigerator freezer compartment, a dedicated two-door refrigerator freezer, or a standalone deep freezer.
Safe Thawing and Warming Techniques for Frozen Milk
Thawing and warming your stored breast milk correctly is just as important as freezing it. Proper techniques preserve the delicate nutrients and protective antibodies that make breast milk so beneficial.
The safest and most recommended method for thawing frozen breast milk is to transfer the storage bag from the freezer to the refrigerator the night before you plan to use it. This slow, gradual thawing process helps preserve the milk’s nutritional profile and prevents sudden temperature changes that encourage bacterial growth. If you need the milk sooner, you can place the sealed storage bag into a bowl of lukewarm water, or hold it under warm running water.
Never use a microwave or place the storage bag in boiling water to thaw or warm breast milk. Microwaves do not heat liquids evenly; they create dangerous “hot spots” in the milk that can easily burn your baby’s sensitive mouth. Furthermore, high heat from microwaves or boiling water destroys the heat-sensitive antibodies, enzymes, and proteins in the milk, significantly reducing its nutritional value.
To manage your milk supply efficiently, always practice the “first in, first out” (FIFO) rule. Arrange your stored bags so that the oldest milk (the bag with the earliest date) is positioned at the front to be used first. This prevents older milk from expiring or losing its quality while sitting forgotten at the back of the freezer.
When breast milk is stored, it naturally separates into a creamy lower layer and a watery upper layer of fat. Before feeding, gently swirl the bag in a circular motion to remix these layers. Avoid shaking the bag vigorously, as rough shaking can break down the delicate structure of the milk’s bioactive proteins and protective enzymes.
Once your baby begins feeding from a bottle, bacteria from their saliva enter the milk. Because of this bacterial introduction, any milk left in the bottle after a feeding must be discarded within a strict timeframe—typically within two hours of the baby finishing their feed. Check your local health guidelines to verify these safety limits, and never save leftover milk in the refrigerator for a future feeding.
Critical Mistakes and Safety Warnings to Avoid
To keep your baby safe and ensure your pumping efforts are not wasted, be aware of these critical safety boundaries and common mistakes.
First, never overfill your storage bags. Exceeding the maximum fill line increases the risk of the bag bursting during freezing or leaking during the thawing process. If you pump a large volume of milk, distribute it across multiple bags in smaller portions, such as 2 to 4 ounces, which also helps reduce waste if your baby does not drink a large amount in one sitting.
Second, single-use breast milk storage bags are strictly designed for one-time use. Never wash, sterilize, and reuse these bags. The plastic material is not designed to withstand the high heat of sterilization, and washing can cause microscopic tears, weaken the seams, and compromise the zipper track. Reusing these bags can lead to chemical leaching, severe bacterial contamination, and catastrophic leaks.
Third, never refreeze breast milk that has already been thawed. Once frozen milk is completely thawed to room temperature or warmed, any dormant bacteria present can begin to multiply. Refreezing this milk traps these bacteria and compromises the milk’s safety. Thawed milk must be used within the timeframe recommended by health guidelines or discarded.
Fourth, avoid adding freshly pumped, warm breast milk directly to a bag of already frozen milk. The heat from the fresh milk can raise the temperature of the frozen milk, causing the outer layers to thaw slightly. This temporary temperature rise creates an ideal environment for bacterial growth. If you wish to combine milk from different pumping sessions, cool the freshly pumped milk in the refrigerator first until it reaches the same cold temperature as the stored milk, then combine them.
Finally, always perform a sensory check before feeding thawed milk to your baby. While a soapy or metallic smell is common and safe—often caused by high levels of the lipase enzyme breaking down fats—a distinctly sour, rancid, or off-putting odor indicates spoilage. If the milk has a sour smell, an unusual color, or a chunky texture that refuses to mix back together when gently swirled, err on the side of caution and discard it.
Frequently Asked Questions (FAQ)
Can I reuse single-use breast milk storage bags?
No, standard breast milk storage bags are designed strictly for single use. They cannot be safely washed or sterilized at home without damaging the plastic, weakening the seams, or compromising the zipper track. Attempting to reuse them increases the risk of chemical leaching, structural failure, and bacterial contamination. If you prefer a reusable option, look for specially designed, food-grade silicone breast milk storage bags or heavy-duty containers that are explicitly labeled by the manufacturer as reusable and safe for freezing.
How can I tell if thawed breast milk is unsafe?
It is normal for stored breast milk to separate into a creamy layer and a watery layer, which should easily recombine when gently swirled. However, if the milk smells distinctly sour or rancid, has a chunky or curdled texture that does not smooth out, or exhibits an unusual color change, it may be spoiled and should be discarded. Always adhere to the storage and thawing time limits provided by your local health authorities, even if the milk looks and smells normal, to guarantee your baby’s safety.
Is it safe to add warm milk to a bag of already frozen milk?
No, you should never pour warm, freshly pumped breast milk directly onto frozen milk. The warmth can partially thaw the frozen milk, creating a temperature zone that encourages rapid bacterial growth. To combine milk from different sessions safely, chill the fresh milk in the refrigerator first until it is completely cold. Once both portions are at the same temperature, you can add the chilled milk to the frozen bag, provided you do not exceed the bag’s maximum fill line or the safe storage window of the original frozen portion.
Community discussion
Share your experience or ask a question. Comments are reviewed before publication.