
Replacing the fabric seat on your child’s baby activity gear is a practical way to extend the life of the product, maintain hygiene, and ensure your child remains comfortable. Over time, spills, crumbs, and daily wear can degrade the fabric and compromise the structural support of the seat. Performing a walker seat pad replacement is an essential maintenance task that restores the safety and cleanliness of the device. By following a systematic approach, you can easily swap out the old, worn fabric for a fresh, secure seat.
The process involves safely detaching the existing pad, cleaning the underlying frame, and installing the new seat according to the manufacturer’s specifications. Because baby walkers support your child’s weight and movement, every attachment point must be perfectly secured to prevent falls or structural failures. Taking the time to understand the locking mechanisms and structural requirements of your specific model ensures a successful and safe installation.
What You Need Before Starting
Before beginning the replacement process, gather the necessary tools and prepare a safe workspace. You will typically need a Phillips-head screwdriver if your walker model uses screws to secure the seat tabs, a mild baby-safe soap, a clean microfiber cloth, and your new replacement seat pad. Having these items ready beforehand prevents interruptions and allows you to focus entirely on the steps at hand.
Products mentioned in this guide
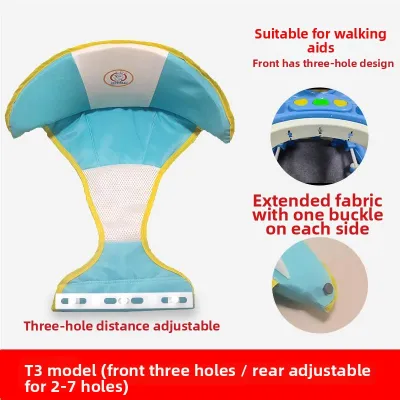
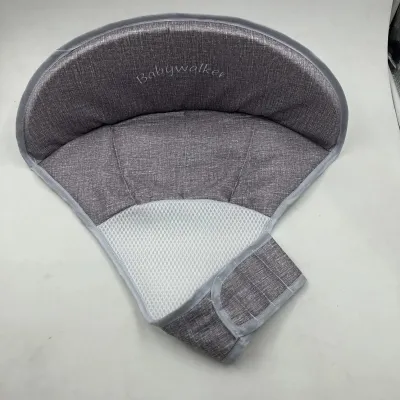
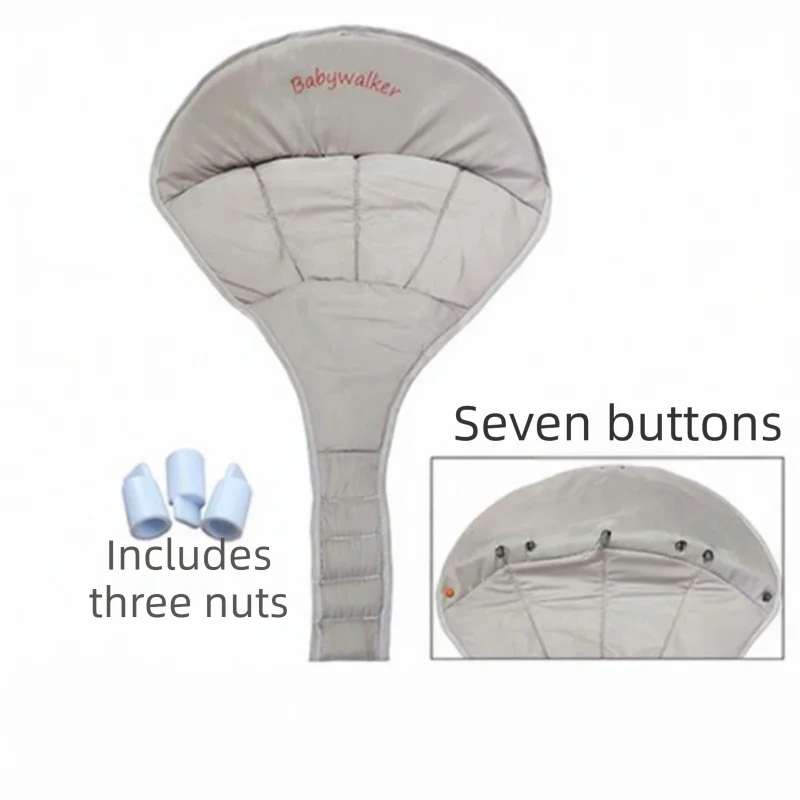
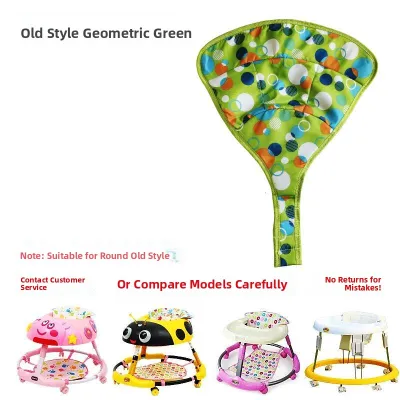
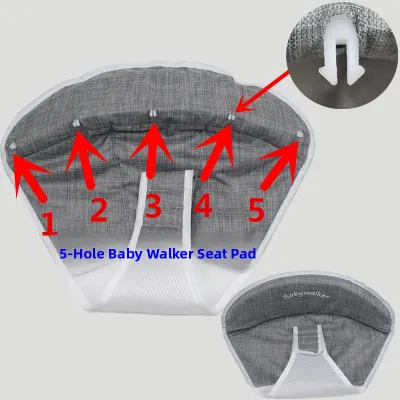
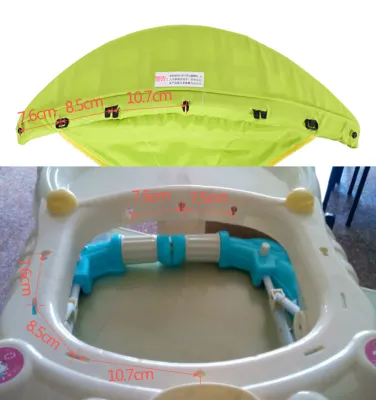
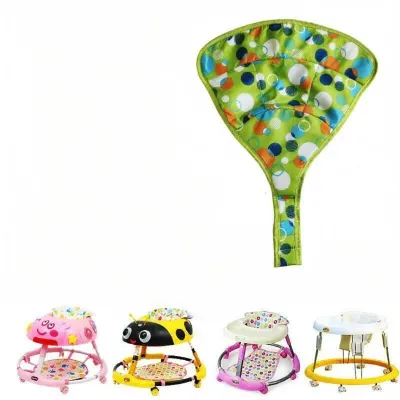
Prices are valid at publication and may change. Please refer to the product page for the latest price.
The most critical preparatory step is locating and reviewing your specific baby walker’s manufacturer manual. Every model has unique design features, weight limits, and age recommendations that dictate how the seat must be attached. If you no longer have the physical manual, check the manufacturer’s official website to download a digital copy, verifying that the replacement pad matches your exact model number.
Establish a safe, distraction-free environment for the task. Place the walker on a flat, stable surface, such as a clean tiled or concrete floor, which is common in many homes in the Philippines. Lock the wheels or block them with heavy objects to prevent the frame from rolling or shifting while you work.
Always ensure the baby walker is completely empty before you begin any maintenance. Never attempt to remove or adjust the seat pad while a child is in or near the device. Keep all replacement parts, tools, and packaging materials out of reach of children to eliminate any safety hazards during the process.
How to Remove the Old Walker Seat Pad
To remove the old seat pad without damaging the plastic frame, you must first identify how the fabric is secured. Baby walkers generally use one of several attachment methods, including heavy-duty Velcro straps, plastic snap-in tabs, fabric loops wrapped around plastic pegs, or metal screws. Look closely underneath the plastic rim of the walker to locate these connection points.

Before detaching any part of the seat, take a quick digital photograph of the underside of the walker. This photo serves as an invaluable visual reference for the exact routing of the straps and the placement of the tabs. Having a clear image of the original setup makes installing the new pad significantly easier and reduces the risk of incorrect assembly.
Begin the removal by unfastening any safety harnesses, waist belts, or crotch straps that are integrated into the seat design. Once these primary safety restraints are free, work your way around the perimeter of the seat frame to release the secondary attachments. If your model uses plastic tabs, gently press the tabs inward and push them upward through the slots in the frame.
If your walker uses screws or plastic clips to secure the fabric tabs, use the correct size screwdriver to remove them. Place all small hardware, including screws, washers, and clips, directly into a small container or magnetic tray immediately. Keeping these small parts secure prevents them from rolling away and eliminates a serious choking hazard for infants in the home.
Once the seat pad is fully detached, inspect the old fabric carefully before deciding whether to wash or discard it. Check for severe wear, such as frayed safety straps, broken plastic buckles, or thinning fabric around the support seams. If the material is structurally compromised, discard it immediately; if it is merely dirty but intact, you may wash it according to the care label to keep as an emergency backup.
Cleaning and Inspecting the Walker Frame
Removing the seat pad provides a rare opportunity to access the hidden crevices of the walker frame, where dust, spilled milk, and snack crumbs inevitably accumulate. In the warm, humid climate of the Philippines, trapped moisture and organic matter can quickly become a breeding ground for mold, mildew, and bacteria. Wipe down all exposed plastic and metal components using a damp microfiber cloth and a mild, baby-safe dish soap or detergent.
Avoid using harsh chemical cleaners, bleach, or abrasive scrubbing pads on the walker frame. These substances can degrade the plastic, making it brittle over time, and may leave toxic residues that your baby could later touch or ingest. A gentle, soapy solution is highly effective for sanitizing the surface while preserving the integrity of the materials.
While cleaning, conduct a thorough structural inspection of the entire walker frame. Examine the plastic rim, the seat attachment slots, and the metal legs for any hairline cracks, sharp edges, loose joints, or signs of rust. Pay close attention to the areas surrounding the seat mounting holes, as these zones bear the direct weight of your child during use.
Turn the walker over to inspect the wheel axles and the height-adjustment mechanisms. Debris, hair, and dust often wrap around wheel axles, causing stiffness or uneven rolling. Clean out any obstructions and verify that the height-adjuster locks securely into each position; if the manufacturer’s manual recommends lubrication for these moving parts, apply a small amount of a baby-safe, non-toxic lubricant.
Allow the entire walker frame to dry completely in a well-ventilated area before proceeding with the installation. Placing a new fabric pad onto a damp frame can trap moisture, leading to mold growth within the fabric fibers. Ensuring the frame is bone-dry protects your baby’s health and preserves the quality of the new replacement pad.
Installing the Walker Seat Pad Replacement
To begin installing the walker seat pad replacement, align the new fabric seat with the center of the walker frame. Ensure the front of the seat, which typically features a padded crotch support, faces the front tray of the walker, and that the fabric is not twisted or bunched. Proper alignment at the start prevents uneven tension on the seams once the baby is placed inside.
Begin securing the pad by threading the primary plastic tabs or fabric straps through their designated slots in the frame. Work systematically, starting from the front crotch support and moving symmetrically toward the backrest. If your model uses snap-in plastic tabs, press them down firmly until you hear a distinct clicking sound, confirming they are locked into place.
For models that secure the seat with screws, align the fabric tabs with the pre-drilled holes in the plastic frame. Insert the screws by hand first to avoid cross-threading, then tighten them gently with your screwdriver. Avoid over-tightening the hardware, as excessive force can easily strip the plastic threads of the frame or tear through the fabric loops of the replacement pad.
Pay close attention to the routing of the safety harness, waist belts, and crotch straps. These straps must feed directly through the designated slots in the seat pad without any twists or folds. Twisted straps can cause uneven pressure, reduce the effectiveness of the harness, and chafe your baby’s delicate skin during active movement.
Finally, tuck in and secure any secondary support flaps, side cushions, or decorative fabric borders according to the manufacturer’s original design. Double-check the underside of the walker to ensure every single tab, peg, or strap is fully engaged and locked. Skipping even a single attachment point can cause the seat to sag unevenly, putting unnecessary stress on the remaining connectors.
Verifying Fit and Safety Before Use
Before allowing your baby to use the walker with its new seat pad, you must perform a rigorous safety verification. Conduct a physical “tug test” by placing your hands inside the seat pocket and pressing downward with moderate force, simulating the weight of a child. Pull firmly on each section of the rim and all safety straps to ensure no tabs slip out of their slots.
Examine the leg openings of the newly installed seat pad very closely. Ensure the fabric edges are smooth and that no plastic tabs, rough seams, or hardware components are exposed near the leg holes. In the tropical heat of the Philippines, babies often wear light clothing or just a diaper while indoors, making their bare thighs highly susceptible to painful chafing from misaligned parts.
Test the walker’s height-adjustment mechanism through all its available levels with the new seat installed. Verify that the fabric does not catch, pinch, or block the folding joints of the metal legs when the walker is lowered or raised. The seat must hang freely and adjust smoothly without putting tension on the frame’s moving parts.
Once the physical checks are complete, place your baby in the walker under close supervision for the first few uses. Carefully monitor how your baby sits in the new pad, checking for any signs of discomfort, red marks on the skin, or unusual shifting of the fabric. Always maintain active adult supervision whenever your baby is in the walker, and stop using the device immediately if you notice any loose attachments or structural instability.
Frequently Asked Questions (FAQ)
Can I use a universal seat pad for any baby walker?
Using a universal or aftermarket seat pad is generally not recommended because baby walkers do not have standardized dimensions or attachment designs. A universal pad may not align correctly with your specific model’s slots, pegs, or screw holes, which can lead to insecure fastening or improper weight distribution. To maintain the walker’s structural safety compliance and prevent accidental falls, always verify compatibility and prioritize official, model-specific replacement parts from the original manufacturer.
How do I know when it is time to replace the seat pad?
You should replace your baby walker’s seat pad immediately if you observe any signs of structural wear, such as frayed safety straps, torn seams, broken plastic buckles, or cracked attachment tabs. Additionally, if the fabric has sagged significantly and no longer supports your baby in an upright, ergonomic posture, it poses a developmental and safety risk. Deep stains or mold growth that cannot be thoroughly sanitized through washing also indicate that a replacement is necessary to protect your child’s health.
Community discussion
Share your experience or ask a question. Comments are reviewed before publication.