
Transitioning your toddler from a standard baby bottle to a straw cup is an exciting developmental milestone that supports oral motor skills and independent drinking. In the warm, tropical climate of the Philippines, keeping these drinking accessories clean and functional requires diligent care. Over time, the flexible silicone components of these cups naturally degrade due to regular chewing, washing, and exposure to milk fats. Knowing how to properly execute an avent straw replacement, clean the individual parts, and safely sterilize them ensures your child’s daily hydration remains hygienic and free from harmful bacteria.
Maintaining these cups involves more than a quick rinse under the tap. Because silicone is a porous material, it can absorb odors, harbor microscopic bacterial colonies, and develop mold if not cared for correctly. By establishing a structured routine for replacement, disassembly, thorough cleaning, and sterilization, you can extend the lifespan of your toddler’s favorite cup while protecting their developing immune system.
When to Replace Your Avent Straw: Signs of Wear and Tear
Silicone is highly durable and flexible, but it is not indestructible. Your child’s Avent straw cup undergoes significant wear and tear from daily biting, pulling, and exposure to various liquids. Caregivers should perform a visual and tactile inspection of the straw before every feeding session. Look closely for physical changes in the silicone, such as cloudiness, deep yellow discoloration, or a sticky texture that does not disappear after washing. These are clear indicators that the material has begun to break down and can no longer be thoroughly sanitized.
Products mentioned in this guide
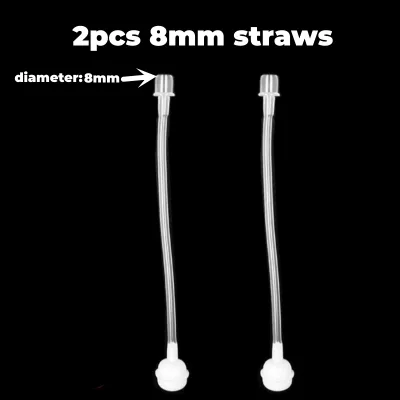
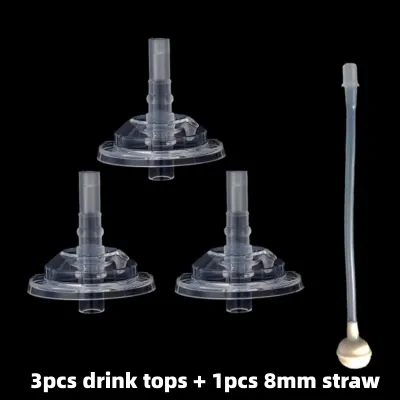
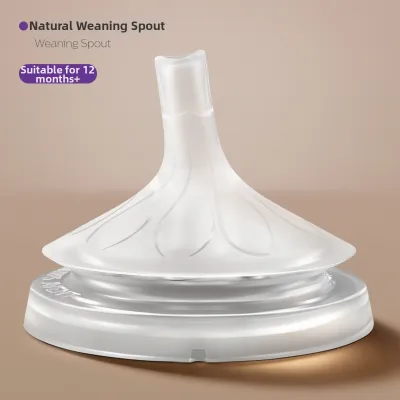
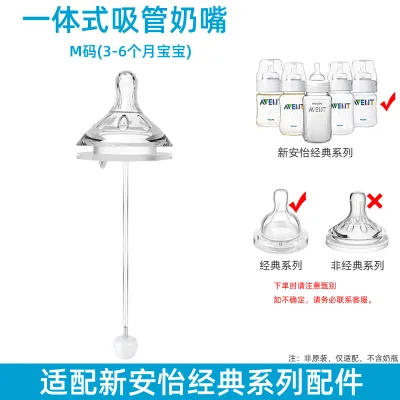
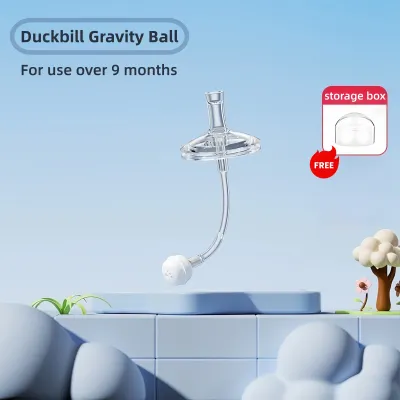
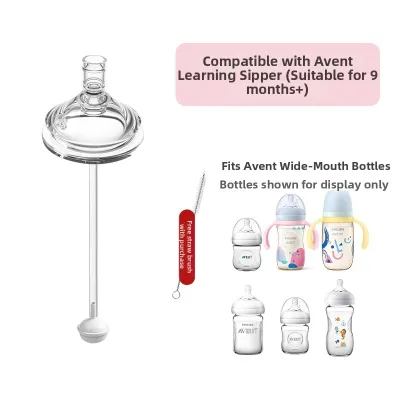
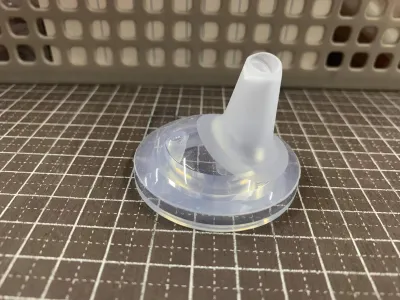
Prices are valid at publication and may change. Please refer to the product page for the latest price.
Physical damage poses a direct safety risk to your child. Examine the tip of the straw for visible bite marks, tears, or missing fragments. Toddlers who are teething often chew on the soft silicone, which can weaken the material and cause small pieces to tear off. These loose fragments present a serious choking hazard. If you notice any micro-cracks, splits along the length of the straw, or tears near the integrated valve, you must discard the straw immediately and install a new replacement. Caregiver supervision is essential during use to ensure the child does not chew off pieces of the straw.
Functional issues also signal that it is time for a change. If you observe that liquid is leaking from the lid area when the cup is tipped, or if your child is struggling to draw liquid through the straw, the internal valve may be damaged or warped. While general manufacturer guidelines often suggest replacing silicone straws every one to three months for hygiene reasons, any sign of structural compromise or persistent mold requires an immediate swap, regardless of how recently the straw was installed. Genuine replacement packs are widely available on online marketplaces or local baby stores, typically ranging from ₱300 to ₱600 depending on the pack size.
Step-by-Step Guide to Removing and Installing New Straws
Replacing the silicone straw in your child’s cup is a straightforward process, but it must be done carefully to avoid damaging the plastic lid or tearing the new silicone component. Before you begin, wash your hands thoroughly with soap and warm water, and ensure your workspace is clean and sanitized. Having a clean environment prevents the introduction of new contaminants to the sterile replacement parts.

To disassemble the cup, start by unscrewing the main lid from the bottle. If your Avent model features a flip-top or twist lid, open it fully to expose the straw. From the underside of the lid, gently grasp the base of the silicone straw where it connects to the plastic housing. Firmly but carefully pull the straw downward and out of the lid. Avoid using sharp tools like knives or tweezers to pry the straw out, as these can easily scratch the plastic lid or slice through the delicate valve assembly. If the model includes a separate lower straw and upper mouthpiece, separate them according to the specific instructions in your user manual.
To install the new avent straw replacement, align the flexible silicone mouthpiece with the opening on the underside of the lid. Push the tip of the straw upward through the hole until it protrudes from the top of the lid. From the top side, gently pull the straw upward until you feel or hear it click into its designated position. This secure fit is crucial; the built-in valve must sit perfectly flush against the plastic rim to create an airtight seal. If the valve is twisted, misaligned, or only partially pulled through, the cup will leak, and your child will find it difficult to drink.
Once the new straw is installed, perform a quick verification check before presenting the cup to your child. Fill the bottle with a small amount of clean water, screw the lid on tightly, and tip the cup upside down over a sink. Check for any dripping around the base of the straw or the lid threads. Next, take a small sip through the straw yourself to verify that water flows smoothly and that the leak-proof valve opens and closes as intended. This simple test ensures the cup is fully functional and safe for daily use.
How to Clean and Sterilize Avent Straws in a Humid Climate
The tropical climate of the Philippines presents unique challenges for maintaining baby feeding gear. High relative humidity levels create an ideal environment for mold spores and bacteria to multiply rapidly on damp surfaces. Consequently, a simple rinse is never enough to keep silicone straws safe. You must pre-clean the straw immediately after every use. Milk, formula, and sugary juices leave behind fats and proteins that cling to the inner walls of the straw. If left to sit, these residues quickly spoil and form a stubborn biofilm. Rinse the straw under warm running water, and use a dedicated, narrow straw brush to scrub the entire interior length of the tube, paying close attention to the valve area.
After thorough pre-cleaning, the next step is sterilization to eliminate any remaining pathogens. There are several reliable methods you can use, depending on your household setup. Boiling is a traditional, accessible option: submerge the disassembled silicone and plastic parts in boiling water for five minutes, ensuring they do not touch the bottom or sides of the pot to prevent melting. Alternatively, electric steam sterilizers offer a highly efficient, hands-free option that uses high-temperature steam to sanitize components. UV sterilizers are also increasingly popular in modern households, offering dry sterilization using ultraviolet light.
Before choosing a sterilization method, you must establish a safety and compatibility boundary by consulting your specific Avent product manual and packaging. Different plastics and silicone formulations have distinct maximum temperature limits. Exposing incompatible components to excessive heat, or leaving them in boiling water for too long, can cause the plastic lid to warp or the silicone straw to lose its elasticity. Always verify that your sterilization equipment is compatible with the exact model of cup you own.
The final, and perhaps most critical, step in a humid climate is proper drying and storage. Once sterilization is complete, place all disassembled parts on a clean, elevated drying rack in a well-ventilated area. Avoid placing wet components in closed cupboards or tightly packed dish organizers, as trapped moisture will inevitably lead to mold growth. Allow the parts to dry completely before reassembling the cup. In highly humid weather, this process may take longer, so having multiple replacement straws on hand allows you to rotate them, ensuring you always have a completely dry, sterile straw ready for use.
Daily Maintenance and Safety Checks for Peace of Mind
Establishing a daily maintenance routine provides peace of mind and keeps your toddler’s feeding equipment in top condition. Every morning, or before preparing a fresh drink, conduct a quick safety check. Gently squeeze the silicone mouthpiece to ensure the slit valve is not stuck shut from residual moisture or heat. Run your finger along the length of the straw to verify that the material feels smooth and firm, rather than sticky or unusually soft.
Proper storage between uses is essential for maintaining hygiene, especially in tropical regions where dust, household pests, and airborne mold spores are common. Store all completely dry, disassembled parts in a clean, covered container. Keep this container in a cool, dry pantry or cupboard away from direct sunlight, which can prematurely degrade silicone and cause plastics to become brittle.
Always prioritize safety by knowing when to stop using a straw. Discard the straw immediately if you notice any black spots that indicate mold growth, as mold cannot be safely scrubbed out of porous silicone. Furthermore, if your child shows signs of frustration, struggles with inconsistent liquid flow, or if the valve fails to seal properly after reassembly, replace the straw immediately. If you have persistent concerns about your child’s feeding behavior or health, stop using the product and consult a qualified pediatrician or professional.
Frequently Asked Questions (FAQ)
Can I use a regular bottle brush to clean the Avent straw?
Standard bottle brushes are designed with wide, thick bristles meant for cleaning the broad interior of bottles and cups. They are far too large to fit inside the narrow channel of an Avent silicone straw. Attempting to force a large brush into the straw can stretch the silicone, warp the delicate anti-colic or leak-proof valve, or cause micro-tears in the material. To clean the straw safely and effectively, always use a specialized, narrow straw brush with soft nylon bristles. These thin brushes slide easily through the tube, allowing you to physically scrub away milk residue without compromising the structural integrity of the silicone.
Is it safe to put Avent straws in the dishwasher?
To determine if your specific Avent straw cup is dishwasher-safe, you must check the original packaging or the manufacturer’s product manual, as dishwasher compatibility can vary by model and material. While many modern Avent plastic lids and silicone straws are labeled as safe for use on the top rack of a dishwasher, hand-washing remains the preferred method for extending the life of the straw. The high heat cycles and harsh detergents used in dishwashers can accelerate the degradation of soft silicone over time. Additionally, small components like straw valves can easily slip through the gaps in dishwasher baskets, falling onto the heating element and melting. Hand-washing with warm, soapy water and a dedicated straw brush provides a gentler, more thorough clean.
Community discussion
Share your experience or ask a question. Comments are reviewed before publication.