
Wearing a baby bag carrier properly is essential for keeping your little one secure while keeping your hands free for daily tasks. To achieve a safe, ergonomic fit, you must adjust the carrier based on your baby’s specific weight, height, and developmental stage. This guide walks you through the essential steps to secure, position, and fine-tune your carrier for maximum comfort and safety.
By understanding how to distribute weight evenly and support your baby’s natural posture, you can enjoy the benefits of babywearing without experiencing physical strain. Whether you are navigating busy streets or managing household chores, a well-adjusted carrier provides a secure environment for your child and a comfortable experience for you.
Before You Start: Checking Fit and Safety Boundaries
Before placing your baby into any baby bag carrier, you must verify that the gear matches your child’s current physical development. Every manufacturer specifies strict weight, height, and age limits on their product labels or instruction manuals. Never assume a carrier is safe simply because your baby falls within a general age range; physical size and developmental milestones, such as head and neck control, are much more reliable indicators of readiness.
Products mentioned in this guide
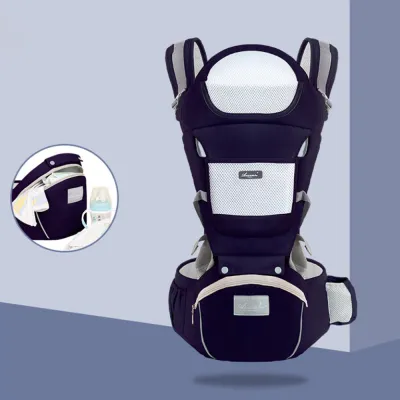
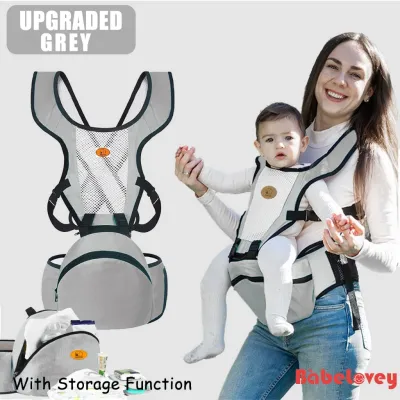
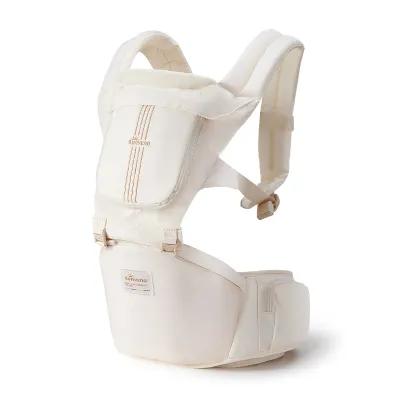


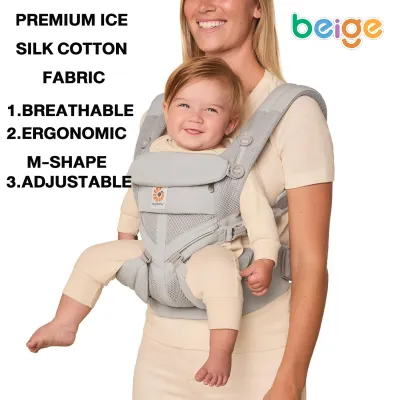
Prices are valid at publication and may change. Please refer to the product page for the latest price.
Conduct a thorough pre-use inspection of the carrier’s physical integrity. Examine all plastic buckles for cracks, chips, or stiffness, and pull on the webbing straps to ensure they hold tension without slipping. Inspect the stitching along high-stress areas, such as where the shoulder straps meet the main body panel, and check any integrated storage bag compartments or zippers to ensure they are fully functional and secure. If you notice any frayed fabric, torn seams, or damaged fasteners, discontinue use immediately.
Assess your baby’s physical readiness for specific carrying positions. For example, inward-facing positions require different levels of neck support compared to outward-facing or back-carrying setups. Refer to your product’s manual to determine if your baby has achieved the necessary trunk and head control before attempting advanced positions, and always prioritize structural support over convenience.
Step-by-Step Guide to Putting on the Carrier
Establishing a stable foundation begins with securing the waistbelt or hip seat. Position the belt flat against your torso, typically high on your waist rather than low on your hips, to distribute the baby’s weight evenly across your pelvis. Fasten the main buckle securely, listen for an audible click, and pull the adjustment strap until the belt fits snugly without pinching your skin or restricting your breathing.

In tropical climates like the Philippines, high humidity can make tight straps feel uncomfortable, so choosing a breathable fabric and positioning the belt over lightweight clothing can help prevent chafing. Ensure the waistbelt remains level all the way around your body; a tilting belt indicates uneven tension or improper positioning, which can lead to lower back strain during extended use. Once the waistbelt is secure, tuck any dangling strap webbing into the integrated elastic loops to keep them out of the way.
Next, slip the shoulder straps over your shoulders one at a time while keeping a supportive hand on the carrier body if necessary. Adjust the strap length so the weight is distributed evenly across your upper back and shoulders, avoiding the sensitive area near your neck where tight straps can cause muscle tension. The straps should feel firm and flat against your body, preventing the carrier from sagging forward or shifting as you move.
Locate the chest or back clip, which connects the two shoulder straps across your shoulder blades (when front-carrying) or chest (when back-carrying). Slide the clip along its tracks so it rests at a comfortable mid-back height, roughly in line with your armpits. Fasten the clip and tighten it just enough to keep the shoulder straps from sliding off your shoulders, ensuring it does not press uncomfortably against your spine or throat.
Positioning and Securing Your Baby Safely
When you are ready to place your baby in the carrier, hold them securely against your chest with one arm while using your free hand to guide their legs into the opening. Support your baby’s head and neck continuously during this transfer, especially if they have not yet developed full head control. Ensure their face remains completely visible, clear of any fabric, hood attachments, or storage flaps that could block their airway.
Arrange your baby’s legs into an ergonomic, hip-healthy position, often referred to as the “M-position” or spread-squat position. In this alignment, the baby’s hips are bent so that their knees sit slightly higher than their bottom, and their thighs spread wide to wrap around your torso. The fabric of the carrier should support the baby’s thighs from knee to knee, preventing the legs from dangling straight down, which can place undue stress on developing hip joints.
Verify that your baby’s head is positioned “close enough to kiss,” meaning you can easily bend your head forward to kiss the top of their head. Their chin must never rest on their chest, as this position can restrict their airway and make breathing difficult. Keep a minimum of a two-finger gap between your baby’s chin and chest at all times, and regularly check that their nose and mouth are completely unobstructed by the carrier’s fabric or your clothing.
Fine-Tuning the Fit for Parent and Baby
Once your baby is in position, make final adjustments to the straps to eliminate any remaining slack. Tighten the shoulder and waist straps gradually until your baby’s body is held snugly against your chest, preventing them from slumping down or shifting from side to side. A snug fit ensures that the baby’s center of gravity remains close to yours, reducing the physical effort required to carry them and preventing lower back fatigue.
If your baby bag carrier features integrated storage compartments or a detachable diaper bag, pay close attention to how these additions affect the overall balance. Avoid overpacking these pockets with heavy items, as extra weight can pull the carrier backward, straining your shoulders and altering your baby’s posture. Keep only lightweight essentials, like a spare diaper or a small pack of wipes, in the attached storage areas to maintain proper balance.
Perform a quick movement test to verify the security of the fit before setting off. Bend forward slightly at the waist while keeping one hand on your baby’s back; your baby should remain snugly aligned with your torso rather than pulling away or sliding. If you feel any shifting, or if the baby’s weight causes you to lose your balance, stand upright immediately and retighten the straps to secure the fit.
Common Mistakes and When to Stop or Adjust
Recognizing the early signs of an improper fit can prevent discomfort and potential safety hazards. If you notice your baby sliding down, their back curving excessively into a C-shape, or fabric bunching up around their face, stop and reposition them immediately. For the caregiver, localized pain in the lower back, shoulders, or neck is a clear indicator that the weight is not distributed correctly and requires strap readjustment.
Avoid transitioning your baby to advanced carrying positions, such as forward-facing or back-carrying, before they meet the manufacturer’s developmental milestones. Forward-facing typically requires excellent head and neck control, while back-carrying is generally reserved for older infants who can sit upright independently. Attempting these positions too early can compromise your baby’s airway safety and spinal alignment.
Always prioritize your baby’s comfort and physical cues over convenience. In warm, humid environments, monitor your baby closely for signs of overheating, such as flushed cheeks, damp hair, or rapid breathing. Stop using the carrier immediately and seek professional medical advice or consult the manufacturer if your baby shows signs of physical distress, if you suspect any component of the carrier is failing, or if you cannot achieve a secure, stable fit.
Frequently Asked Questions (FAQ)
Can I use a baby bag carrier for a newborn?
You can use certain baby bag carriers for newborns, provided the product is explicitly rated for their weight and size. Always check the manufacturer’s guidelines to verify the minimum weight requirement, as many carriers require a separate infant insert or specific adjustments to support a newborn’s delicate neck and spine safely. Ensure the baby is kept in an inward-facing position, with their airway completely clear and their head fully supported at all times.
How do I clean and maintain the carrier's straps and buckles?
To maintain the safety and longevity of your carrier, consult the care label for specific washing instructions. Most fabric carriers can be spot-cleaned with a damp cloth and mild detergent, or machine-washed on a gentle cycle inside a pillowcase to protect the buckles. Regularly inspect the plastic buckles and adjustment slides for trapped dirt, sand, or signs of wear, and avoid exposing the carrier to direct, harsh sunlight for extended periods to prevent the straps from weakening.
Community discussion
Share your experience or ask a question. Comments are reviewed before publication.