
Installing your Joie car seat correctly requires matching the seat’s design to your vehicle’s anchoring system—either ISOFIX or a three-point seat belt—and ensuring a tight, immovable fit. A secure installation is the single most critical factor in protecting your child during travel, as even the most advanced safety features cannot perform correctly if the seat is loose or incorrectly angled. By systematically preparing your vehicle, following the precise routing paths, and verifying the tension, you can achieve a stable fit that keeps your little one safe on every journey.
In the Philippines, navigating busy city streets or embarking on long family road trips requires absolute confidence in your child’s car seat. High humidity and intense tropical heat can make physical installation a sweaty task, but taking the time to secure the seat properly is non-negotiable. Whether you are navigating the daily commute in Manila or traveling to the provinces, a correctly installed Joie car seat provides peace of mind. The key to maximum safety lies in understanding your specific model’s requirements, choosing the right installation method for your vehicle, and performing rigorous checks before every ride.
Preparation Before Installation
Before lifting the car seat into your vehicle, you must determine the most secure installation method compatible with both your Joie model and your car. Most modern vehicles feature ISOFIX anchor points, which are metal bars welded directly into the vehicle’s frame, while older models may require using the vehicle’s three-point seat belt. Check your vehicle owner’s manual to locate these anchor points or to confirm that your seat belts have an automatic locking retractor system.
Products mentioned in this guide


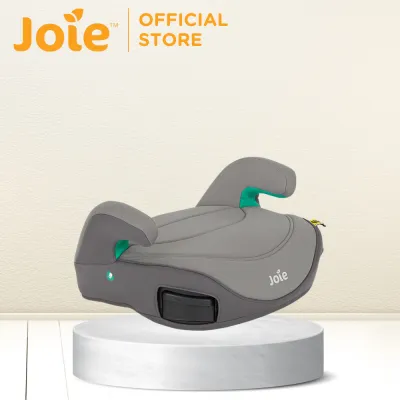
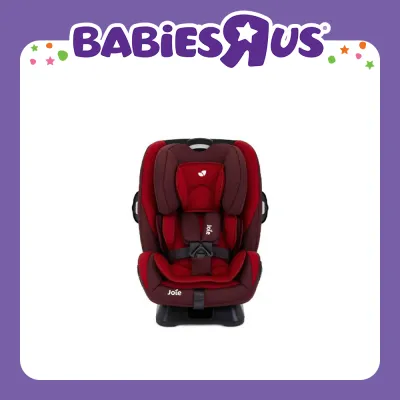
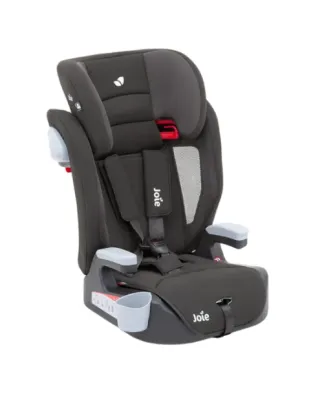
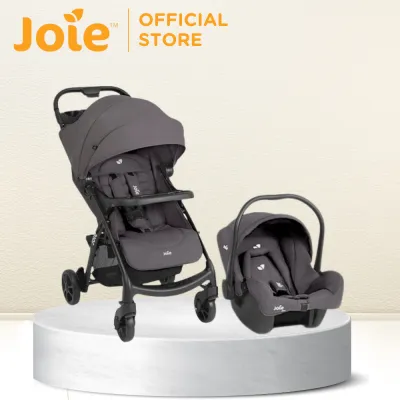
Prices are valid at publication and may change. Please refer to the product page for the latest price.
Next, consult your Joie car seat instruction manual to verify the specific weight and height limits for each installation mode. Some convertible models transition from rear-facing to forward-facing as your child grows, and the installation method or belt routing path will change accordingly. Never assume that an installation method used for one child or vehicle will automatically apply to another.
Clear the vehicle seat of any debris, loose items, or thick seat protectors that might interfere with a tight connection. In our tropical climate, dust and moisture can accumulate in the crevices of car seats, so wiping down the vehicle’s leather or fabric upholstery beforehand ensures a clean, slip-free surface. Ensure your vehicle is parked on a flat, level surface so that any built-in recline angle indicators on the Joie seat can be read accurately.
Step-by-Step Installation Using ISOFIX
ISOFIX provides a rigid, mechanical connection between the Joie car seat and your vehicle’s chassis, minimizing the risk of installation errors. To begin, locate the ISOFIX anchor points hidden in the crease between the vehicle seat back and the seat cushion. Many Joie models come with plastic ISOFIX guides that you can clip onto these anchor points to make sliding the connectors in much easier and to protect your car’s upholstery.

Extend the ISOFIX connectors from the base of the Joie car seat by pulling the release button or strap, depending on your specific model. Align the connectors with the vehicle’s anchor points and push the seat firmly backward until you hear a distinct click on both sides. Look closely at the visual indicators on the ISOFIX arms; they must transition completely from red to green to confirm a secure lock.
Once the ISOFIX connectors are locked, you must secure either the support leg or the top tether, depending on your Joie model’s design. If your seat uses a support leg, extend it downward until it makes firm contact with the vehicle floor. Ensure the leg is fully extended and that its base indicator turns green, taking care that it does not rest on a hollow underfloor storage compartment. If your model uses a top tether, route the strap over the vehicle seat back and clip it to the designated tether anchor point in your car, pulling it tight until the tension indicator shows green.
Finalizing the ISOFIX setup requires pushing the car seat back firmly against the vehicle seat cushion to eliminate any remaining gaps. Grab the car seat near the ISOFIX base and shake it firmly from side to side and front to back. The seat should feel like a solid extension of the vehicle itself, with virtually no shifting at the connection points.
Step-by-Step Installation Using a Vehicle Seat Belt
If your vehicle does not have ISOFIX anchors, or if you are transferring the Joie car seat to an older car model, a secure installation using the vehicle’s three-point seat belt is highly effective when done correctly. Start by positioning the car seat in the desired rear or forward-facing direction on the vehicle seat. Note the color-coded belt guides on your Joie seat: blue guides are typically designated for rear-facing installations, while red guides indicate the path for forward-facing setups.
Pull the vehicle seat belt out completely and carefully thread both the lap and shoulder portions through the designated color-coded guides on the Joie seat. Ensure the seat belt lies completely flat without any twists, folds, or kinks, as twisted webbing reduces the belt’s effectiveness in a sudden stop. Buckle the seat belt into the buckle receiver, listening for a clear click.
To remove all slack from the system, put your weight into the Joie car seat by pressing down firmly with your knee or hand. While compressing the car seat into the vehicle cushion, pull the shoulder portion of the seat belt upward with significant force to tighten the lap belt portion. Once the lap belt is tight, feed the remaining shoulder belt back into the vehicle’s retractor while maintaining tension, or engage the vehicle’s locking mechanism by pulling the belt all the way out until it clicks, then letting it retract tightly.
Many Joie car seats feature built-in lock-off clips or tensioning devices designed to clamp down on the seat belt. Open these clips before routing the belt, and snap them shut over the shoulder belt once the system is fully tightened. These lock-offs prevent the seat belt from slipping or loosening over time, ensuring the installation remains rock-solid throughout your journey.
Securing Your Child in the Car Seat
Once the Joie car seat is securely anchored to the vehicle, the next critical step is ensuring your child is correctly harnessed within the seat. Start by adjusting the headrest and harness height to match your child’s current growth stage. For rear-facing installations, the harness straps must emerge from the seat slots at or slightly below your child’s shoulders; for forward-facing installations, the straps should be at or slightly above the shoulders.
Place your child flat against the back of the seat, ensuring their hips are pushed all the way back and their spine is straight. Thread their arms through the harness straps and click the buckle tongues into the crotch buckle. Pull the harness adjustment strap at the front of the seat to tighten the webbing, ensuring the straps lie flat and smooth over your child’s chest and thighs.
To verify the harness is tight enough, perform the “pinch test” at your child’s collarbone. Try to pinch the harness webbing horizontally between your thumb and forefinger; if you can pinch any excess fabric together, the harness is too loose and must be tightened further. The straps should be snug enough that you cannot grip any slack, yet comfortable enough to allow your child to breathe easily.
In the Philippines, the warm tropical weather means children usually wear light, breathable clothing, which is ideal for car seat safety. Avoid placing your child in bulky jackets, thick sweaters, or using heavy seat liners that did not come with your specific Joie model, as these compress during a collision and leave dangerous slack in the harness. If the air conditioning in your vehicle makes the cabin chilly, buckle your child securely in their light clothing first, then drape a light blanket over the top of the secured harness.
Final Safety Checks and When to Seek Help
Before every single trip, take a few seconds to perform the “one-inch test” to verify the seat’s stability. Grab the Joie car seat firmly at the belt path or near the ISOFIX connection points and attempt to move it side-to-side and front-to-back. The seat must not shift more than one inch (2.5 centimeters) in any direction; if it moves more than this, you must uninstall the seat and repeat the tightening process.
Walk around the vehicle and visually inspect all safety indicators on the seat. Ensure the green zones are fully visible on the ISOFIX arms, the support leg base, and the top tether strap if applicable. If your model features a harness tension indicator, verify that it also shows green or clicks to signal correct tensioning.
If you find that the visual indicators remain red, the car seat continues to wobble despite your best efforts, or the instructions in your vehicle manual conflict with your Joie manual, stop using the setup immediately. Do not risk your child’s safety on a compromised installation. Instead, consult a certified child passenger safety technician (CPST) in your local area or contact Joie customer support for professional guidance and troubleshooting.
Frequently Asked Questions (FAQ)
Can I install a Joie car seat in the front passenger seat?
It is highly recommended to install your Joie car seat in the rear seats of your vehicle, as this is the safest location for children. In the Philippines, child safety laws and road safety guidelines strongly emphasize keeping children in the rear passenger area. If you absolutely must install a rear-facing Joie car seat in the front passenger seat, you must completely deactivate the front passenger airbag first. An active airbag deploying against a rear-facing car seat can cause severe, life-threatening injuries to an infant. Always consult your vehicle’s owner’s manual for the exact steps to safely disable the airbag before attempting a front-seat installation.
How do I know if my Joie car seat is expired or needs replacing?
Every car seat has a limited lifespan because the plastic shell, webbing, and internal foam degrade over time, especially when exposed to high cabin temperatures and intense sunlight in tropical climates. To find the manufacturing and expiration details of your Joie car seat, look for the white or silver tracking sticker adhered directly to the plastic shell, usually located on the bottom or back of the seat. This sticker displays the model number, serial number, and exact date of manufacture. Additionally, you must replace your Joie car seat immediately after any moderate or severe vehicle collision, even if there is no visible damage, as internal structural stress can compromise its ability to protect your child in a future impact.
Community discussion
Share your experience or ask a question. Comments are reviewed before publication.