
Securing a home for a crawling baby or an active toddler is a vital milestone in creating a safe environment. Among the most common safety additions are corner edge protectors, designed to cushion the sharp edges of coffee tables, cabinets, and low shelves. However, many parents find themselves frustrated when these protective guards peel off just days or weeks after installation.
When edge protectors fail to stay attached, they not only fail to protect your child from sharp corners but can also quickly turn into a dangerous choking hazard if a toddler manages to pull them free and put them in their mouth. Ensuring a long-lasting, secure hold requires understanding the science of adhesive bonding, preparing the furniture surface meticulously, and choosing the right materials for your specific home environment. While these safety guards provide an essential layer of protection, they are always a secondary safety measure and must never replace active, close adult supervision.
Why Corner Edge Protectors Peel Off (and How to Prevent It)
Adhesive failure on baby-proofing products is rarely a fault of the plastic or foam guard itself; instead, it is almost always related to how the adhesive was applied or the environment in which it must perform. The primary culprit behind peeling protectors is invisible surface contamination. Microscopic dust, skin oils from handling, and leftover household grease form a barrier between the adhesive tape and the furniture. When tape is applied over this invisible layer, it bonds to the dust or oil rather than the furniture itself, leading to rapid peeling.
Products mentioned in this guide
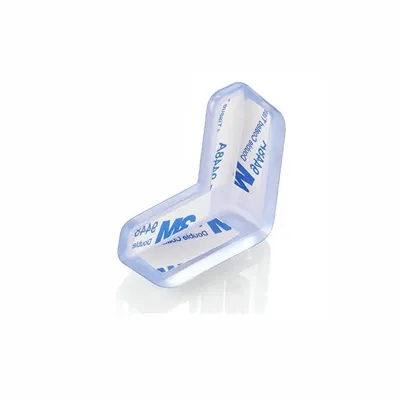
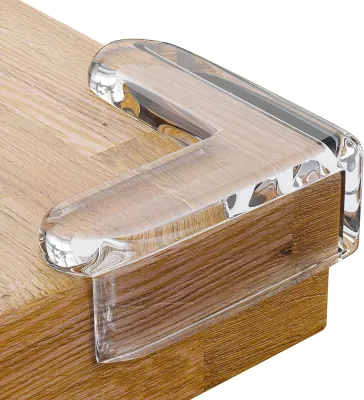
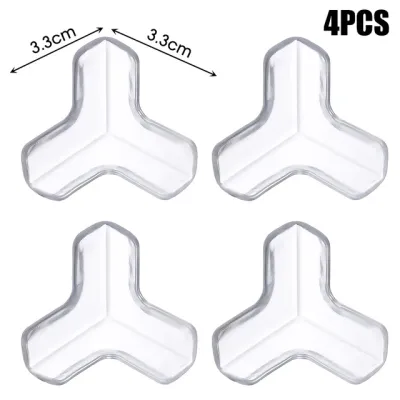
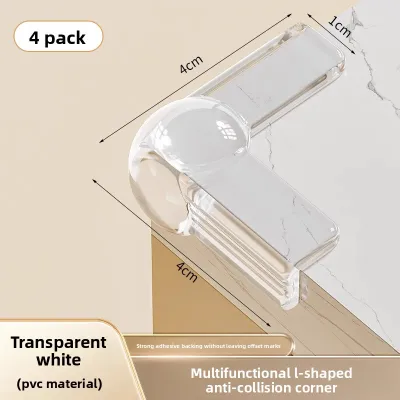
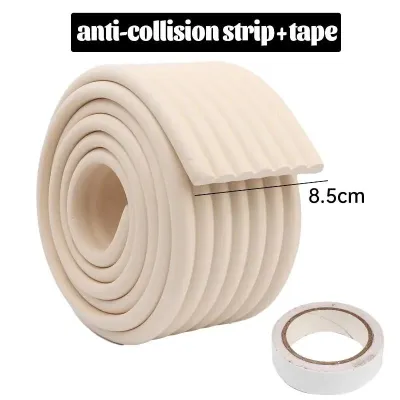
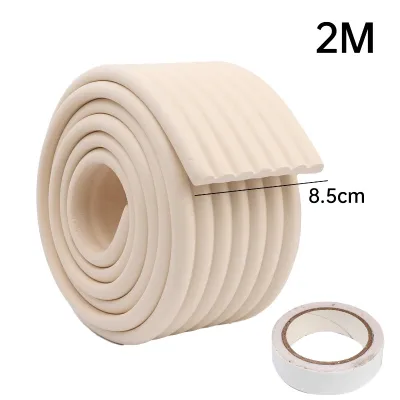
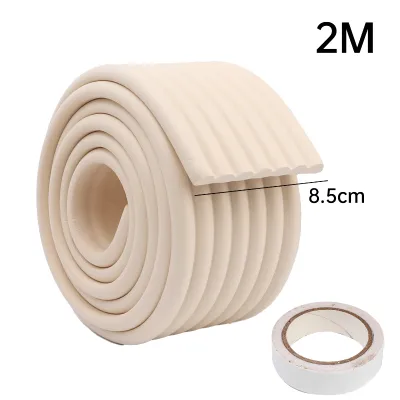

Prices are valid at publication and may change. Please refer to the product page for the latest price.
Another frequent cause of failure is poor surface contact during the initial application. Many furniture pieces have subtle textures, decorative grooves, or rounded profiles that prevent flat adhesive tape from making 100% contact with the substrate. If there are gaps where air can enter, the bond will slowly degrade. Furthermore, rushing the curing process is a major mistake. Pressure-sensitive adhesives require time to flow into the microscopic pores of a surface and establish a strong chemical bond. If a child pulls on a newly installed protector before this curing process is complete, the bond will break prematurely and will never fully recover.
Environmental conditions also play a massive role in adhesive longevity, particularly in tropical climates like the Philippines. High ambient humidity and frequent temperature fluctuations can severely impact adhesive performance. Moisture in the air can settle on furniture surfaces during installation, preventing a clean bond. Additionally, intense heat can soften certain standard rubber-based adhesives, causing them to slide, warp, or peel under the constant physical tension of a curved protector. Understanding these factors allows you to take preventive steps, such as controlling indoor humidity during installation and choosing high-quality, heat-resistant adhesives.
Tools and Materials You Will Need
Before beginning the installation process, gather all your tools and materials to ensure a smooth, uninterrupted workflow. Having everything on hand prevents you from rushing through critical steps like cleaning or drying.

- Corner edge protectors: Choose high-quality foam or silicone guards. Always check the product packaging to verify the recommended age range, development stage, and specific furniture material compatibilities.
- Rubbing alcohol: Isopropyl or ethyl alcohol (70% concentration) is ideal for stripping away oils and grease without leaving a residue. Note: Always check your furniture manufacturer's care instructions first to ensure alcohol will not damage or discolor the finish.
- Mild dish soap: A safe alternative for cleaning delicate wood finishes or painted surfaces that might react poorly to alcohol.
- Microfiber or lint-free cloths: Essential for wiping down and drying the surface completely without leaving behind tiny fibers that ruin adhesion.
- Masking tape: Used to temporarily mark your alignment and ensure perfect placement before peeling the adhesive backing.
- Hairdryer: An optional but highly useful tool for warming cold furniture surfaces in air-conditioned rooms, which helps activate the adhesive, or for softening old adhesive during removal.
- Upgraded double-sided mounting tape: Many budget edge protectors come with low-quality adhesive tape. If the included tape feels dry, thin, or easily peelable, consider upgrading to a reputable, furniture-safe, acrylic-based double-sided mounting tape designed for heavy-duty holding power.
Step-by-Step Installation Guide for a Secure Hold
To achieve a bond that can withstand the curious tugs of a toddler, follow this systematic installation process. Skipping even one of these steps can significantly reduce the lifespan of your edge protectors.
Step 1: Clean and Prepare the Surface
The foundation of a long-lasting adhesive bond is a surgically clean surface. Begin by washing your hands thoroughly to avoid transferring skin oils back onto the cleaned furniture. Use a microfiber cloth dampened with rubbing alcohol to wipe down the target corner or edge, removing all traces of dust, fingerprints, and household grime. If your furniture has a delicate finish that might be damaged by alcohol, mix a few drops of mild dish soap with warm water, wipe the area clean, and then wipe it again with a damp cloth to remove any soap residue.
Be absolutely certain to avoid using oily furniture polishes, wax-based cleaners, or silicone sprays anywhere near the installation site before you begin. These products are specifically designed to leave a slick, protective barrier on wood, which is the absolute enemy of adhesive tapes. Once the cleaning is complete, take a dry, lint-free cloth and vigorously dry the surface. Even a tiny amount of trapped moisture can ruin the adhesive, especially in humid tropical environments.
Step 2: Test the Fit Before Peeling the Adhesive
Never peel the adhesive backing off a protector without performing a dry run first. Place the dry protector directly onto the furniture corner or edge exactly where you plan to install it. Take this opportunity to check for any physical gaps, overhangs, or awkward angles where the protector does not sit flush against the surface. If the guard is too long or does not fit the contour of the furniture, use sharp scissors or a utility knife to trim it for a custom fit.
While holding the protector in its perfect position, use small pieces of masking tape to outline its boundaries on the furniture. This creates a highly visible, foolproof guide for your final placement. Because pressure-sensitive adhesives bond instantly upon contact, having these guides prevents you from needing to peel off and reposition a misplaced protector, an action that instantly ruins the adhesive’s holding power.
Step 3: Apply and Press Firmly
When you are ready to apply the protector, carefully peel away the protective backing from the adhesive tape. Avoid touching the sticky side of the tape with your fingers, as your skin oils will immediately degrade the adhesive quality. Align the protector precisely with the masking tape guides you created during the dry-fit phase.
Once aligned, press the protector firmly onto the furniture corner. Do not just tap it into place; pressure-sensitive adhesives require physical force to activate and flow into the microscopic texture of the furniture. Use the palms of your hands or your thumbs to apply firm, sustained pressure along every square inch of the adhesive surface. Hold this heavy pressure continuously for at least 30 to 60 seconds. Pay extra attention to the outer edges and corners of the protector, as these are the areas most prone to lifting.
Step 4: Let the Adhesive Cure
Once the protector is pressed into place, the most critical phase begins: curing. Almost all high-quality mounting adhesives require a mandatory curing period to reach their maximum bonding strength. This process typically takes between 24 and 48 hours, depending on the ambient temperature and humidity. Refer to the adhesive manufacturer’s specific instructions for the exact curing timeline required for your product.
During this curing window, it is vital to keep babies, toddlers, and pets away from the treated furniture. Do not touch, pull, tug, or “test” the bond prematurely to see if it is holding. Any physical stress applied to the protector during the first few hours can permanently disrupt the chemical cross-linking of the adhesive, leading to premature failure later on. If possible, complete your baby-proofing installations over a weekend or during a time when the room can be closed off or supervised closely to ensure the adhesive cures completely undisturbed.
How to Remove Edge Protectors Without Damaging Furniture
When your child outgrows the need for baby-proofing, you will want to remove the edge protectors without stripping the paint, varnish, or wood veneer off your beloved furniture. Removing strong adhesives safely requires patience and the right technique.
To begin, plug in a hairdryer and set it to a low or medium heat setting. Hold the hairdryer a few inches away from the edge protector and gently sweep the warm air back and forth across the adhesive area for one to two minutes. The heat will soften the acrylic or rubber-based adhesive, making it pliable and significantly reducing its grip on the wood or laminate finish. Be careful not to overheat the surface, especially on delicate veneers or plastics, as excessive heat can cause damage.
Once the adhesive is warm, use your fingernail, a plastic scraper, or an old credit card to slowly and gently lift the edge of the protector. Avoid using metal tools like screwdrivers, butter knives, or putty knives, as these can easily gouge wood, scratch glass, or slice through delicate paint finishes. Slowly peel the protector back at a shallow angle, applying continuous warm air from the hairdryer to the peeling point as you progress.
If any sticky residue remains on the furniture, do not scrub it with abrasive pads, which can ruin the finish. Instead, apply a small amount of rubbing alcohol, warm soapy water, or a dedicated, furniture-safe adhesive remover to a clean microfiber cloth and gently rub the residue away. Always check the label of any commercial adhesive remover first, and test it on a hidden, inconspicuous area of the furniture to ensure it does not discolor, strip, or dissolve the underlying finish before applying it to visible surfaces. If instructions conflict or the material is unidentified, stop and consult a professional furniture restorer.
Frequently Asked Questions (FAQ)
Can I use corner protectors on glass tables?
Yes, glass is actually an excellent, highly non-porous surface that provides superb adhesion for baby-proofing guards, provided it is cleaned thoroughly with rubbing alcohol beforehand to remove all smudges and dust. Before purchasing, check the edge protector’s packaging to ensure compatibility with glass surfaces, and inspect your glass table carefully to make sure the edges are not already chipped, cracked, or structurally compromised. It is critical to remember that while corner protectors will cushion a child from sharp edges, they do not make glass shatterproof and cannot prevent a glass table from breaking or tipping over under heavy physical impact or weight.
How long should I wait before letting my baby near the protected furniture?
For the best results, keep your child away from the newly protected furniture for a minimum of 24 hours, or strictly follow the specific curing time stated by the adhesive manufacturer. Allowing the adhesive to cure completely undisturbed is essential; early exposure increases the risk of a curious child pulling the protector off before the bond has fully set. A loose or partially detached protector not only exposes the sharp corner once again but also creates a major choking hazard if the child manages to chew on or swallow the loose piece.
What should I do if the protector still falls off after installation?
If your corner protectors continue to peel off despite careful installation, start by troubleshooting the surface itself. Check if the furniture has a highly textured, porous, oily, or freshly painted finish, as these surfaces naturally reject standard adhesive tapes. High ambient humidity during the installation process can also weaken the initial bond. To solve this, clean the area thoroughly again, ensure it is completely dry, and upgrade to a heavy-duty, furniture-safe double-sided mounting tape, such as an acrylic-based foam tape. Ensure the replacement tape is rated specifically for your furniture’s material (such as wood, metal, or plastic) and can withstand warm, humid environments.
Community discussion
Share your experience or ask a question. Comments are reviewed before publication.