
Feeding your baby while traveling or running errands requires careful preparation, especially when navigating the tropical climate of the Philippines. High humidity and elevated ambient temperatures create an environment where bacteria can multiply rapidly if breastmilk is not handled with care. Using a high-quality dr isla breastmilk storage bag offers a convenient, sterile, and space-saving solution for active mothers, but its effectiveness relies heavily on proper usage. Understanding the precise steps to fill, seal, transport, and warm your expressed milk ensures your little one receives optimal nutrition without any safety compromises.
Every step of the process, from the moment you pump to the moment you feed your baby, must prioritize hygiene and temperature control. Because infants have developing immune systems, even minor lapses in cleanliness or storage temperature can affect the quality of the milk or lead to contamination. By establishing a reliable routine and packing the right gear, you can confidently head out of the house knowing your baby’s meals are perfectly preserved and ready to serve.
Essential Gear for Pumping and Storing Milk Outside
Before you step out of the door, having a complete and organized travel kit is essential for maintaining a sterile workflow. Your mobile pumping kit should include your manual or portable electric pump, a fresh box of Dr. Isla breastmilk storage bags, a permanent marker, hand sanitizer, and sanitizing wipes. For transport, you will need a high-quality insulated cooler bag and several fully frozen ice packs. In the warm Philippine climate, standard gel packs or hard-sided ice packs are crucial to keep the internal temperature of your cooler bag consistently low during transit.
Products mentioned in this guide
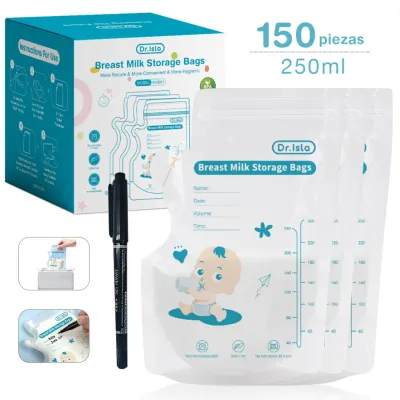
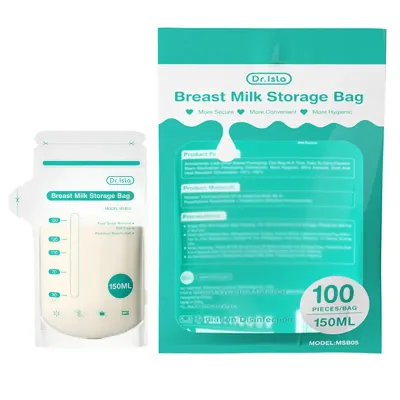
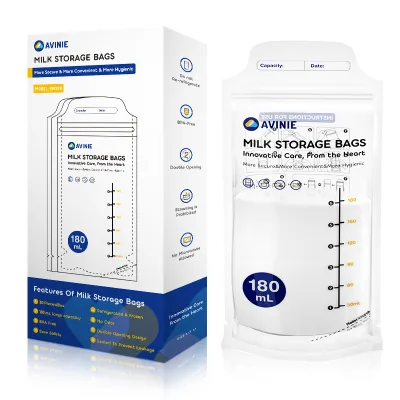
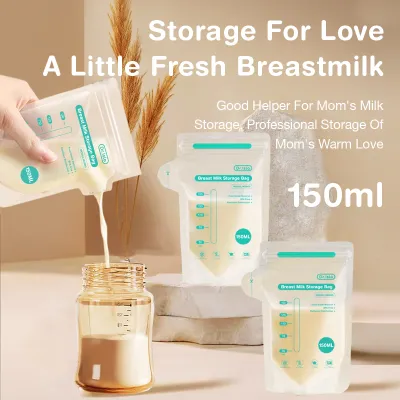
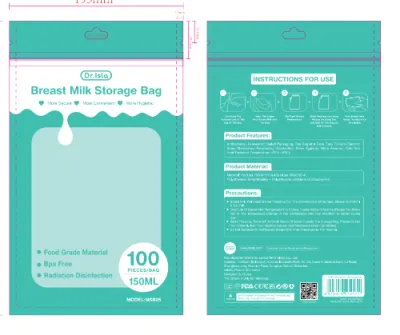
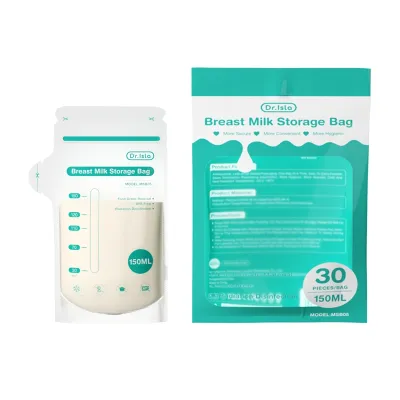
Prices are valid at publication and may change. Please refer to the product page for the latest price.
Always check the specific packaging of your Dr. Isla breastmilk storage bags before you begin your trip. Different product lines may have varying maximum capacities, unique fill lines, and specific manufacturer instructions that you must follow. For instance, some bags are designed for 150ml while others can hold up to 250ml. Knowing these limits beforehand prevents overfilling and helps you plan exactly how many bags you need to pack for the duration of your outing.
Maintaining strict hygiene is the foundation of safe breastmilk storage. Before assembling your pump parts or opening a storage bag, clean your hands thoroughly with soap and water for at least 20 seconds. If clean running water is unavailable while you are out, use a hand sanitizer containing at least 60% alcohol. Ensure all pump parts have been thoroughly cleaned, sanitized, and completely air-dried before packing them, as moisture left on pump components can become a breeding ground for bacteria.
Step-by-Step Guide to Filling and Sealing the Bags
Properly transferring your expressed breastmilk into a storage bag is a precise task that requires attention to detail. Doing this correctly prevents contamination and ensures that the bag’s physical integrity remains intact during transport and subsequent storage.

Pumping and Filling Safely
Cleanliness remains your top priority when preparing to fill a storage bag. Find a clean, flat surface to set up your gear, away from high-traffic areas or restrooms if possible. Once your hands are clean, carefully remove a single Dr. Isla breastmilk storage bag from its packaging. Most of these bags feature a tear-away sterile top; carefully tear along the perforated line, making sure not to touch the inner lining of the bag or the inside of the zipper seal with your fingers.
When pouring the milk from your pump collection bottle into the bag, hold the bag firmly below the zipper track to keep it open. Slowly pour the milk to avoid splashing or spilling. Pay close attention to the printed measurement markings on the side of the bag, and stop pouring once you reach the maximum fill line indicated by the manufacturer. If you plan to freeze the milk once you reach your destination, leaving about an inch of empty space at the top is absolutely critical, as liquid expands when frozen and overfilled bags can easily burst at the seams.
Sealing and Removing Air
Once the bag is filled to the appropriate level, you must remove the excess air before sealing it shut. Trapped air inside the bag promotes oxidation, which can gradually degrade the valuable nutrients and lipids in your breastmilk over time. To remove the air, gently place the bag on a flat surface and use your fingers to smooth out the empty space from the milk line up to the zipper, pushing the air out of the top of the bag.
After purging the air, firmly press the zipper seal closed from one end to the other. Many Dr. Isla storage bags are equipped with a double-zipper system to provide extra protection against leaks. Run your fingers across the seal multiple times to verify that both tracks are completely locked. You can test the seal by gently squeezing the bag; if you feel air escaping or see any droplets forming near the zipper, open the bag, reposition the seal, and close it again.
For optimal storage and transport, lay the sealed bags completely flat inside your cooler bag. Laying them flat maximizes the surface area exposed to the cold, allowing the milk to cool down much faster and more evenly. Additionally, flat bags stack neatly on top of one another, which helps you organize your limited cooler space efficiently and prevents the bags from bending or developing creases that could weaken the plastic.
Labeling and Temporary Storage During Your Trip
Accurate labeling is your best defense against using spoiled milk or disrupting your feeding schedule. Always write the date, time of pumping, and the exact volume of milk on the designated write-on tab of the Dr. Isla bag. It is highly recommended to write this information using a permanent marker before you fill the bag. Writing on a flat, empty bag is much easier and prevents the risk of puncturing a filled bag with the tip of your pen. Furthermore, standard ballpoint ink can easily smudge or run when exposed to the condensation that naturally forms in a cold cooler bag.
When packing your insulated cooler bag, the arrangement of your ice packs and milk bags determines how effectively the cold temperature is maintained. Place a solid layer of fully frozen ice packs at the bottom of the cooler, lay your sealed milk bags flat in the middle, and place another layer of ice packs directly on top. This “sandwich” method ensures that the breastmilk is surrounded by constant cold air, preventing warm pockets from forming inside the insulated compartment.
To keep the milk safe, you must actively protect your cooler bag from external heat sources. Keep the cooler bag out of direct sunlight at all times. If you are traveling by car, place the cooler bag in the air-conditioned passenger cabin rather than in the trunk, where temperatures can quickly reach dangerous levels. When commuting on public transportation or walking outdoors, try to keep the cooler bag shaded under an umbrella or tucked inside a larger backpack to shield it from the direct tropical sun.
Additionally, limit the number of times you open the cooler bag during your trip. Every time you unzip the bag, warm, humid air enters and raises the internal temperature, causing your ice packs to melt much faster. Only open the cooler when you absolutely need to add a newly pumped bag of milk or retrieve a bag for an immediate feeding session.
Thawing, Warming, and Feeding on the Go
When it is time to feed your baby while away from home, preparing the stored breastmilk safely requires patience and the right technique. If you are thawing frozen milk during your trip, the safest method is to let it thaw slowly inside your insulated cooler bag. If you need to warm cold milk quickly, place the sealed Dr. Isla bag into a clean container or cup filled with warm—not hot or boiling—water for a few minutes. You can easily request a cup of warm water at most restaurants or cafes, or bring a flask of warm water from home.
Under no circumstances should you use a microwave or boiling water to thaw or warm breastmilk. Microwaves heat liquids unevenly, creating highly concentrated “hot spots” that can easily burn your baby’s sensitive mouth. Furthermore, exposing breastmilk to high temperatures or direct microwave radiation destroys the delicate proteins, antibodies, and essential nutrients that make breastmilk so beneficial. Boiling water can also compromise the plastic material of the storage bag, leading to leaks or contamination.
As breastmilk sits in storage, it naturally separates into a watery layer and a thick, creamy fat layer. Before pouring the milk into a bottle, gently swirl the bag in a circular motion to redistribute the fat throughout the liquid. Avoid shaking the bag vigorously, as aggressive shaking can break down the milk’s protective proteins and create excess air bubbles, which can cause your baby to swallow air and experience painful gas or colic.
To feed your baby, carefully open the zipper seal and pour the milk into a sanitized feeding bottle. Some Dr. Isla storage bag models feature a convenient, built-in pour spout that you can tear or cut open, allowing for a smooth, spill-free transfer. Always supervise your baby closely during the entire feeding session. Once the feeding is complete, discard any milk left over in the bottle. Saliva from your baby’s mouth introduces bacteria into the milk, making it unsafe to save, store, or re-refrigerate for later use.
Safety Rules and When to Discard Breastmilk
Protecting your baby’s health means adhering to strict safety boundaries, especially when you do not have access to a standard kitchen or refrigerator. While general guidelines exist for breastmilk storage, you should always consult standard pediatric health guidelines, your pediatrician, or a certified lactation consultant to establish exact time limits for keeping milk at room temperature or inside a cooler bag.
Before feeding your baby, perform a quick physical check of the milk. Gently swirl the bag and observe its consistency; if the cream and water layers refuse to mix, or if you notice distinct clumping, the milk may have started to spoil. Open the bag slightly and check for a sour or off-putting smell. If the milk smells sour or rancid, do not feed it to your baby. The ultimate rule of infant feeding is simple: when in doubt about the storage history, temperature control, or freshness of the milk, discard it immediately.
Additionally, you must never refreeze breastmilk once it has been completely thawed. Thawing allows dormant bacteria to begin multiplying, and refreezing does not destroy these microorganisms; it merely pauses their growth. Feeding your baby previously thawed and refrozen milk carries a high risk of foodborne illness.
Frequently Asked Questions (FAQ)
Can I reuse Dr. Isla breastmilk storage bags?
No, Dr. Isla breastmilk storage bags are strictly designed and manufactured for single use. These bags are pre-sterilized during production to ensure they are completely free of bacteria and contaminants before you fill them. Attempting to wash, sanitize, and reuse a plastic storage bag is highly discouraged, as the inner seams and corners are incredibly difficult to clean thoroughly. Residual moisture and microscopic milk fat left behind can quickly harbor dangerous bacteria. Always check your specific Dr. Isla product packaging for the manufacturer’s official safety warnings, and prioritize your baby’s health by using a brand-new, sterile bag for every pumping session.
How do I know if the milk got too warm in the cooler bag?
Without a thermometer, you can assess the safety of your stored milk by checking the physical state of your ice packs and the temperature of the bags. If you open your cooler bag and find that the ice packs have completely melted into warm liquid, and the Dr. Isla milk bags feel lukewarm or warm to the touch, the milk has likely entered the temperature danger zone. In the humid tropical climate of the Philippines, milk exposed to warm temperatures for extended periods can spoil rapidly. If the milk has been kept in an uncooled environment beyond standard pediatric health guidelines, discard it immediately to prevent any risk of foodborne illness.
Community discussion
Share your experience or ask a question. Comments are reviewed before publication.