
Positioning your baby correctly on a hip seat requires ensuring their hips are flexed, their knees are positioned higher than or level with their bottom, and their weight is evenly distributed across a supportive base. This specific posture, commonly referred to as the M-position, is crucial for preventing joint strain and supporting natural skeletal growth. By securing the carrier tightly around your waist and manually adjusting your baby’s legs, you can enjoy the convenience of babywearing while actively protecting your child’s developing hips.
In warm and humid tropical climates, babywearing requires extra attention to both positioning and temperature control. A poorly positioned carrier not only compromises your baby’s physical development but can also cause discomfort and skin irritation in hot weather. Understanding the mechanics of healthy hip development and mastering the step-by-step adjustments of your carrier will ensure a safe, comfortable, and ergonomic experience for both you and your little one.
Understanding the M-Position for Healthy Hips
During the first year of life, a baby’s hip joints are primarily made of soft, pliable cartilage rather than hard bone. The hip joint is a ball-and-socket structure, and if the legs are allowed to dangle straight down, the constant pull of gravity can stretch the joint capsule and potentially lead to hip dysplasia. To prevent this, pediatric orthopedists recommend keeping the baby’s hips in a naturally flexed, wide-squat position.
Products mentioned in this guide
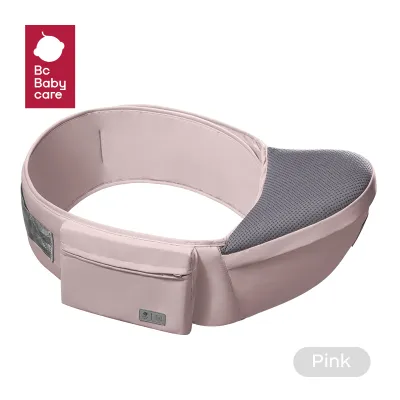
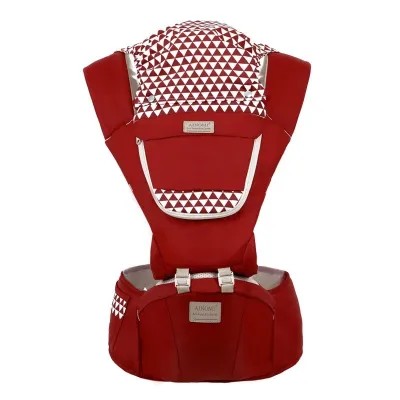
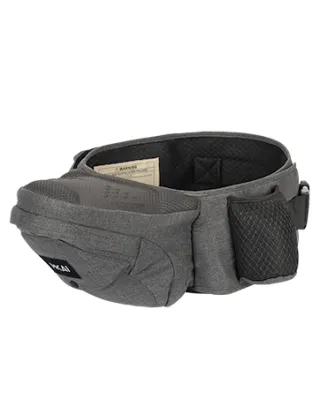

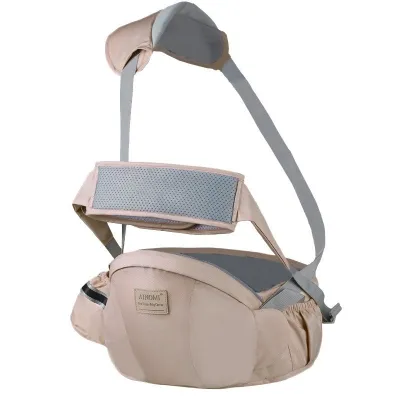
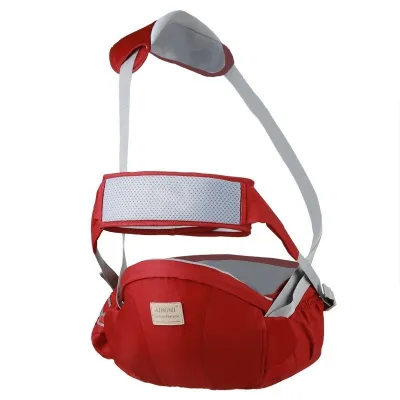
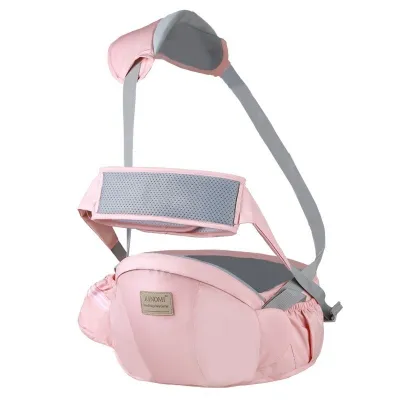
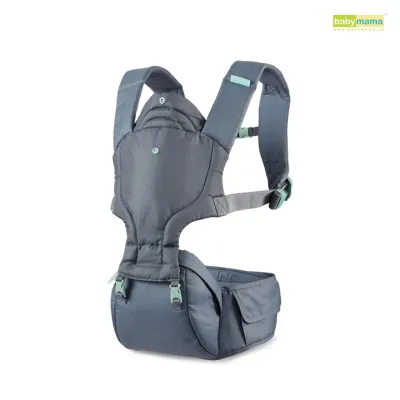
Prices are valid at publication and may change. Please refer to the product page for the latest price.
The M-position is the gold standard for ergonomic babywearing. In this position, the baby’s thighs spread widely around the caregiver’s torso, and their knees are bent at an angle that places them slightly higher than, or at least level with, their bottom. When viewed from behind or front-on, the baby’s legs and bottom should form the shape of the letter “M.” This posture ensures that the head of the thigh bone sits securely in the center of the hip socket, minimizing pressure on the joint cartilage.
To verify that you have achieved this posture, look for key visual and physical cues once your baby is seated. The fabric or platform of the hip seat should support your baby’s thighs all the way from one knee crease to the other. Their legs should not hang vertically; instead, they should drape comfortably over the sides of the seat base. If you gently press on your baby’s feet, their knees should remain flexible and elevated, confirming that their weight is resting on their bottom and thighs rather than their feet or crotch.
Preparing the Hip Seat and Caregiver
Before placing your baby on the carrier, you must secure the waist belt to establish a stable and level foundation. Start by positioning the wide belt high on your waist, well above your hip bones. Fastening the belt too low on the pelvis causes the seat to tilt downward under the baby’s weight, which strains your lower back and forces the baby into an awkward, slouched position. Pull the strap as snugly as possible before securing the heavy-duty hook-and-loop fasteners and safety buckles.

Next, inspect the physical components of the hip seat to ensure structural integrity. Check that all zippers connecting the seat to the upper panel are fully zipped and locked, and verify that the safety buckles click firmly into place. The seat platform itself should protrude horizontally or tilt slightly upward toward your chest. This upward angle is a deliberate design feature that prevents the baby from sliding forward and losing their ergonomic alignment during movement.
Finally, verify your baby’s developmental readiness for the specific carrier model by consulting the manufacturer’s instruction manual. Most hip seats are designed for babies who have achieved steady head and neck control, which typically occurs around four to six months of age. Always check the minimum and maximum weight limits specified by the manufacturer. If your baby is too small for the seat platform, their legs may be forced into an over-extended split, which can strain their joints.
Step-by-Step Guide to Positioning Your Baby
To begin, lift your baby gently and hold them against your chest, allowing their legs to naturally wrap around your waist. Slowly lower their bottom onto the center of the hip seat platform. Ensure their weight is balanced evenly on the seat rather than leaning heavily to one side. Keeping one hand securely on your baby’s back at all times, use your free hand to guide their legs into the wide-squat M-position, ensuring their knees are bent and elevated.
Once the baby’s bottom is centered, pull the back panel of the carrier up over their back. Slide your arms through the shoulder straps one at a time, maintaining a protective hold on your baby. Reach behind your neck to fasten the chest strap, which keeps the shoulder straps from slipping off your shoulders. If you are using a single-shoulder or hip-only seat model, keep one arm wrapped securely around your baby’s torso to prevent falls.
Adjust the tension of the shoulder straps and side webbing to pull the baby close to your body. The baby should be held snugly against your chest; if they slump or gap away from you when you bend forward, the straps are too loose. However, ensure the panel is not so tight that it flattens the natural curve of their spine. The back panel should support their back in a gentle “C” curve while keeping their chest close to yours.
As a final adjustment, reach down and check the fabric of the seat panel. It should extend fully to the back of your baby’s knees but should not press tightly into the knee creases, which can restrict blood flow. If the seat is too wide, it may force the lower legs to turn inward; if it is too narrow, the thighs will dangle. Adjust the baby’s pelvis by gently tilting their hips backward (a pelvic tuck) to help their bottom settle deeply into the seat.
Verifying Proper Fit and Comfort
Once your baby is secured, perform a quick safety and comfort check. First, inspect their airway: their face must be fully visible, and their chin should not be pressed down against their chest, as this can restrict breathing. There should be a space of at least two fingers between their chin and chest. Ensure no fabric, clothing, or carrier straps block their nose or mouth.
Next, check for potential pressure points and circulation issues. In warm, tropical climates, sweat can accumulate quickly in the folds of a baby’s skin, increasing the risk of friction and heat rash. Feel around the edges of the seat and the leg openings to ensure the material is not digging into their thighs. If you notice deep red marks or skin indentations, loosen the side straps slightly or adjust the baby’s clothing to provide a protective layer between their skin and the carrier.
Finally, assess your own comfort and posture. Your shoulders should feel balanced, and your spine should remain straight without the need to lean backward or arch your lower back to support the weight. If you feel a pulling sensation in your lower back, the waist belt is likely too loose or positioned too low. Taking a moment to readjust the belt high and tight will redistribute the baby’s weight across your hips and shoulders, allowing for longer, pain-free carrying sessions.
Common Positioning Mistakes and How to Fix Them
One of the most common mistakes is allowing the baby’s legs to hang straight down in a “U” shape rather than an “M” shape. This often happens when the baby is placed too far forward on the seat or when the seat base is too narrow for their size. To fix this, slide your hands under the baby’s thighs and gently lift their knees upward while tilting their pelvis toward you. This simple adjustment encourages the hips to flex and restores the ergonomic wide squat.
Another frequent error is wearing the waist belt loosely, which causes the hip seat to sag forward under the baby’s weight. This sag forces the baby’s pelvis to slide forward, flattening their legs and placing undue pressure on their crotch. If you notice the seat tilting downward, safely remove your baby, unfasten the waist belt, reposition it higher on your torso, and pull it as tight as comfortably possible before re-securing it.
Caregivers also frequently struggle with the transition between inward-facing and outward-facing positions. While outward-facing carrying allows your baby to look at their surroundings, it alters their center of gravity and can make maintaining the M-position more difficult. Only use the outward-facing position if your baby has demonstrated complete head and neck control and meets the manufacturer’s guidelines. Limit outward-facing sessions to short periods to prevent overstimulation and physical fatigue, and always switch back to inward-facing if your baby falls asleep.
Frequently Asked Questions (FAQ)
At what developmental stage can a baby start using a hip seat?
A baby can typically begin using a hip seat once they have achieved full, consistent head and neck control and can sit upright with minimal support. This milestone is generally reached between four and six months of age. However, readiness is determined by physical development rather than age alone. Always verify that your baby meets the specific minimum weight and developmental requirements outlined in your carrier’s instruction manual before their first ride.
Can improper use of a hip seat affect hip development?
Yes, improper use that forces a baby’s legs into a straight, dangling position for extended periods can place unnatural stress on the hip joints, potentially increasing the risk of hip subluxation or developmental dysplasia. Consistently checking for the ergonomic M-position, ensuring the seat supports the thighs from knee to knee, and following pediatric guidelines are essential steps to protect your baby’s skeletal health. If you have concerns about your baby’s hip alignment or physical development, consult a pediatrician or pediatric orthopedist for professional guidance.
Community discussion
Share your experience or ask a question. Comments are reviewed before publication.