
Stepping out with a baby in the Philippines requires careful preparation. Between the intense tropical heat, sudden afternoon downpours, and the necessity of navigating busy air-conditioned malls, a parent’s gear must be highly organized. Utilizing a packaboo bag effectively turns what could be a chaotic search for a clean diaper into a smooth, stress-free routine. The secret to a successful outing lies not just in what you carry, but in how you distribute, categorize, and access those items within your bag’s designated compartments.
By establishing a systematic packing method, you can ensure that every diaper change, feeding session, or minor spill is handled quickly. This guide provides a comprehensive approach to zoning, balancing, and maintaining your diaper bag so that you are always prepared for daily adventures with your little one.
Prepare Your Essentials: What to Pack for Daily Outings
Before sliding any items into your bag, you must first assess the specific parameters of your outing. The duration of your trip, your baby’s current developmental stage, and their feeding or diapering schedule dictate the exact quantities of supplies you need. For instance, a newborn who feeds frequently requires a significantly different inventory than a ten-month-old toddler who has transitioned to solid snacks. Overpacking is a common pitfall that leads to unnecessary physical strain, while underpacking can leave you stranded without critical supplies.
Products mentioned in this guide
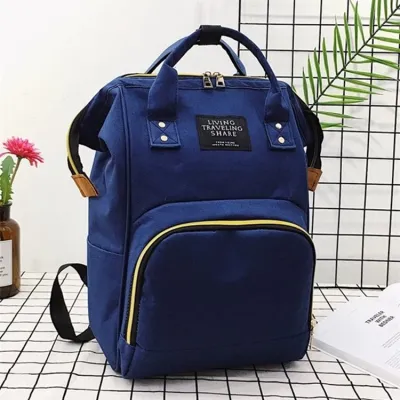
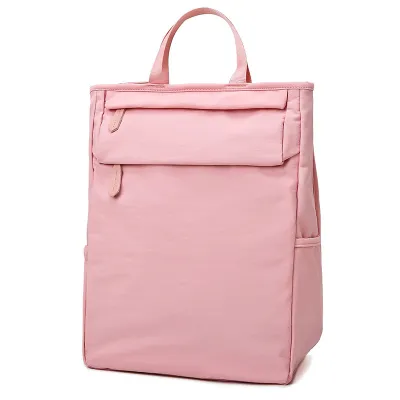
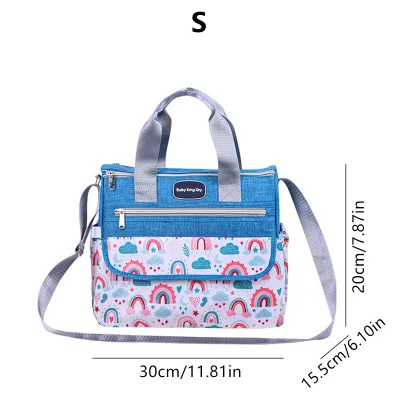
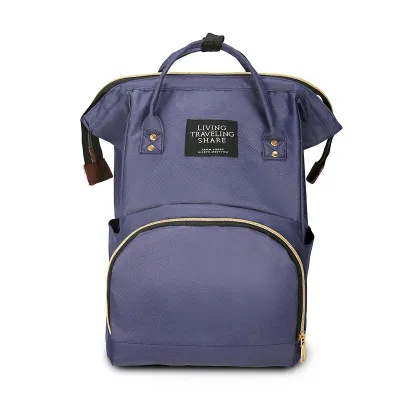
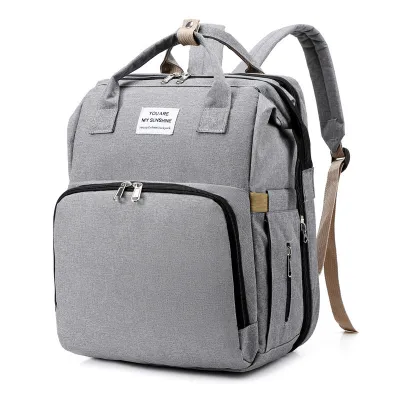
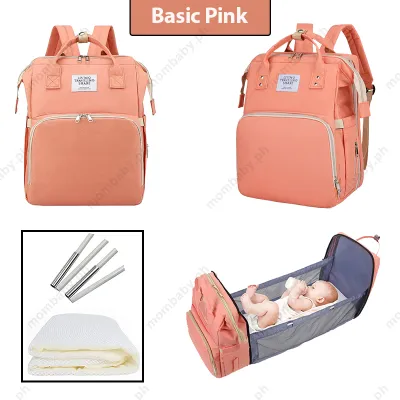
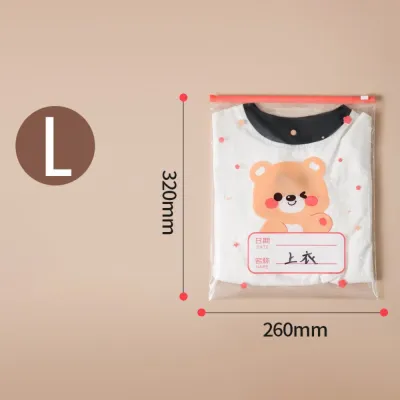
Prices are valid at publication and may change. Please refer to the product page for the latest price.
Begin your preparation by assembling a baseline checklist. This core selection should always include:
- Diapers: A reliable rule of thumb is to pack one diaper for every two hours you expect to be out, plus two extra for unexpected delays.
- Wipes: A travel-sized pack of gentle, alcohol-free baby wipes is essential for diaper changes, messy hands, and quick cleanups.
- Changing Pad: A compact, easily wipeable changing pad provides a hygienic barrier on public changing tables.
- Spare Clothes: Pack at least one complete change of clothes, including socks, to handle diaper blowouts or major spills.
- Feeding Supplies: Depending on your feeding method, this includes sterilized bottles, pre-measured formula dispensers, breast pumps, or a lightweight nursing cover.
Living in a humid and tropical climate like the Philippines introduces unique environmental factors that demand specialized gear. The intense sun and humidity require you to pack broad-spectrum, baby-safe sun protection and cooling wipes to keep your baby comfortable during outdoor transitions. Additionally, protect your child from mosquitoes and other insects by carrying a pediatrician-approved insect repellent. Always consult your pediatrician or a qualified healthcare professional before applying new skincare products, sunscreens, or repellents on infants, especially those under six months of age.
To keep these items from migrating and getting lost at the bottom of your bag, group smaller accessories into dedicated, reusable pouches. Utilizing a color-coded pouch system—such as a clear pouch for first-aid items, a fabric pouch for diapering essentials, and a waterproof pouch for feeding accessories—allows you to locate specific items instantly. This modular approach simplifies transfers and ensures that you can hand off a single, self-contained pouch to a spouse, relative, or caregiver when they take over diapering duties.
Map Your Compartments: Zoning Your Packaboo Bag for Efficiency
A high-quality diaper bag is designed with multiple specialized compartments, but these features are only useful if you assign them logical functions. Zoning your packaboo bag ensures that every item has a dedicated home, eliminating the need to rummage blindly during an emergency. By separating bulkier, long-term storage items from high-frequency essentials, you create an intuitive layout that works under pressure.

Main Compartment and Bulkier Items
The main compartment serves as the central warehouse of your diaper bag. This spacious interior area is best reserved for larger, heavier, and less frequently accessed items such as spare outfits, swaddles, receiving blankets, and your organized packing pouches. When loading this section, place the heaviest items—such as full water bottles, formula containers, or solid food jars—closest to the back panel of a backpack-style bag, or flat along the very bottom of a tote. This positioning keeps the bag’s center of gravity close to your body, preventing the bag from tipping over when set down and reducing physical strain on your shoulders and back.
Caregivers must remain mindful of physical limits to ensure both personal comfort and product durability. Always refer to the manufacturer’s care label or official instruction manual to verify the maximum weight capacity of your specific bag model. Overloading the main compartment can place excessive stress on the zippers, seams, and shoulder straps, potentially leading to premature wear or sudden failure during an outing.
Insulated Pockets and Quick-Access Zones
The exterior and specialized interior pockets of your bag are designed for temperature control and immediate accessibility. Insulated side or front pockets are specifically engineered to house baby bottles, breast milk storage bags, or warm water flasks. Because insulation performance can vary widely based on ambient temperatures and product design, always verify the manufacturer’s specifications regarding hot and cold retention times rather than assuming a universal standard.
Meanwhile, reserve the front and top quick-access pockets for items you need to reach within seconds. This includes pacifiers, hand sanitizer, small toys, and your own personal essentials like keys, a mobile phone, and a wallet. Storing your personal items in these dedicated outer zones prevents them from getting mixed up with baby hygiene products. If your bag features a dedicated wipe-dispensing slot or an easily reachable exterior wipe pocket, ensure it is fully stocked before leaving the house. Having immediate access to a wipe without unzipping the main compartment is invaluable when managing sudden messes.
Pack Step-by-Step for Weight Balance and Quick Access
Packing your diaper bag is a physical process that requires a systematic, layered approach. When items are thrown in haphazardly, the bag becomes unbalanced, uncomfortable to carry, and difficult to navigate. Following a structured, step-by-step assembly method guarantees that the weight is distributed ergonomically and that the most critical items remain on top.
- Step 1: The Base Layer: Begin by sliding your compact changing pad flat against the back sleeve of the bag. Next, place your heaviest items at the very bottom. This includes heavy water flasks, formula thermoses, or solid baby food containers. Positioning these dense items at the base prevents the bag from becoming top-heavy and keeps it stable when placed on a flat surface.
- Step 2: The Mid Layer: Place your mid-weight, moderately accessed items directly on top of the base layer. This is where your diapering pouch (containing diapers, a small pack of wipes, and diaper cream) and your feeding accessories should sit. Pack these items snugly against one another to prevent shifting during transit, but ensure there is still enough clearance for the main zippers to glide open and closed without catching on fabric.
- Step 3: The Top Layer: Reserve the uppermost section of the main compartment for emergency grab-and-go items. This includes a lightweight change of clothes for your baby, a receiving blanket, or a burp cloth. If your baby experiences a sudden diaper leak, you must be able to open the main zipper and immediately pull out these clean fabrics without digging through other supplies.
- Ergonomic Check: Once the bag is fully packed, perform a physical fit check before heading out. If you are using a backpack style, adjust the shoulder straps so that the bag sits high and tight against your upper back, rather than sagging down toward your lower back or hips. If your bag includes a chest or waist strap, fasten and adjust them to distribute a portion of the weight away from your shoulders and onto your core. Proper adjustment is crucial for preventing back strain, shoulder fatigue, and posture issues during long walks, grocery trips, or extended visits to the mall.
Verify Quick Access and Maintain Organization On the Go
An organized diaper bag is only effective if it remains organized throughout your outing. It is easy to maintain order when packing at home, but keeping that system intact while managing a fussy baby in a public restroom or a crowded restaurant requires discipline and practice.
To ensure your packing system is truly functional, perform the “blind reach” test before leaving your home. Close your eyes and attempt to locate and retrieve a baby wipe, a pacifier, or a diaper using only one hand. If you can successfully extract these items within five seconds without looking, your quick-access zones are correctly configured. If you struggle or find yourself unzipping multiple compartments, rearrange those high-frequency items into more accessible pockets.
Once you are out, commit to a strict restocking and return strategy. After completing a diaper change or a feeding session, resist the temptation to stuff used items, loose wrappers, or clean extras loosely into the main compartment. Take the extra five seconds to return every item to its designated zone or pouch. This simple habit prevents your bag from devolving into a cluttered, disorganized space where finding a critical item becomes impossible.
Additionally, always keep a dedicated, washable wet bag inside the main compartment. In the tropical climate of the Philippines, damp or soiled clothes can quickly develop unpleasant odors and mold if left loose in a dark bag. Placing soiled outfits, damp bibs, or used washcloths directly into a sealed, waterproof wet bag isolates moisture and odors, protecting your clean supplies and the interior lining of your diaper bag from contamination.
Frequently Asked Questions (FAQ)
How do I prevent bottles from leaking inside the diaper bag?
To prevent messy liquid spills, always inspect your baby bottles before packing them. Ensure that all bottle nipples, collars, and travel caps are tightly secured, and verify that any internal silicone seals or anti-colic valves are properly seated and undamaged. Store bottles strictly in an upright position within the bag’s designated insulated pockets. For added security, you can place individual bottles inside a small, waterproof silicone pouch or a zip-top bag to contain any accidental leaks and protect the rest of your gear.
What is the best way to clean the interior of a diaper bag after a spill?
If a spill occurs, empty the diaper bag completely and shake out any loose crumbs or debris over a waste bin. Wipe down the interior lining thoroughly using a clean, damp microfiber cloth and a mild, baby-safe dish soap or gentle detergent. Always consult the manufacturer’s care label on your specific bag model for precise washing and material care instructions. To prevent the growth of mold, mildew, and bacteria—which thrive in the humid Philippine climate—allow the bag to air-dry completely in a well-ventilated area away from direct sunlight before repacking it with your baby’s essentials.

Community discussion
Share your experience or ask a question. Comments are reviewed before publication.