
Matching a bumper strip to your household furniture requires balancing the physical properties of the surface—such as porous wood, smooth glass, cold metal, or polished marble—with the adhesive’s ability to bond securely under local environmental conditions. In warm, humid climates like the Philippines, high humidity and ambient heat can compromise adhesive backings, making material and adhesive selection critical for baby-proofing. By evaluating the edge profile of your furniture and checking the manufacturer’s compatibility guidelines, you can establish a secure barrier that protects active toddlers without ruining your household finishes.
Assess Your Furniture Surfaces and Safety Needs
Before purchasing any baby-proofing materials, take a detailed inventory of the furniture pieces that require protection. Walk through your living spaces from a child’s eye level to identify sharp edges, low coffee tables, TV consoles, and countertop corners. The physical shape of these edges will dictate the type of bumper strip profile you need. For instance, sharp 90-degree corners are best addressed with L-shaped strips that wrap cleanly over the top and side. Thin glass tabletops or metal shelving units often require U-shaped profiles that slide over the edge to cover both the upper and lower surfaces. For flat, blunt surfaces or vertical pillars where a child might bump their head, a wide, flat strip is usually the most practical choice.
The texture and finish of each surface also play a decisive role in how well an adhesive will hold. Sealed wood, tempered glass, polished stone, and powder-coated metals all interact differently with adhesive backings. Unsealed or highly distressed wood is porous and can absorb adhesive oils, which may lead to permanent staining or a weak bond. Conversely, highly polished surfaces like marble or glass offer no texture for the adhesive to grip, relying entirely on chemical adhesion. Always review the manufacturer’s warnings on both your furniture and the bumper strip packaging to identify any compatibility limits or restrictions before proceeding with the installation.
Products mentioned in this guide
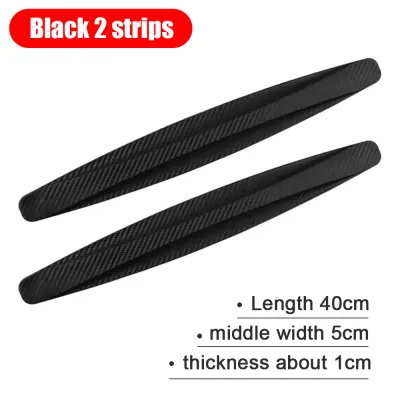
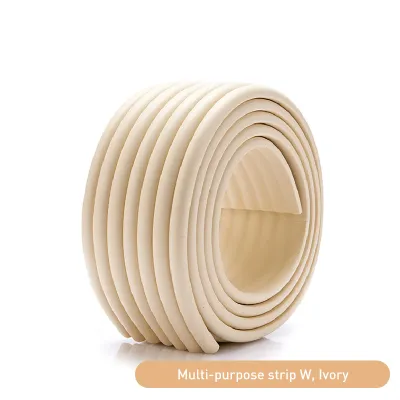
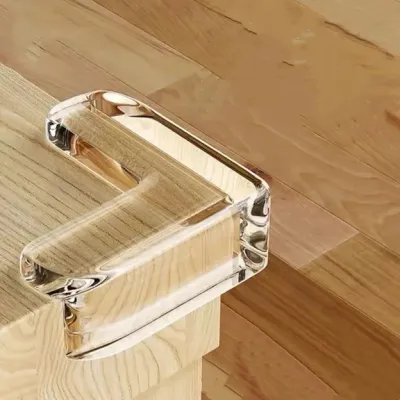
Prices are valid at publication and may change. Please refer to the product page for the latest price.
Match Bumper Strip Materials to Surface Types
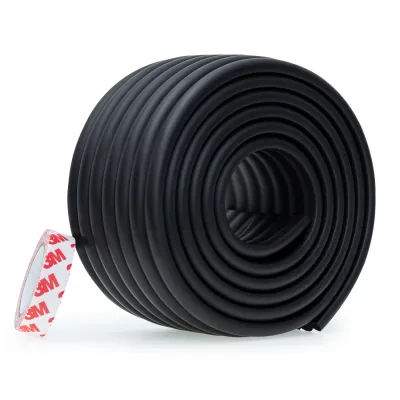
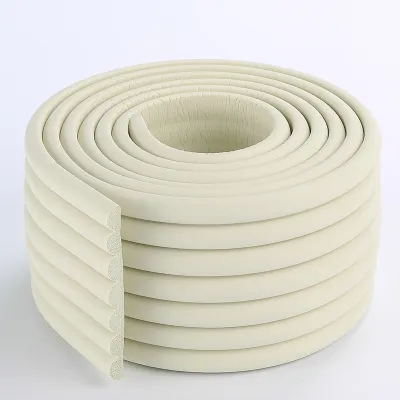
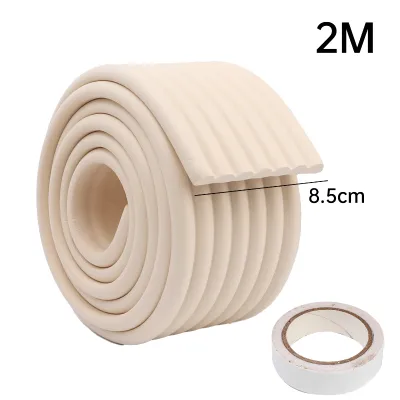
When selecting a bumper strip, you will encounter various core materials, primarily nitrile butadiene rubber (NBR) foam, polyvinyl chloride (PVC), and silicone. Each material offers distinct levels of flexibility, thickness, and aesthetic impact. Foam strips are generally thicker and provide excellent impact absorption for high-traffic areas, but their bulky profile can be visually intrusive and highly tempting for curious toddlers to bite or pull.

Rather than assuming a specific material is universally safe or effective, rely on the product packaging claims for impact absorption and density. High-density foam is typically more resilient and less likely to bottom out under force compared to low-density alternatives. Additionally, because infants and toddlers often explore their surroundings by touching or chewing, chemical safety is a paramount concern. Ensure the chosen material does not contain restricted chemicals, heavy metals, or harmful plasticizers by checking for clear compliance labels and safety standards on the product packaging before making a purchase.
Wood and Painted Surfaces
Wooden furniture, whether a cherished heirloom or a modern painted piece, requires a gentle touch to prevent permanent damage to the finish. Look for softer, highly flexible bumper strip materials that can easily conform to curved wooden legs, ornate carvings, or beveled table edges without pulling away. Rigid plastics or stiff rubbers will constantly fight the curve of the wood, putting extra stress on the adhesive and increasing the likelihood of premature peeling.
Before applying any adhesive, check the product labels for explicit compatibility with painted, varnished, or stained wood. Some aggressive adhesives contain solvents that can chemically react with polyurethane finishes, lacquer, or water-based paints, causing them to soften, discolor, or peel off entirely when the strip is eventually removed. To safeguard your furniture, plan a hidden spot test. Apply a small piece of the bumper strip and its adhesive to an inconspicuous area, such as the underside of a table leg or the back of a cabinet, and leave it for 24 hours. Remove it gently to observe how the finish reacts before committing to a full installation.
Glass and Mirrors
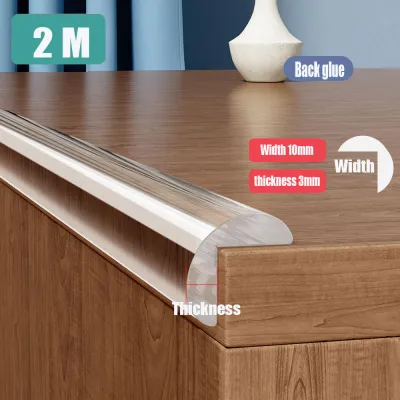
Glass tables, low shelves, and mirrors present a unique aesthetic and functional challenge because any safety installation is highly visible. To maintain the visual appeal of your home while ensuring a safe environment, prioritize transparent or translucent silicone or PVC materials. These clear options provide a low-profile look that does not disrupt the clean lines of glass furniture, making them less noticeable to both guests and curious children.
Verify that the bumper strip you select is rated specifically for smooth, non-porous surfaces like glass. Because glass does not allow adhesives to penetrate, the bond relies entirely on surface tension and chemical adhesion. If the adhesive is not formulated for non-porous materials, the strip may slide or peel off under minimal pressure. Ensure the material is thick enough to absorb impact but flexible enough to follow the glass edge contour precisely, preventing air bubbles where dust and moisture can accumulate over time.
Metal and Marble
Metal bed frames, iron table legs, and marble countertops are exceptionally hard and unforgiving during a fall, requiring dense, high-rebound materials that can absorb significant force. For these heavy, solid surfaces, look for high-density foam or thick rubber bumper strips that provide maximum cushioning. The material must be robust enough to prevent a child’s head or body from bottoming out against the cold, hard surface underneath during an accidental collision.
Adhesive specifications for metal and stone must account for temperature tolerance and environmental conditions. In tropical climates, metal and stone surfaces often feel cold to the touch, especially in air-conditioned rooms. This temperature differential can cause micro-condensation to form beneath the adhesive, weakening the bond over time. Look for adhesives rated for temperature fluctuations and moisture resistance to ensure a long-lasting hold. Additionally, confirm the product label allows for use on polished stone or coated metals, as some acidic or chemical adhesives can etch polished marble or react with metal coatings, leading to rust or permanent staining.
Evaluate Adhesive Types and Product Labels
The success of your baby-proofing efforts depends heavily on the adhesive backing that secures the bumper strip to the furniture. Read the bumper strip packaging carefully to identify the adhesive type, which commonly includes acrylic, silicone-based, or double-sided foam tape. Acrylic adhesives offer strong, long-term bonds and are highly resistant to heat and humidity, making them ideal for tropical environments. Silicone-based adhesives are highly flexible and peel off cleanly from glass but may have lower initial tack on porous surfaces. Double-sided foam tapes provide excellent gap-filling properties on uneven surfaces but can leave a stubborn residue on wood.
Cross-reference the adhesive’s stated surface compatibility with your furniture’s material and finish to avoid costly mistakes. Note the manufacturer’s recommended curing time and temperature requirements for optimal bonding. Most adhesives require at least 24 hours to cure fully before they reach maximum bond strength; attempting to test or pull the strip before this period can ruin the bond permanently. If the adhesive instructions conflict with your furniture’s care guidelines, stop immediately and consult the furniture manufacturer for alternative safety recommendations.
Step-by-Step Installation and Surface Preparation
A clean, secure installation is essential to ensure the bumper strip remains in place when subjected to daily wear and tear. Begin by cleaning the target edge thoroughly with a mild, non-residue cleaner, such as a diluted dish soap or a specialized surface prep solution. Avoid using oily furniture polishes, wax, or heavy chemical sprays, as these leave a thin film that prevents the adhesive from bonding to the surface. Allow the area to dry completely; even a tiny amount of trapped moisture can ruin the adhesive backing.
Measure the furniture edge carefully and cut the bumper strip to the exact length needed. For corners, use a miter cut (a 45-degree angle) to ensure the edges fit flush together without leaving gaps that a child’s fingers can pry open. Apply the strip slowly, peeling the backing paper off in small sections to prevent the adhesive from catching dust or sticking to itself. Apply firm, even pressure along the entire length of the strip using your hands or a small roller to activate the pressure-sensitive adhesive. Finally, observe the manufacturer’s specified waiting period before allowing any contact or impact testing, keeping children away from the newly installed strip during this critical curing phase.
Verify the Bond and Plan for Safe Removal
Once the curing period has passed, gently test the edges of the strip to ensure it has bonded securely and does not lift under light pressure. Monitor the strip periodically for signs of peeling, chewing, or material degradation. Toddlers are naturally curious and may attempt to peel or bite the safety gear; if you notice any damage or lifting, replace the strip immediately to prevent choking hazards or ingestion of foam.
When it is time to remove the bumper strip, review the product’s removal instructions to avoid damaging your furniture. Most adhesives can be softened using a hair dryer on a low, warm setting to melt the glue before gently peeling the strip back at a shallow angle. For stubborn residue on non-porous surfaces, a mild adhesive solvent or vegetable oil can help release the bond. If the adhesive resists standard methods or begins to damage the furniture finish, stop the removal process immediately and seek professional advice or consult a furniture restoration specialist.
Frequently Asked Questions (FAQ)
Can I use the same bumper strip on both indoor and outdoor furniture? (FAQ)
Indoor bumper strips are generally not formulated to withstand outdoor environmental factors such as direct UV exposure, extreme tropical heat, or heavy rainfall. Outdoor conditions can rapidly degrade foam materials and dry out adhesives, causing the strip to fall off or crumble. Always check the product packaging for explicit outdoor or weather-resistant ratings before installing safety gear on patio furniture or outdoor play areas.
What should I do if my baby keeps peeling off the bumper strip? (FAQ)
If a child successfully removes the strip, first check if the adhesive failed due to poor surface preparation, high humidity, or an incompatible material pairing. If the installation was correct but the child remains persistently focused on peeling or chewing the safety gear, consider using alternative physical barriers like playpens or fabric edge guards. You can also consult a pediatrician for behavioral guidance on redirecting your child’s curiosity away from safety installations.
Community discussion
Share your experience or ask a question. Comments are reviewed before publication.