
To get rubber table edge protectors to stay securely in place, you must focus on three critical factors: meticulous surface preparation, precise cutting, and allowing the adhesive to cure completely without disturbance. In warm, humid environments, moisture and dust can easily compromise the bond, causing the rubber guards to peel off prematurely. By systematically cleaning the table edge, dry-fitting the material, and applying firm, even pressure during installation, you can create a reliable barrier that protects your active toddler from sharp corners.
Gather Your Tools and Materials
Before you begin the baby-proofing process, gather all the necessary supplies to ensure a smooth, uninterrupted workflow. Having everything on hand prevents the adhesive from sitting exposed to the air or dust while you search for a misplaced tool.
First, inspect your rubber edge protectors and the adhesive that came with them. Most packages include double-sided tape specifically formulated for the protector’s material, though some manufacturers may recommend specific liquid adhesives. Check the product manual to verify if the adhesive is compatible with your table’s finish, as some glues can damage delicate wood veneers or varnishes.
Products mentioned in this guide
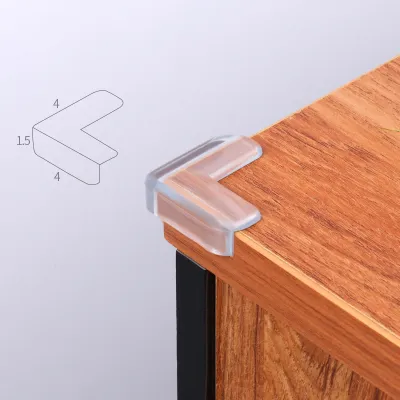
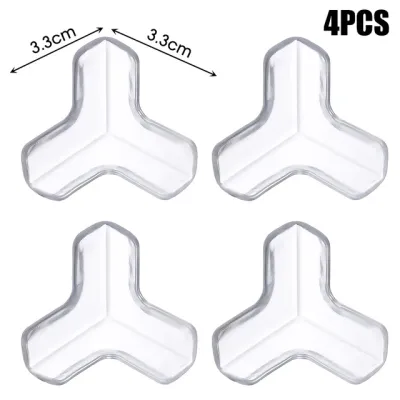
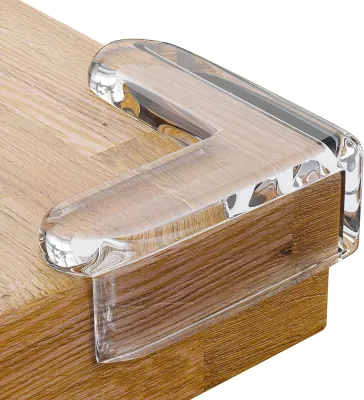
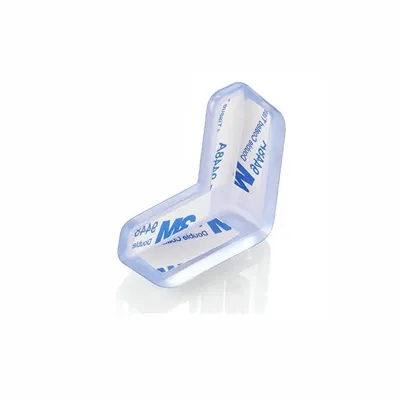
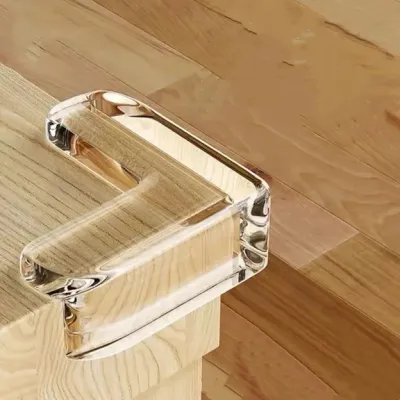
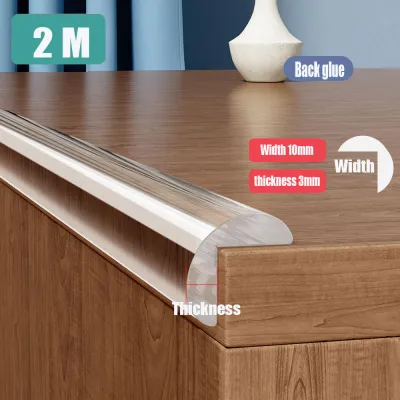
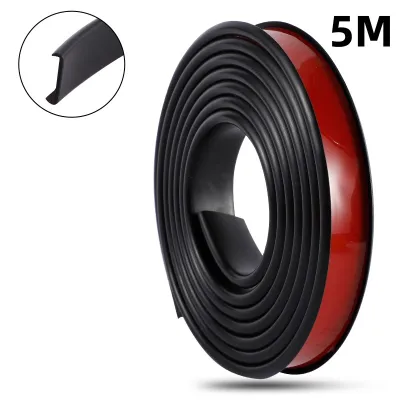
Prices are valid at publication and may change. Please refer to the product page for the latest price.
Next, prepare your measuring and cutting tools. You will need a flexible measuring tape to accurately trace the contours of your table, a sharp pair of heavy-duty scissors or a utility knife for clean cuts, and a pencil or non-permanent marker to label your measurements.
For surface preparation, gather clean microfiber cloths and the cleaning agent recommended by your product’s manual. Common household options include isopropyl alcohol or mild dish soap mixed with water, but you must verify which solvent is safe for both your table material and the adhesive backing.
Step-by-Step Installation Guide
Installing rubber edge protectors is a straightforward process, but it requires patience and attention to detail to achieve a long-lasting bond. Rushing through the steps often leads to peeling corners and loose edges that curious toddlers can easily pull off.

The entire installation workflow is divided into four distinct phases: measuring and cutting, surface preparation, adhesive application, and curing. Plan to complete this project during a quiet time, such as in the evening after your child has gone to sleep, to allow the adhesive to set undisturbed overnight.
Step 1: Measure and Cut the Protectors
Accurate measurements are essential to prevent gaps where dust can accumulate or where small fingers can pry the protector loose. Begin by using your flexible measuring tape to measure the entire perimeter of the table edge where the rubber guard will be applied.
If your table has sharp 90-degree corners, you must decide whether to use pre-formed corner guards or cut the straight rubber strip to fit. For straight strips, you can create clean miter joints at the corners by cutting the rubber at a 45-degree angle, or you can use separate corner pieces and butt the straight edges tightly against them.
Use a sharp utility knife or heavy-duty shears to make your cuts. A dull blade can tear or stretch the rubber, resulting in uneven edges that will not sit flush against the table surface.
Once all pieces are cut, perform a complete dry-fit by placing the rubber protectors along the table edges without removing the adhesive backing. This step allows you to verify that every piece fits snugly, overlaps are eliminated, and there are no exposed gaps before you commit to sticking them down.
Step 2: Clean and Prepare the Table Edge
Adhesive cannot bond effectively to surfaces covered in dust, grease, food residue, or natural skin oils. Proper surface preparation is the single most important step in ensuring your rubber edge protectors stay in place over the long term.
Start by wiping down the table edge with a dry microfiber cloth to remove loose dust and crumbs. Next, apply the cleaning agent recommended in your product’s manual to a clean cloth and thoroughly scrub the top, side, and underside of the table edge where the adhesive will make contact.
If your table is made of glass, metal, or polished stone, isopropyl alcohol is often recommended because it cuts through grease quickly and evaporates without leaving a residue. For wooden tables, a mild soap solution may be safer for the finish, but you must check the manufacturer’s instructions to avoid stripping the varnish or paint.
After cleaning, allow the table edge to dry completely. In humid tropical climates, moisture can linger on surfaces longer than expected, which can severely weaken the adhesive bond. Wait at least fifteen to twenty minutes, or use a clean, dry cloth to ensure there is absolutely no moisture left on the surface before proceeding to the next step.
Step 3: Apply the Adhesive and Attach
With a clean, dry surface ready, you can now apply the adhesive to the rubber protectors. If your product uses double-sided tape, apply the tape to the inside channels of the rubber guard first, pressing it down firmly along the entire length to eliminate air bubbles.
Carefully peel away a small section of the protective backing from the tape, starting at one end. Avoid touching the exposed adhesive with your fingers, as the natural oils on your skin can reduce its stickiness.
Align the protector precisely with the edge of the table. Once aligned, press the rubber guard onto the table surface, gradually peeling away the remaining adhesive backing as you work your way down the length of the table.
After the protector is positioned, use both hands to apply firm, even pressure along the entire strip. Press down on the top, front, and bottom sections of the guard for at least thirty seconds per section to ensure the pressure-sensitive adhesive fully engages with the table surface.
Step 4: Secure and Allow to Cure
Applying the protector is only half the battle; the adhesive needs time to undergo its chemical curing process to reach maximum bond strength. Simply sticking the rubber guard down and immediately returning the table to normal use will likely cause the adhesive to fail.
If your product instructions recommend it, you can use low-tack painter’s tape to temporarily secure the rubber protectors to the table while the adhesive cures. This prevents the rubber from shifting or lifting at the ends if there is any natural tension in the material.
Refer to the manufacturer’s manual to find the exact curing time required for your specific adhesive. Most pressure-sensitive adhesives require at least 24 hours to cure fully and achieve their maximum holding power.
During this curing phase, keep the area completely restricted. Do not allow children to touch, pull, or lean on the newly installed protectors, and avoid placing heavy items or hot dishes near the table edges, as heat and physical stress can disrupt the bonding process.
Adjusting for Different Table Materials
Different table materials interact with adhesives in unique ways, meaning you must adapt your approach based on what your furniture is made of. What works on a glass coffee table might fail on a rustic wooden dining table.
For smooth, non-porous surfaces like glass, polished marble, or metal, adhesives generally bond very easily. However, these surfaces are highly susceptible to showing fingerprint oils, so thorough degreasing with isopropyl alcohol is crucial. Be aware that some heavy rubber guards can slide on vertical glass edges if the adhesive is not given sufficient time to set.
Porous, textured, or painted wood surfaces present a different set of challenges. Unfinished or rough wood can absorb the adhesive, leaving too little on the surface to hold the rubber guard, while painted or varnished wood risks having the finish peel off if the adhesive is too strong. Check the product label of your edge protector to verify if it is rated for use on painted or delicate wood finishes.
If your table has a highly textured surface, a wax coating, or an oil finish, standard double-sided tape may not adhere at all. If you find that the protector keeps lifting despite proper cleaning, stop the installation and consult the manufacturer of both the furniture and the safety guard to find a compatible, non-damaging adhesive solution.
Maintenance and Safety Checks for Baby-Proofing
Baby-proofing is not a one-time task; it requires ongoing vigilance to ensure your home remains safe as your child grows and becomes more active. Over time, daily wear, cleaning, and curious hands can degrade even the strongest adhesive bonds.
Perform routine visual and physical checks of your table edge protectors at least once a week. Look closely for any signs of peeling at the corners, lifting edges, or gaps between the rubber and the table surface. Gently tug on the protectors to verify that they are still firmly attached and cannot be easily pulled away by a child.
If you notice a section has become loose, address it immediately. A partially detached rubber guard is not only ineffective at cushioning impacts, but it also poses a significant choking hazard if a child manages to bite or tear off a piece of the soft rubber. Remove the loose section, clean off the old adhesive completely, and reinstall it using fresh adhesive tape.
Remember that while rubber table edge protectors are an excellent tool for reducing the risk of bumps and bruises, they are a supplementary safety measure. They do not replace active adult supervision, and keeping a watchful eye on your little explorer remains the most effective way to prevent household accidents.
Frequently Asked Questions (FAQ)
How long should I wait before letting my baby near the table?
You should keep your baby away from the table for the entire duration of the adhesive’s curing process, which is typically 24 hours. Refer to your product’s safety data sheet or manual for specific curing times and any warnings regarding temporary off-gassing from the adhesive. Restricting access during this window ensures the bond reaches its maximum strength without being disturbed, and it prevents your child from being exposed to any wet adhesives or fumes.
How do I remove the protectors without damaging the table?
To remove the protectors safely, always consult the manufacturer’s removal instructions first to protect your table’s finish. A common, low-risk method involves using a hair dryer on a low, warm setting to gently heat the adhesive, which softens it and makes the rubber easier to peel away. Once the protector is off, you can use a mild, manufacturer-approved adhesive remover or a small amount of cooking oil to clean up any remaining residue, making sure to test it on a hidden spot of the table first to ensure it does not discolor the finish.
Community discussion
Share your experience or ask a question. Comments are reviewed before publication.