
Installing corner molding is one of the most effective ways to protect an active, crawling baby or toddler from sharp furniture edges. To ensure these protectors stay securely attached and withstand curious hands, you must focus on meticulous surface preparation, precise alignment, and adequate adhesive curing. A rushed installation often results in protectors that peel off within days, leaving sharp corners exposed and creating potential choking hazards if small pieces of adhesive or foam are detached.
By following a systematic installation process, you can create a reliable barrier on coffee tables, cabinets, and low shelves. This guide outlines the exact steps required to prepare your furniture, apply the molding securely, verify the strength of the bond, and maintain the installation over time.
Preparing the Furniture Surface for Maximum Adhesion
Before peeling any adhesive backing, you must evaluate the furniture material and prepare the surface. Corner molding adhesives bond best to smooth, non-porous, or sealed surfaces such as finished wood, metal, and plastic. If you are working with unfinished wood, antique finishes, or delicate veneers, check the furniture manufacturer’s care labels first, as strong adhesives can lift paint or stain during application or eventual removal.
Products mentioned in this guide
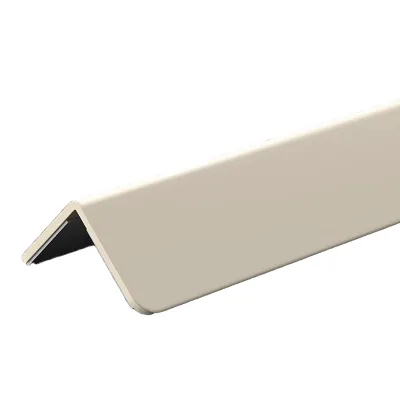
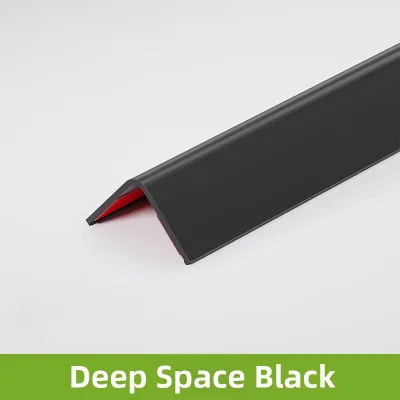
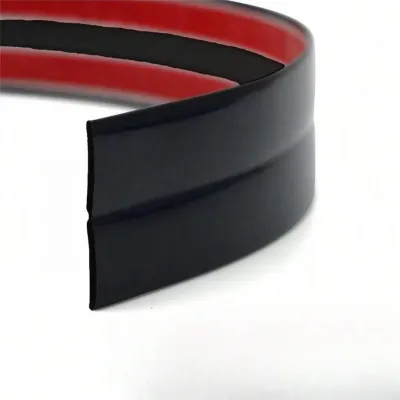
Prices are valid at publication and may change. Please refer to the product page for the latest price.
To achieve a reliable bond, the target area must be completely free of dust, skin oils, and household polish residues. Standard furniture polishes often contain silicone or wax, which create a slick barrier that prevents adhesives from sticking. Clean the corners thoroughly using a mild, baby-safe dish soap diluted in warm water, or use isopropyl alcohol if your furniture’s finish is rated safe for alcohol exposure. Avoid using heavy chemical cleaners that leave a slick film or a strong chemical scent in your child’s living space.
Once cleaned, the surface must dry completely. In warm, humid tropical environments, moisture can easily become trapped beneath the adhesive tape, preventing the chemical bond from fully forming. Allow the cleaned furniture corners to air-dry for at least thirty minutes, or accelerate the process by wiping the area with a clean, dry microfiber cloth. Ensure there is no lingering dampness before moving to the next step.
Step-by-Step Guide to Installing Corner Molding
Proper physical installation requires careful measurement and steady hands. Begin by measuring the exact dimensions of the furniture corner or edge you plan to cover. If you are using a roll of flexible foam molding, cut the piece to length using sharp utility shears, ensuring the cut is straight and clean. Position the dry, unpeeled molding against the corner to verify that it covers the sharpest impact points and does not obstruct the movement of nearby drawers, cabinet doors, or sliding panels.

Next, prepare the adhesive according to the product instructions. Many corner protectors come with pre-applied double-sided tape, while others require you to apply separate adhesive strips or gels. If you are applying the tape yourself, press the adhesive firmly onto the inner surfaces of the molding first, smoothing out any bubbles with your fingers before removing the protective paper backing that will face the furniture.
Align the molding precisely with the corner of the furniture before letting the adhesive make contact. Once the adhesive touches the surface, repositioning it will significantly weaken its holding power. Press the molding firmly onto the corner, starting from the center and working your way outward to the edges.
Apply firm, sustained pressure with both hands for at least thirty seconds. This physical pressure activates the pressure-sensitive adhesive, forcing it into the microscopic texture of the furniture surface and eliminating air pockets that could cause premature lifting.
After securing the molding, you must observe the manufacturer’s specified curing time. Most high-quality adhesives require a full twenty-four hours to reach maximum bonding strength. Keep your baby away from the treated furniture during this curing window, as any pulling, bumping, or tugging before the adhesive fully sets can permanently compromise the installation.
Verifying the Hold and Ensuring Baby Safety
Once the curing period has passed, you must verify that the installation is secure enough to withstand daily wear and tear. Perform a controlled manual pull-test by gently tugging on the molding from various angles. The protector should remain firmly anchored to the furniture without shifting, sliding, or lifting at the edges.
Inspect the entire perimeter of the installed molding for small gaps or loose corners. Babies are naturally curious and will quickly locate any loose edge, using their fingers to peel the protector away. If you find any gaps where a tiny finger could catch, or if the molding lifts easily during your pull-test, you must address it immediately.
Define clear stop conditions for your installation. If the molding shifts easily or fails the initial pull-test, do not attempt to press the failed adhesive back down. Instead, remove the protector, clean the surface again to remove any residue, and reinstall it using a fresh piece of baby-safe double-sided tape. If standard adhesives repeatedly fail on a specific material, you may need to switch to a different style of corner protector or temporarily move the furniture out of your child’s play area.
Remember that corner molding is a supportive safety measure and not a substitute for active caregiver supervision. Monitor your baby’s initial interactions with the newly protected furniture to ensure they do not attempt to bite, chew, or pull at the foam, which could present a choking hazard if damaged.
Maintaining and Safely Removing Corner Molding
Adhesives do not last indefinitely, especially in warm, humid climates where moisture can gradually degrade the bonding agents. Establish a weekly routine to visually inspect and physically touch each corner protector in your home. Check for signs of peeling, cracking, or hardening of the foam or silicone material, and replace any damaged protectors immediately.
When your child outgrows the need for corner protection, you must remove the molding carefully to avoid damaging your furniture’s finish. Do not rip the protectors off forcefully. Instead, use a hairdryer on a low, warm setting to gently heat the molding and soften the underlying adhesive. Hold the dryer a few inches away and move it constantly to avoid overheating the wood or paint.
Once the adhesive is warm and pliable, slowly peel the molding back at a shallow angle, working from one end to the other. If you encounter resistance, apply a small amount of vegetable oil, coconut oil, or a manufacturer-approved mild adhesive remover to the edge of the tape to help slide it free.
After the molding is removed, clean up any remaining sticky residue. Wipe the area with a soft cloth dipped in warm, soapy water or a tiny amount of oil, then dry the surface thoroughly. If you notice the furniture finish lifting or cracking during the removal process, stop immediately and consult a professional furniture restoration specialist to prevent further damage.
Frequently Asked Questions (FAQ)
Can I reuse corner molding if it falls off?
You should generally avoid reusing corner molding if the adhesive has failed completely or if the protector itself is damaged. Inspect the foam or silicone for tears, bite marks, or structural deformation; if the material is compromised, discard it immediately to prevent choking hazards. If the protector is in perfect condition but the adhesive has failed, you can reuse it by thoroughly scraping away all old adhesive residue from both the protector and the furniture. Clean both surfaces with mild soap and water, dry them completely, and apply a fresh strip of high-quality, baby-safe double-sided tape. Spending ₱100 to ₱200 on dedicated replacement tape is a simple way to ensure the protector remains secure.
Is it safe to install corner molding on glass tables?
Installing corner molding on glass tables requires careful consideration of the glass thickness and edge profile. Standard adhesive-backed foam or clear silicone protectors can be applied to tempered glass, but you must ensure the adhesive is formulated specifically for glass surfaces to prevent permanent clouding or etching. Suction-cup style protectors are generally unreliable for baby-proofing as toddlers can easily pull them off. Because glass tables present severe impact and breakage risks, you should verify that the glass is tempered and structurally sound. If the table has thin, sharp, or delicate glass edges, the safest decision is to store the table away entirely until your child is older.
Community discussion
Share your experience or ask a question. Comments are reviewed before publication.