
Baby-proofing a home is a top priority for parents, but smooth, tiled areas like bathrooms, kitchens, and entryways present a unique challenge. Standard baby-proofing guards that stick easily to wooden coffee tables or drywall corners often peel right off shiny, glazed tiles. To install a corner edge protector for tiles so it stays attached, you must use a precise combination of deep degreasing, high-tack acrylic foam tape or baby-safe silicone, and a dedicated curing period.
When baby-proofing, it is crucial to remember that no safety device replaces active adult supervision. Always verify the manufacturer’s age recommendations, installation warnings, and material safety data sheets before applying any adhesive product in areas accessible to infants.
By understanding the physical properties of tile and using the correct preparation steps, you can create a highly secure bond. This guide walks you through the exact tools, step-by-step methods, and maintenance routines needed to keep your tiled corners safely covered.
Products mentioned in this guide
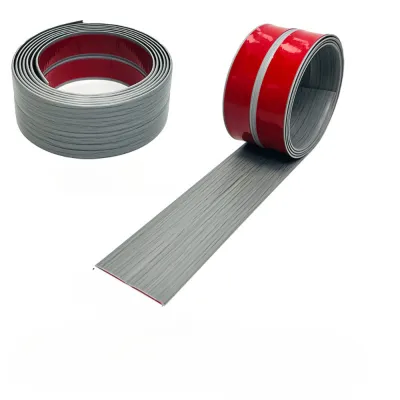
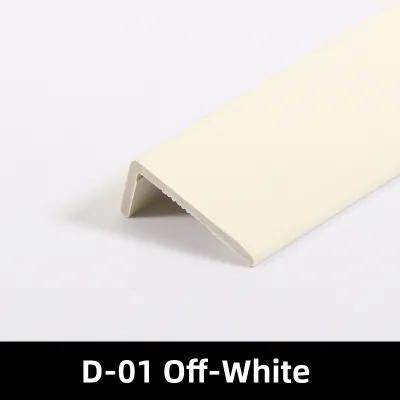
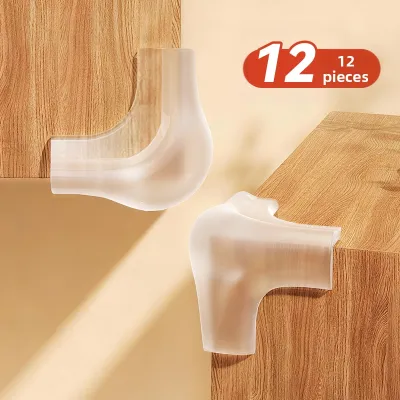
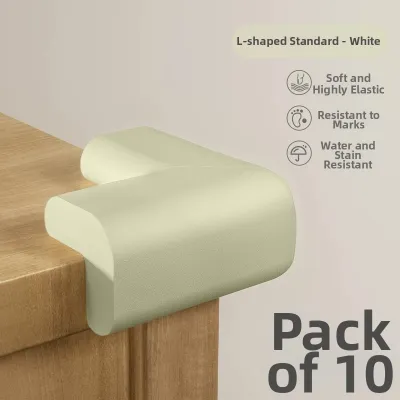
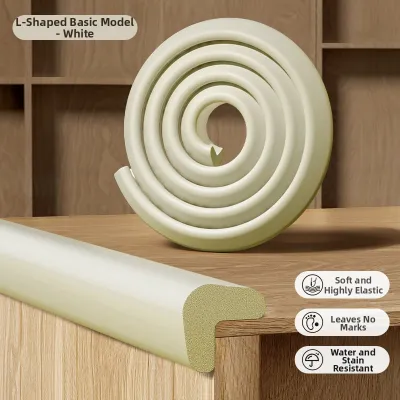
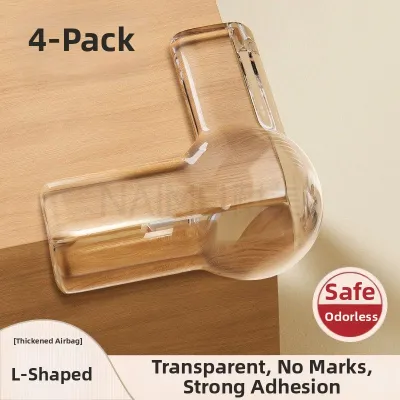
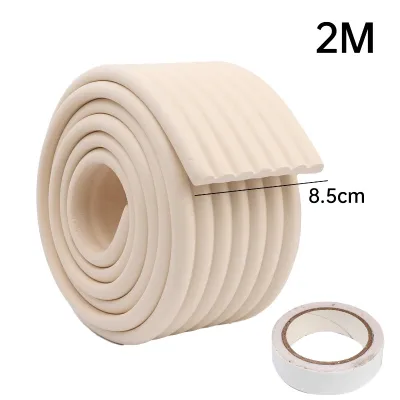
Prices are valid at publication and may change. Please refer to the product page for the latest price.
Why Tile Surfaces Need Special Adhesion Techniques
Glazed ceramic, porcelain, and natural stone tiles are engineered to be dense, smooth, and non-porous. While these properties make tiles incredibly easy to clean and highly resistant to stains, they also make them exceptionally difficult surfaces for standard adhesives. Typical pressure-sensitive tapes rely on microscopic pores in materials like wood or painted drywall to create a mechanical grip. On a glassy, non-porous tile surface, the adhesive cannot penetrate, leaving it to rely entirely on a surface-level chemical bond that is easily compromised.
Environmental conditions in tiled spaces further complicate this bond. In the Philippines, high tropical humidity and warm temperatures can cause standard adhesives to soften, slide, or degrade over time. Furthermore, tiles in bathrooms and kitchens are constantly exposed to moisture, steam, airborne cooking oils, and soap residue. These elements form an invisible, slippery film over the tile glaze, preventing adhesives from making direct contact with the surface.
A weak bond on a corner edge protector for tiles is more than just a minor inconvenience; it is a serious safety hazard. If a crawling baby or toddler pulls on a loose protector, they can easily detach it. A detached silicone or foam corner piece, along with its peeling adhesive backing, represents a severe choking hazard for young children who naturally explore their environment by putting objects in their mouths. Ensuring a permanent, heavy-duty bond is essential to prevent these dangerous situations.
Tools and Materials for a Secure, Baby-Safe Installation
Achieving a long-lasting bond on tile requires selecting the right materials and preparation tools. Before purchasing any safety gear, read the product packaging to verify suitability for your child’s developmental stage and check for any manufacturer recalls or safety certifications.

First, select high-quality corner edge protectors. Look for products made from non-toxic, food-grade silicone or dense, BPA-free foam. Ensure the shape of the protector matches the profile of your tile corners. For example, standard 90-degree mitered tile corners require a sharp right-angle protector, while rounded bullnose tiles require a more flexible, curved guard to prevent air gaps beneath the adhesive.
Second, choose a high-performance adhesive. Avoid standard double-sided craft tapes or cheap stationery adhesives, which will fail almost immediately on tile. Instead, opt for heavy-duty acrylic foam tapes designed specifically for smooth, non-porous surfaces like glass and metal, or use a baby-safe silicone adhesive sealant. When using liquid silicone, verify the manufacturer’s safety data sheet to ensure it does not release toxic fumes or volatile organic compounds (VOCs) during the curing process. Quality baby-proofing kits typically range from ₱150 to ₱500, and investing in reputable brands is highly recommended.
Third, gather your cleaning and preparation supplies. You will need 70% or higher isopropyl alcohol (rubbing alcohol) and clean, lint-free microfiber cloths. Avoid using paper towels, which can leave behind tiny fibers that interfere with the adhesive bond.
Finally, have a roll of low-tack painter’s tape or masking tape on hand. This will serve as a temporary clamp, holding the protector tightly against the tile while the adhesive cures.
Step-by-Step Installation Guide for Tile Surfaces
To ensure your corner edge protector for tiles remains permanently attached, you must follow a methodical installation process. Skipping even a single preparation step can result in the adhesive failing within a few days.
Step 1: Deep Clean and Degrease the Tile
The first and most critical step is removing all surface contaminants from the tile. Begin by washing the corner thoroughly with mild dish soap and warm water to remove visible dirt, dust, and grime. Dry the area completely with a clean towel.
Next, perform a deep degreasing step. Pour a generous amount of 70% isopropyl alcohol onto a clean microfiber cloth and rub the tile surface vigorously. The alcohol acts as a solvent, stripping away microscopic layers of soap scum, body oils, skin cells, and kitchen grease that soap and water leave behind.
Never use glass cleaners, multi-surface sprays, or scented household detergents for this step. Many of these commercial cleaners contain silicones, waxes, or polishing agents designed to leave a shiny, water-repellent coating. This invisible film acts as a barrier, preventing the adhesive from making direct contact with the tile surface.
Step 2: Prepare the Protector and Adhesive
Before applying any adhesive, perform a “dry fit” by holding the corner protector against the tile. Verify that it sits flush against both sides of the corner without any tension or warping. If the protector is too long or uneven, trim it carefully with sharp scissors.
If you are using double-sided acrylic foam tape, cut the tape strips to fit the inner channels of the protector. Cut the strips slightly smaller than the protector’s edges. Leaving a small border of 1 to 2 millimeters prevents the adhesive from squeezing out under pressure, which would otherwise create a sticky edge that invites a baby’s curiosity.
If you are using a liquid silicone adhesive, apply a thin, even bead down the center of each inner channel. Avoid applying too much adhesive near the edges to prevent messy squeeze-out. Keep the protective paper backing on the double-sided tape until the exact moment you are ready to mount the protector to prevent airborne dust from contaminating the sticky surface.
Step 3: Apply, Press, and Temporarily Secure
Carefully align the corner protector with the tile edge before letting the adhesive touch the surface. Pressure-sensitive adhesives form an immediate, high-strength contact bond upon touch; attempting to peel off and reposition the protector will destroy the adhesive’s integrity and require you to start over with fresh tape.
Once aligned, press the protector firmly against the tile corner. Use your thumbs to apply steady, concentrated pressure across the entire surface of the protector for at least 30 to 60 seconds. This physical pressure is necessary to activate the acrylic adhesive, forcing it to flow into the microscopic imperfections of the tile surface.
Immediately secure the protector using strips of low-tack painter’s tape. Wrap the painter’s tape tightly around the protector and anchor it to the adjacent dry tiles. This temporary binding acts as a clamp, maintaining constant pressure and preventing the protector from shifting or lifting while the adhesive begins its chemical bonding process.
Step 4: Allow Proper Curing Time Before Use
One of the most common reasons baby-proofing guards fall off is premature testing. There is a vital difference between “initial tack” (the immediate stickiness) and “full cure” (the maximum chemical bond). Most heavy-duty acrylic tapes and silicone adhesives require 24 to 72 hours to achieve a complete cure.
During this curing window, keep your child completely away from the newly installed corner protector. Even a minor tug from a curious toddler can break the developing chemical bonds, rendering the installation weak and prone to falling off later.
Be sure to consult the specific adhesive manufacturer’s instructions for exact curing times. Keep in mind that high tropical humidity or cool, air-conditioned indoor air can extend the time required for the adhesive to cure completely.
How to Test the Bond and Maintain Ongoing Safety
Once the full curing period of 24 to 72 hours has passed, remove the temporary painter’s tape. It is now time to verify the strength of the installation.
Perform a controlled “pull test” by giving the corner protector a firm but gentle tug. It should feel completely solid, with no shifting, wiggling, or lifting along the edges. If the protector moves or peels away easily during this test, the bond has failed, and you must remove it, clean the tile again, and reinstall it.
Incorporate a visual and physical check of all corner protectors into your weekly cleaning routine. Look closely for any signs of lifting, dirt accumulation under the edges, or peeling adhesive. Toddlers are highly observant and will quickly exploit any loose edge they can find.
If you notice that a protector has become loose, moves when touched, or has exposed adhesive, remove it immediately. A compromised corner guard no longer provides adequate impact protection and poses a severe choking hazard if the child manages to pull it off entirely.
Remember that environmental factors can affect adhesive performance over time. In high-moisture areas like bathrooms, hot steam from showers can temporarily soften certain adhesives. Regular inspections in these high-humidity zones are critical to ensuring your child’s ongoing safety.
Safe Removal Methods That Will Not Damage Your Tiles
When your child outgrows the need for baby-proofing, or if you need to replace a damaged guard, you must remove the protector carefully to avoid damaging your tiles or grout.
Start by applying gentle heat to the corner protector using a hairdryer on a warm, low-speed setting. Keep the hairdryer moving constantly to avoid concentrating too much heat on a single spot, which could damage the tile glaze or cause the surrounding grout lines to crack. The heat will soften the adhesive, making it pliable.
While the adhesive is warm, slide a piece of dental floss or high-strength fishing line behind the corner protector. Using a gentle, back-and-forth sawing motion, guide the line down the length of the corner to slice through the softened adhesive. This safely separates the protector from the tile without putting leverage on the tile itself.
Once the protector is removed, clean up any remaining sticky residue. Use a plastic scraper along with a tile-safe adhesive remover or rubbing alcohol to dissolve the residue. Never use metal scrapers, razor blades, or abrasive steel wool, as these tools can permanently scratch and dull glazed ceramic or porcelain tile surfaces.
Frequently Asked Questions (FAQ)
Can I use standard double-sided tape on bathroom or kitchen tiles?
No, standard double-sided office or craft tapes are not designed to withstand the conditions found on tile surfaces. They lack the moisture resistance and aggressive tack required to bond with smooth, non-porous glazed tiles. Under the influence of high humidity, steam, or kitchen grease, standard tapes will quickly fail, causing the corner protector to fall off and creating a safety hazard for your baby. Always use heavy-duty acrylic foam tapes or baby-safe silicone adhesives.
What should I do if my baby keeps picking at the edges of the protector?
If your baby is attracted to the corner protector, inspect the installation immediately. Use sharp scissors to trim away any slightly lifted edges or exposed adhesive that your child can grip. Ensure that no adhesive squeezed out during the initial installation, as sticky residues are highly tactile and attractive to toddlers. If the protector is loose or heavily picked at, remove it entirely, clean the tile thoroughly, and reinstall a fresh protector, ensuring a completely flush fit with no exposed edges.
Community discussion
Share your experience or ask a question. Comments are reviewed before publication.