
Quick Answer: Securing Baby Wall Guards Safely
Installing baby wall guards without ruining your paint requires a careful balance of surface preparation, the right adhesive, and a patient removal strategy. To protect your walls, you must thoroughly clean the surface to remove oils and dust, select a high-quality, paint-safe adhesive recommended by the guard manufacturer, and use gentle heat from a hairdryer when it is time to take the guards down. This systematic approach ensures the safety padding remains firmly in place to protect your little one while keeping your home’s paint finish completely intact. By following these steps, you can create a secure environment for your child without facing expensive wall repairs later.
Preparing Your Walls and Gathering Tools
Before you begin sticking any safety guards to your walls, gathering the proper tools and preparing the surface is essential for a lasting, damage-free bond. You will need a reliable measuring tape, a spirit level, a pencil for light marking, and mild, non-residue cleaning supplies. A simple mixture of water and a few drops of mild dish soap works best, as harsh chemical cleaners can leave behind a slick film that prevents adhesives from sticking properly.

In tropical climates, high humidity can trap moisture on wall surfaces, which severely weakens adhesive bonds over time. Wipe down the target area with your damp cloth to remove accumulated dust, grease, and fingerprints, then allow the wall to dry completely. Running a fan or air conditioner can help speed up this drying process and ensure no microscopic moisture layer remains before you apply any adhesive.
Products mentioned in this guide
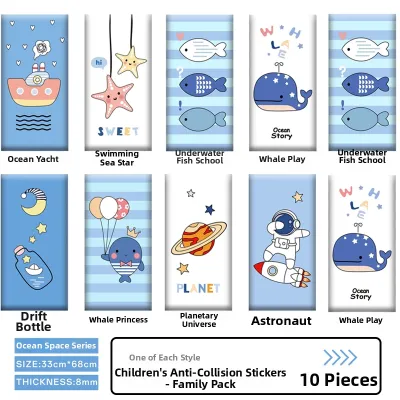
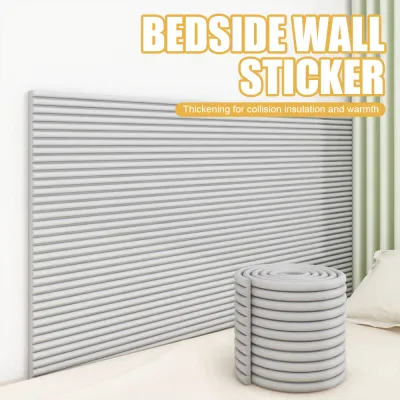
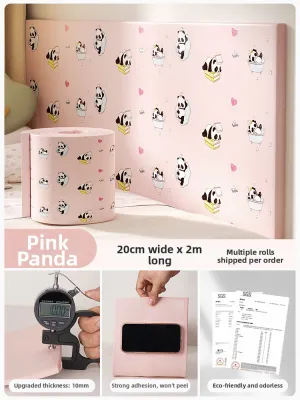
Prices are valid at publication and may change. Please refer to the product page for the latest price.
While cleaning, take a close look at the condition of your wall paint. If you notice any peeling, bubbling, or chalking, applying adhesive directly to these areas will only pull the loose paint right off the drywall. Any compromised paint must be scraped, patched, and repainted before you attempt to install baby wall guards. Additionally, if the wall has been recently painted, you must wait for the paint to cure fully rather than just dry to the touch.
Choosing the Right Adhesive for Painted Walls
Selecting the correct adhesive is the most critical decision in this process, as it determines both the stability of the baby wall guard and the safety of your paint during removal. Different adhesive categories offer varying levels of holding strength and ease of removal, and you must match them to your specific wall type.
Double-Sided Foam Tape This is a common option that provides excellent cushioning and conforms well to slight wall imperfections. However, standard foam tapes can be incredibly difficult to remove without tearing the paint. If you choose foam tape, look for varieties specifically labeled as removable or clean-peel, which are designed to release their grip under heat.
Removable Mounting Strips Often used for hanging pictures, these strips feature a pull-tab mechanism that stretches the adhesive parallel to the wall, releasing the bond cleanly. They are highly effective for lightweight wall guards, but you must verify that their weight capacity matches the weight of your safety padding.
Non-Marking Adhesive Putty While highly reusable and completely safe for paint, adhesive putty generally lacks the shear strength required to hold heavy baby wall guards in place. It is best reserved for very light, temporary foam corner protectors rather than large wall-shielding panels.
Always prioritize the baby wall guard manufacturer’s recommended adhesive guidelines. Using an unapproved adhesive can void your product’s warranty and, more importantly, compromise the guard’s stability, creating a safety hazard if the guard falls off while your baby is playing.
Under no circumstances should you use heavy-duty construction adhesives, super glues, or unverified industrial-strength tapes on standard painted interior walls. These products are formulated to create permanent, structural bonds. Attempting to remove them will inevitably tear away the drywall paper, leaving you with costly repairs that can run into thousands of pesos ‑‑ costing you significantly more than the initial safety setup.
Step-by-Step Installation Guide
A successful installation requires precision and patience to ensure the guards are straight, secure, and safe for your child. Follow these steps to achieve a professional, damage-free result.
Step 1: Measure and Mark Use your measuring tape to determine the exact height and placement of the wall guards. It is helpful to align them with your baby’s current height and developmental stage, focusing on areas where they are most likely to bump or fall. Use a spirit level to draw light, erasable pencil guidelines on the wall. Ensure you maintain consistent gaps and avoid placing guards directly over electrical outlets, light switches, or baseboards.
Step 2: Apply the Adhesive Apply the chosen adhesive strips or tape to the back of the wall guard according to the manufacturer’s instructions. Space the adhesive evenly across the guard to distribute the weight and impact forces. Avoid touching the sticky surface of the adhesive with your fingers, as natural skin oils can reduce its bonding power.
Step 3: Press and Hold Align the guard with your pencil marks on the wall. Press the guard firmly against the wall, applying even pressure across the entire surface for at least thirty seconds. This initial pressure is crucial for activating pressure-sensitive adhesives and ensuring a deep bond with the painted drywall.
Step 4: Allow to Cure Do not let your baby near the wall guards immediately. Most adhesives require a specific curing or setting time to reach their maximum holding strength. Check the adhesive packaging for the recommended wait time, which is often up to twenty-four hours, especially in humid environments.
Step 5: Verify Stability Before allowing your child to play near the newly protected area, perform a gentle stability check. Under close caregiver supervision, try pulling lightly on the edges of the guard to ensure it does not budge or peel away. If the guard feels loose, stop use immediately, remove it, and re-evaluate your adhesive choice or wall preparation.
Safe Removal: Taking Down Guards Without Damaging Paint
When your child outgrows the need for wall padding, or if you need to reposition a guard, removing the adhesive safely requires a slow, methodical approach to preserve your wall finish.
To begin, use a hairdryer set to a low, warm setting to gently heat the adhesive behind the wall guard. Hold the hairdryer a few inches away from the guard and move it continuously to avoid overheating and blistering the paint. The heat will soften the adhesive, making it pliable and much easier to release.
Once the adhesive is warm, slowly peel the wall guard away from the wall at a shallow angle, rather than pulling it straight outward. Pulling straight out puts immense tension on the paint layer, whereas peeling at an angle shears the adhesive bond. If you encounter resistance, stop pulling and apply more warm air to that specific section.
If any sticky residue remains on the wall after the guard is removed, do not scrape it with sharp metal tools. Instead, use a mild, paint-safe adhesive remover or a small amount of cooking oil on a soft microfiber cloth. Gently rub the residue in a circular motion until it lifts, then clean the area with mild soapy water and dry it thoroughly.
Critical Stop Condition If at any point during the removal process you see the wall paint beginning to lift, bubble, or tear away from the drywall, stop pulling immediately. Continuing will only cause larger patches of paint to peel. Reassess your removal method, apply more gentle heat, or consult a professional painter to assist with the removal and subsequent wall touch-ups.
Frequently Asked Questions (FAQ)
Can I install baby wall guards on textured or wallpapered surfaces?
Installing adhesive baby wall guards on heavily textured walls, such as stucco or knockdown finishes, is generally not recommended. The uneven surface significantly reduces the contact area for the adhesive, which compromises the guard’s holding strength and makes it easier for a child to pull down. For textured walls, mechanical fasteners or free-standing playpens are often safer alternatives.
Wallpapered surfaces present a different challenge. The adhesive on the wall guard will bond strongly to the paper layer. When you eventually try to remove the guard, the adhesive will almost certainly tear the wallpaper or pull it away from the drywall backing. Always check your wallpaper manufacturer’s guidelines before applying any adhesives, and consider using non-adhesive physical barriers instead.
How long should I wait after painting a wall before installing guards?
It is crucial to understand the difference between paint that is dry to the touch and paint that is fully cured. While modern latex or acrylic paints may feel dry within a few hours, they can take several weeks to fully cure, harden, and bond to the underlying drywall.
Applying adhesives to uncured paint traps moisture and solvents underneath, which prevents the paint from curing properly and weakens the adhesive bond. More importantly, when you remove the guard, the uncured paint will easily peel off with the adhesive. Always verify the specific paint manufacturer’s recommended curing timeframe on the product label—which typically ranges from two to four weeks—before installing any baby wall guards.
Community discussion
Share your experience or ask a question. Comments are reviewed before publication.