
Installing a refrigerator door lock is a highly effective way to keep your curious toddler safe from heavy falling items, spoiled food, and potential pinching hazards. To do this properly, you must thoroughly clean the appliance surface, choose a high position out of your child’s reach, apply the lock with firm pressure, and allow the adhesive to cure completely before use. While a high-quality lock provides an excellent physical barrier, it is important to remember that childproofing devices are secondary aids and cannot replace active adult supervision. As toddlers grow and develop new motor skills, their ability to bypass basic latches increases, making regular inspection of your home safety setup essential.
Preparing the Refrigerator Surface for Installation
The strength of any adhesive-based child safety lock depends heavily on how well the mounting surface is prepared. Dust, grease, kitchen oils, and even invisible condensation can form a barrier that prevents the adhesive tape from bonding securely to the refrigerator door. In tropical climates like the Philippines, high ambient humidity often causes a thin layer of moisture to settle on metal appliances, which will instantly ruin the adhesive backing if not addressed.
To begin, select a cleaning agent that removes grease without leaving behind a slick residue. Isopropyl alcohol (rubbing alcohol) is the most reliable choice for most appliance finishes, as it cuts through kitchen grime and evaporates quickly. Avoid using heavy-duty glass cleaners, dish soaps with added moisturizers, or multi-surface sprays that contain wax or silicone, as these products leave a microscopic film that prevents the adhesive from fusing with the refrigerator surface.
Products mentioned in this guide
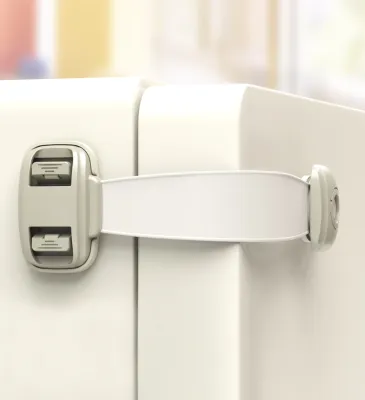
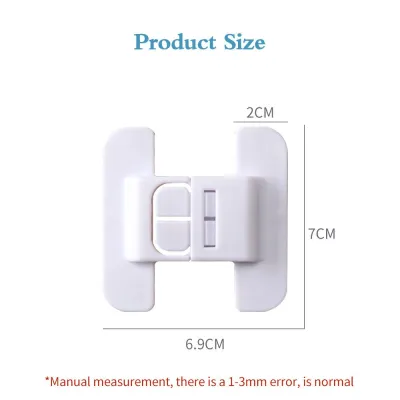
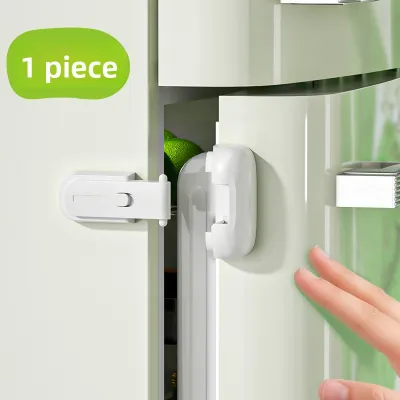
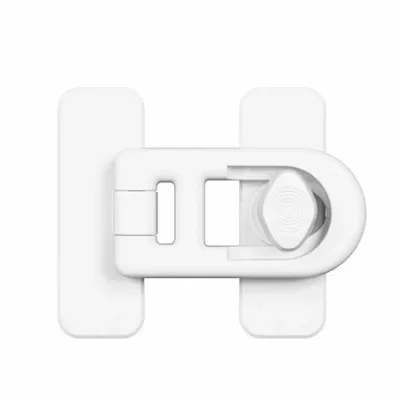
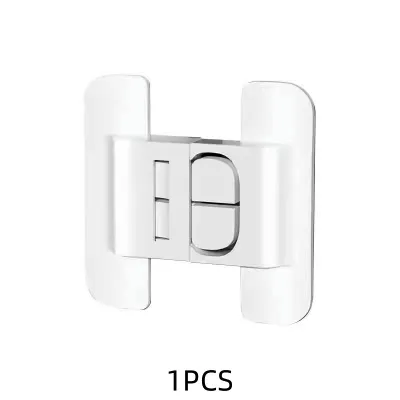
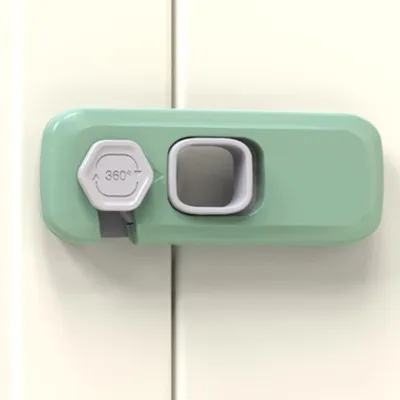
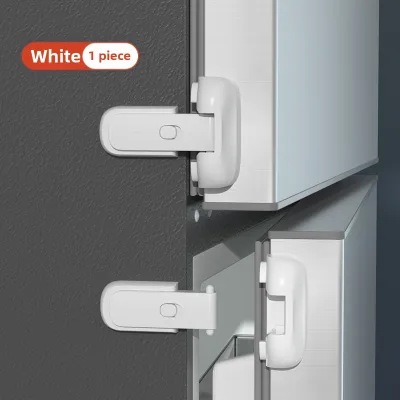
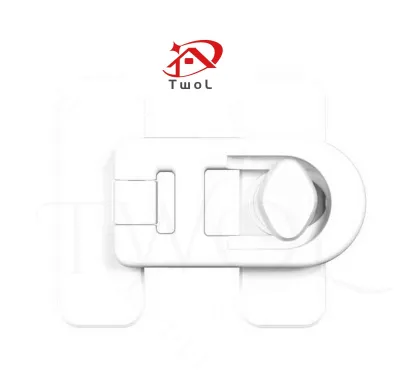
Prices are valid at publication and may change. Please refer to the product page for the latest price.
After wiping the area thoroughly with alcohol, let it dry completely. In humid environments, you may need to wipe the area with a dry, lint-free microfiber cloth and wait several minutes to ensure no ambient moisture has re-condensed on the cold metal. Always consult the lock manufacturer’s instructions to verify if your specific refrigerator finish—such as matte, textured, or painted metal—is compatible with the provided adhesive, and ensure the room temperature falls within the manufacturer’s recommended installation range.
Choosing the Right Position for Maximum Security
Finding the optimal location for your refrigerator lock is crucial for preventing your toddler from leveraging the door open. Toddlers are surprisingly strong and will use their entire body weight to pull on a handle or door edge. If the lock is placed too low, a child can easily reach it, study how it operates, or apply enough downward force to pull the adhesive clean off the appliance.

Position the lock high up on the refrigerator door, well out of your child’s current reach and high enough to account for their rapid growth over the coming months. Ideally, the lock should be installed near the top corner of the door opposite the hinges. Placing the lock too close to the hinges reduces its effectiveness, as the door can still be pried open slightly at the outer edge, creating a gap where small fingers can get pinched.
While height is your primary defense, you must also ensure the lock’s placement does not interfere with the refrigerator’s rubber door seal (the gasket). The lock components should sit entirely on the solid exterior frame and the door face, without pinching or compressing the flexible gasket. A compromised seal will allow cold air to escape, forcing your appliance to work harder, increasing your electricity bill, and potentially causing food to spoil prematurely.
Step-by-Step Installation Guide
Before beginning the physical installation, unbox your child safety lock and read the manufacturer’s documentation to confirm the recommended age range and weight limits. If you are installing an adhesive-based lock, start by peeling off the protective backing from one side of the lock. Align the first anchor pad carefully with your pre-marked position on the refrigerator frame, then press down with firm, even pressure using the palm of your hand for at least thirty seconds.
Next, align the second anchor pad on the refrigerator door, ensuring the connecting strap or latch is straight and has the appropriate amount of tension. If the strap is too loose, the door will open slightly, which defeats the purpose of the lock; if it is too tight, it will put constant stress on the adhesive, leading to premature failure. Press and hold the second pad firmly for another thirty seconds. Once both sides are attached, do not attempt to open, pull, or test the lock immediately. Most high-strength adhesives require a mandatory curing period of twenty-four hours to reach full bonding strength, and exposing them to tension too early will cause them to fail.
For screw-mounted locks, which are sometimes used on older appliances or in commercial settings, the installation process requires extreme caution. You must consult your refrigerator’s user manual to locate the internal cooling lines and electrical wiring before drilling any holes. Puncturing a refrigerant line is highly dangerous, can release harmful gases, and will permanently ruin the appliance. If you proceed with drilling, use a drill bit slightly smaller than the mounting screws, drill only through the outer sheet metal layer, and secure the hardware carefully to avoid cracking the plastic interior liner.
Always establish clear stopping conditions during installation. If you notice that your refrigerator’s exterior casing is unusually thin, flexible, or damaged, or if the lock’s instructions directly conflict with your appliance’s safety warnings, halt the installation immediately. In such cases, consult a professional technician or look for alternative, non-invasive baby-proofing solutions.
Testing the Lock and Establishing Safety Boundaries
Once the mandatory curing time has passed—typically a full day—you must verify that the lock is secure enough to withstand daily use. Perform a gentle manual stress test by pulling on the refrigerator door with a moderate amount of force, simulating the tug of a determined toddler. The lock should hold firmly without the adhesive pads lifting, peeling, or shifting along the metal surface.
While performing this test, closely inspect the rubber door gasket. Ensure that when the lock is fully engaged, the door remains completely closed and the gasket forms a tight, unbroken seal against the refrigerator frame. If you see any visible gaps or feel cold air escaping, the lock may be positioned too tightly or misaligned, requiring you to adjust the strap tension or reposition the device.
Over time, daily wear, kitchen heat, and humidity can degrade even the strongest childproofing materials. Make it a habit to inspect the lock weekly for signs of adhesive failure, plastic fatigue, or hairline cracks in the latch mechanism. If you notice the edges of the adhesive pads starting to lift, or if the plastic feels brittle, replace the lock immediately to maintain a safe environment for your child.
Common Installation Mistakes to Avoid
One of the most common mistakes parents make is rushing the adhesive curing process. It can be tempting to test the lock or let your toddler back into the kitchen immediately after installation, but applying tension before the adhesive has fully cured will significantly shorten its lifespan. Keep your child supervised or out of the kitchen entirely during the initial twenty-four hours to ensure the bond remains undisturbed.
Another frequent error is attempting to install adhesive locks on textured, uneven, or heavily curved surfaces. Standard mounting tape requires flat, smooth contact to create a secure bond. If your refrigerator has a heavily textured “leather” finish or a curved retro design, standard flat adhesive pads may not hold, and you will need to look for flexible strap locks specifically rated for uneven surfaces.
Lastly, avoid placing the lock in a position where your child can easily watch you operate it. Toddlers are highly observant and learn by imitation. If they regularly see you press a specific button or slide a latch at eye level, they will quickly attempt to mimic your actions. Installing the lock high up not only keeps it physically out of reach but also keeps the release mechanism out of their direct line of sight, reducing the likelihood of them figuring out how to bypass it.
Frequently Asked Questions (FAQ)
Can I install an adhesive lock on a stainless steel refrigerator?
Yes, you can install adhesive locks on most stainless steel appliances, but you must take extra care to protect the finish. Before applying any adhesive, check the lock’s packaging to ensure it is explicitly rated for stainless steel surfaces. It is highly recommended to test the adhesive on a small, inconspicuous area—such as the very bottom or back edge of the door—to ensure it does not discolor or react with the protective anti-fingerprint coating common on modern stainless steel. If you are concerned about damaging an expensive finish, or if the manufacturer warns against adhesives, consider using a strap-based lock that anchors to the textured side panels of the refrigerator instead of the front face.
How do I remove an adhesive refrigerator lock without damaging the finish?
When your child has outgrown the need for a refrigerator lock, you can remove the adhesive pads safely without scratching or discoloring the appliance. Start by applying gentle heat to the adhesive pad using a hairdryer on a low or medium setting for one to two minutes. This softens the acrylic glue, making it pliable and easier to release. Once warmed, use a safe scraping tool, such as a plastic spudger, an old credit card, or a plastic dough scraper, to gently pry up the edges of the pad. Avoid using metal knives, razor blades, or abrasive scrubbing pads, as these will permanently scratch the metal or paint. Any remaining sticky residue can be safely dissolved using a small amount of baby oil, eucalyptus oil, or a mild, citrus-based adhesive remover applied to a soft microfiber cloth, followed by a quick wipe with soapy water.
Community discussion
Share your experience or ask a question. Comments are reviewed before publication.