
To properly install a Chicco car seat and verify its security, you must choose a single, approved installation method—either the lower ISOFIX/LATCH anchors or the vehicle’s seat belt—and secure the seat so it moves less than one inch in any direction. Verification requires a physical check of the belt path, checking the built-in recline angle indicators, and ensuring the harness snugly fits your child. Correct installation is a critical step in protecting your child during vehicle travel, requiring careful alignment with both your car seat manual and your vehicle’s owner manual.
Preparation Before Installing Your Chicco Car Seat
Before beginning the installation process, gather both the Chicco car seat instruction manual and your vehicle’s owner’s manual. Every car seat model has specific weight limits, height limits, and routing paths that dictate how it must be configured. Similarly, vehicle manufacturers specify which seating positions are safe for car seats and where the lower anchor points are located.
Read the warning labels affixed to the side and back of the Chicco car seat. These labels contain critical safety information, including the expiration date of the seat and specific weight ranges for rear-facing and forward-facing configurations. Never assume a car seat is suitable for your child based on the product name alone; always verify their current weight and height against the limits specified in the documentation.
Products mentioned in this guide

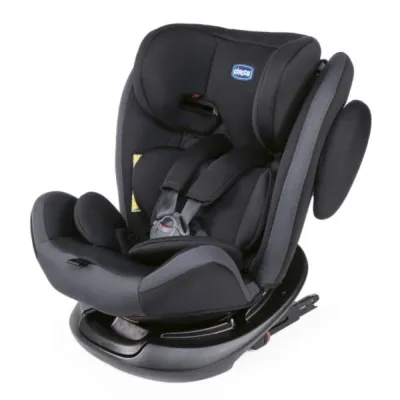
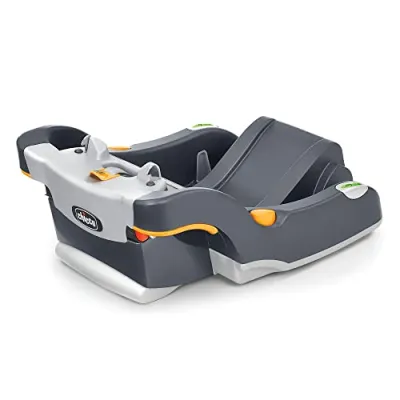


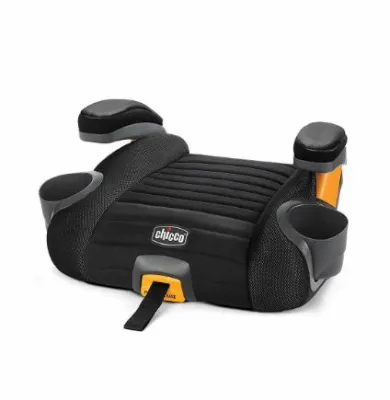
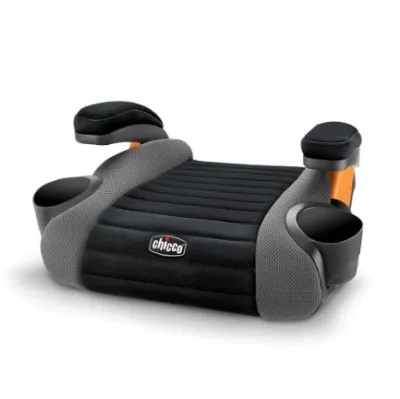

Prices are valid at publication and may change. Please refer to the product page for the latest price.
Examine your vehicle’s back seat and identify the approved seating positions. The center rear seat is often considered the safest position, but many vehicles do not have lower ISOFIX anchors dedicated to the center seat. If you plan to use the center seat, you may need to use the vehicle seat belt installation method instead of lower anchors. Check your vehicle’s manual to confirm if “anchor borrowing” from the outboard seats is permitted, as this is highly restricted.
Clear the vehicle seat of all debris, loose items, and aftermarket seat protectors unless they are explicitly approved by Chicco. In warm, humid climates like the Philippines, dust, sweat, and moisture can accumulate on vehicle upholstery, which can cause the car seat base to slip during installation. Wipe the vehicle seat dry and ensure the surface is flat, firm, and completely unobstructed before placing the car seat or base down.
Step-by-Step Installation Methods
The physical installation of your Chicco car seat can be accomplished using one of two primary attachment systems: the lower ISOFIX/LATCH anchors or the vehicle’s seat belt. Both methods are safe when executed correctly, but they require entirely different routing paths and tensioning techniques.

You must choose only one installation method unless the specific Chicco instruction manual explicitly permits the simultaneous use of both systems. Using both systems at the same time when not authorized can put unexpected stress on the car seat frame during a collision, potentially causing the seat to fail. Select the method that provides the tightest, most secure fit in your specific vehicle.
Installing with ISOFIX / LATCH Anchors
To install using the lower anchors, first locate the metal anchor bars embedded in the crease of your vehicle’s rear seat. These bars are typically marked with small circular symbols or plastic covers. Position the Chicco car seat or its detachable base on the vehicle seat, ensuring it faces the correct direction for your child’s age and weight.
Extend the lower anchor straps from the car seat base. Push the connectors onto the vehicle’s anchor bars until you hear a distinct click on both sides. Pull back firmly on each connector to verify that they are securely locked onto the metal bars and cannot slide off.
Once connected, apply your body weight to the center of the car seat or base to compress the vehicle’s seat cushion. While pressing down, pull the adjustment strap or engage the built-in tensioning mechanism to remove all slack from the anchor webbing. Many Chicco models feature a force-multiplying tensioner system that makes it easier to achieve a tight fit with minimal physical effort; refer to your manual to see how to operate your specific model’s tensioner.
If you are installing a forward-facing car seat, you must also locate the top tether strap on the back of the car seat. Route this strap over the vehicle seat back and attach it to the designated top tether anchor point in your vehicle, which may be on the rear shelf, the back of the seat, or the floor. Tighten the tether strap until it is taut, as this crucial connection prevents the top of the car seat from throwing forward in a crash.
Installing with the Vehicle Seat Belt
If your vehicle does not have lower anchors, or if your child has exceeded the weight limit for the ISOFIX system, you must install the car seat using the vehicle’s seat belt. Start by identifying the correct belt path on the Chicco car seat. Rear-facing installations use a different belt path than forward-facing installations, and these paths are typically color-coded on the seat shell for easy identification.
Thread the vehicle seat belt through the designated path, ensuring the webbing lies completely flat without any twists or folds. Pull the belt across the seat, insert the latch plate into the buckle until it clicks, and pull on the buckle to confirm it is locked.
To secure the installation, you must lock the vehicle seat belt. Most modern vehicles feature an Automatic Locking Retractor (ALR). To activate this, pull the shoulder portion of the seat belt slowly and completely out of the retractor until it stops, then let it feed back in. You should hear a clicking sound as the belt retracts, indicating it is now in locking mode and cannot be pulled out further.
Apply your weight to the car seat to compress the vehicle cushion, and pull the shoulder belt upward to remove all slack from the lap portion. If your Chicco car seat features a built-in lock-off device, slide the shoulder belt into the lock-off slot as instructed by the manual to clamp the belt tightly in place. If your vehicle or car seat manual requires a separate locking clip, install it within one inch of the buckle latch plate.
How to Verify the Car Seat Is Securely Installed
Once the physical installation is complete, you must perform a series of checks to verify that the car seat is secure before placing your child inside. The primary test is the “inch test.” Grasp the car seat firmly at the belt path—where the seat belt or lower anchor strap passes through the seat—and try to move it side-to-side and front-to-back.
The car seat should not move more than one inch (2.5 centimeters) in any direction at the belt path. If the seat slides or rotates more than this limit, you must loosen the straps, reposition the seat, and tighten the system again. Do not test the security of the seat by pulling on the top of the car seat shell, as some movement at the top is normal, especially in rear-facing configurations.
Next, check the built-in recline angle indicator on the side of the Chicco car seat or base. This indicator, which may use a bubble level, a color-coded dial, or a physical pendulum line, ensures the seat is reclined at a safe angle. A proper recline is critical for newborns and young infants to keep their airways open; if the seat is too upright, the infant’s head can flop forward, restricting breathing. Ensure your vehicle is parked on flat, level ground when reading this indicator.
Finally, look for visual and auditory confirmation of a secure fit. Many Chicco models include color-coded indicators that turn green when the correct tension or connection is achieved. Listen for solid click sounds when locking connectors or clicking an infant carrier into its base, and physically lift the carrier to ensure it is fully locked into the base.
Securing Your Child in the Chicco Car Seat
A secure car seat installation is only effective if your child is properly restrained within the internal harness. Begin by adjusting the height of the harness straps. For rear-facing installations, the straps must emerge from the slots at or slightly below your child’s shoulders. For forward-facing installations, the straps must be at or slightly above the shoulders.
Place your child flat against the back of the car seat, ensuring their hips are pushed all the way back. Thread their arms through the harness loops and fasten the crotch buckle and chest clip. You should hear a clear click when the buckle tongues lock into the crotch strap.
Tighten the harness strap by pulling the adjustment strap at the front of the seat. To verify the harness is tight enough, perform the “pinch test” at your child’s collarbone. Try to pinch the harness webbing vertically between your thumb and forefinger; if you can pinch any excess fabric, the harness is too loose and must be tightened further.
Slide the chest clip up so that it sits level with your child’s armpits. This positioning keeps the harness straps securely on the shoulders and prevents the child from slipping out in a crash. Ensure that no bulky clothing, thick blankets, or aftermarket shoulder pads are placed under or behind the harness, as these compress during a collision and leave dangerous slack in the straps.
Common Installation Mistakes and When to Seek Help
One of the most frequent installation errors is using both the lower ISOFIX anchors and the vehicle seat belt at the same time. While it might seem like double protection, car seats are generally crash-tested and certified using only one system at a time, and dual installation can cause dangerous stress points. Always stick to one method unless your specific Chicco manual explicitly states otherwise.
Another common mistake is failing to attach the top tether strap when the car seat is installed in the forward-facing position. The top tether is a vital safety component that significantly reduces forward head movement during a sudden stop or crash, protecting your child’s neck and spine from severe injury.
If you encounter difficulties during the installation process, do not guess or compromise. Stop the installation immediately if the car seat base continues to slide more than one inch, if the recline indicator cannot be aligned within the safe zone, or if your vehicle’s manual prohibits installation in your chosen seating position.
If you are unsure about any step, consult a certified Child Passenger Safety Technician (CPST) or contact Chicco customer support. A professional technician can inspect your installation, guide you through the correct steps for your specific vehicle, and help ensure your child is traveling as safely as possible.
Frequently Asked Questions (FAQ)
Can I use a second-hand Chicco car seat?
Using a second-hand car seat is only safe if you can verify its complete history. First, locate the manufacturer’s label on the seat to check the expiration date, as plastic degrades over time, especially in hot and humid climates. You must be absolutely certain the seat has never been involved in a moderate or severe vehicle crash, has no active safety recalls, and is not missing any original parts, labels, or the instruction manual. If you cannot verify these details with absolute certainty, it is safest to avoid using the seat.
Should my child wear a winter coat in the car seat?
Children should never wear thick, bulky coats or snowsuits while buckled into a car seat. The fluffy padding of a heavy coat compresses instantly under the force of a collision, leaving the harness straps dangerously loose and risking ejection. Instead, dress your child in thin, warm layers, buckle them securely into the harness, and then place a blanket or the coat backward over the secured harness straps to keep them warm.
Community discussion
Share your experience or ask a question. Comments are reviewed before publication.