
Keeping a dropper for baby use clean is essential for protecting your infant’s developing immune system from harmful bacteria. Because these small tools are frequently used to administer breast milk, infant formula, liquid vitamins, or prescribed medications, any leftover residue can quickly become a breeding ground for pathogens. Proper maintenance requires a consistent routine of immediate rinsing, thorough washing, and material-safe sterilization.
To clean and sterilize a baby dropper correctly, you must disassemble the components immediately after each use, wash them with warm, soapy water, and sterilize them using a method compatible with the manufacturer’s material guidelines. Once sterilized, the parts must air-dry completely in a clean, well-ventilated space before reassembly. Following these steps ensures that your baby receives accurate, uncontaminated doses every time.
Quick Answer: The Daily Cleaning and Sterilizing Routine
For busy caregivers, maintaining a hygienic dropper for baby care does not have to be overwhelming. The process can be broken down into a simple, repeatable daily routine that fits easily into your household schedule.
Products mentioned in this guide
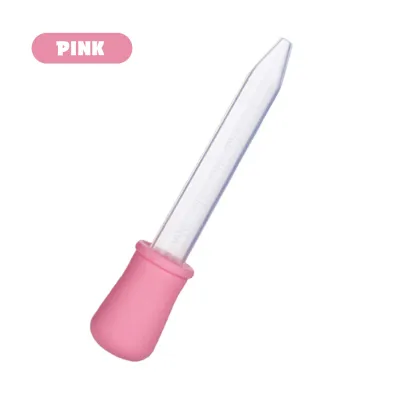

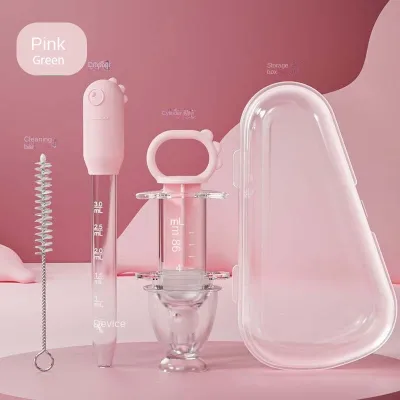
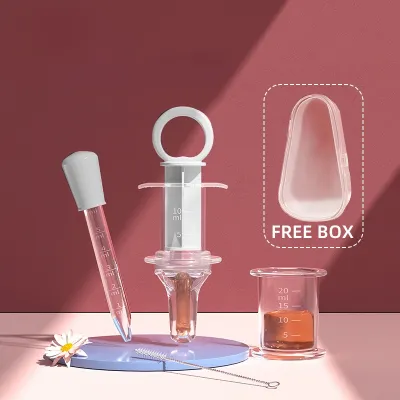
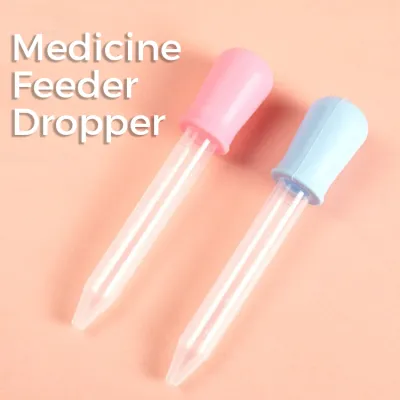
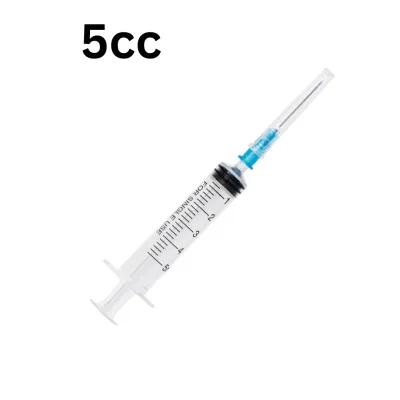
Prices are valid at publication and may change. Please refer to the product page for the latest price.
First, disassemble the dropper completely by separating the flexible silicone bulb from the plastic or glass pipette. Immediately flush out any remaining liquid with clean, lukewarm water to prevent residue from drying inside the narrow tube. Next, wash all individual parts in warm water mixed with a mild, baby-safe dish soap, using a small, dedicated brush to scrub the interior surfaces.
Once clean, sterilize the components using a method approved by the manufacturer, such as boiling, steam, or UV sterilization. Finally, place the disassembled parts on a clean, dedicated drying rack to air-dry completely. Never store a damp dropper, as trapped moisture encourages mold and bacterial growth.
Step 1: Disassembly and Pre-Rinsing
The first defense against bacterial buildup is immediate disassembly. Leaving a dropper fully assembled after administering milk or medicine allows liquids to pool in the tight seal between the bulb and the tube. Over time, these trapped liquids dry into a sticky film that is incredibly difficult to remove and can compromise the accuracy of future dosages.

Begin by carefully separating the silicone bulb, the plastic or glass tube, and any removable collars, valves, or caps. Each of these components must be cleaned individually to ensure no hidden pockets of moisture or residue remain. When taking the dropper apart, handle the pieces gently to avoid damaging the seals.
Immediately after disassembly, flush the tube and bulb with clean, running water. Squeeze the bulb several times while submerged in clean water to draw water in and force it out, rinsing the inner chamber. This rapid pre-rinse is especially critical after administering thick syrups, iron supplements, or oily vitamin drops, which tend to cling stubbornly to plastic and glass surfaces.
Always check the product manual for specific disassembly warnings before applying force. Some delicate silicone bulbs can tear if pulled at an angle, while certain plastic collars require a gentle twist rather than a straight pull. If the manufacturer warns against separating specific parts, follow those instructions to avoid ruining the dropper’s airtight seal.
Step 2: Washing Away Milk and Medicine Residue
Pre-rinsing removes the bulk of the liquid, but a thorough wash is required to break down the fats, proteins, and sugars left behind by milk or medicinal syrups. Without proper washing, a thin biofilm can form on the interior walls of the dropper, rendering subsequent sterilization efforts ineffective.
To begin washing, prepare a small basin of warm water mixed with a mild, baby-safe dish soap. Avoid using harsh household detergents, bleach, or highly fragranced soaps, as these can leave chemical residues or strong scents that might irritate your baby’s sensitive digestive system. Submerge all the disassembled dropper parts into the soapy water.
Use a dedicated bottle brush or a specialized small cleaning brush, such as a nipple brush or a straw brush, to clean the inside of the narrow tube. Standard bottle brushes are often too wide to fit inside a dropper for baby use, making a micro-brush an essential tool for your cleaning station. Gently push the brush through the length of the tube to scrub away any clinging film.
For the silicone bulb, squeeze it repeatedly while submerged in the soapy water to draw the soapy solution inside. Use your fingers to gently massage the exterior and interior of the bulb, ensuring that any dried medicine or milk is dislodged. If the bulb is removable, you can also use a small brush to clean the inner rim where the bulb connects to the tube.
Rinse all components thoroughly under clean, running water. Squeeze the bulb multiple times under the tap to flush out any remaining soap suds. Inspect each part closely under good lighting to ensure no soap bubbles, film, or residue remain, as soap ingestion can cause mild stomach upset or discomfort for your infant.
Step 3: Choosing a Safe Sterilization Method
Washing removes physical debris, but sterilization is necessary to eliminate microscopic pathogens. Before choosing a sterilization method, you must identify the materials of your dropper. Glass and high-grade silicone can withstand high temperatures, whereas certain plastics may warp, melt, or release unwanted chemicals when exposed to extreme heat.
If you choose the boiling water method, first verify that the product label explicitly confirms the materials are heat-safe. Bring a pot of clean water to a rolling boil, then submerge the disassembled parts. Ensure the plastic and silicone pieces do not touch the hot bottom or sides of the pot, as direct contact with the metal can cause immediate melting; using a wire basket can help keep the parts suspended safely.
Electric steam sterilizers offer a convenient, automated alternative. When using steam, check the manufacturer’s compatibility guidelines for both the sterilizer and the dropper. Place the small dropper components securely in the designated top basket or accessory tray so they do not fall onto the heating element below, which could damage the parts or the appliance.
UV sterilizers are increasingly popular in modern households, but they require careful positioning. Verify that your dropper materials are suitable for UV exposure, as prolonged UV light can degrade certain plastics and silicones over time. Arrange the disassembled parts inside the sterilizer so that all interior and exterior surfaces are directly exposed to the light, as UV rays cannot sanitize areas in shadow.
Always establish clear stop conditions for your sterilization routine. Immediately halt high-heat methods if you notice the plastic warping, the silicone becoming sticky, or if the manufacturer’s manual explicitly prohibits boiling. If any component shows signs of heat damage, discard the dropper immediately and replace it to ensure safe and accurate liquid delivery.
Step 4: Drying, Storing, and Inspecting for Wear
The sterilization process is only successful if it is followed by proper drying and storage. Moisture is the primary catalyst for mold and bacterial growth, meaning a damp dropper stored in a dark cupboard can quickly become contaminated again.
Air-dry all disassembled parts on a clean, dedicated drying rack in a well-ventilated area. In tropical climates like the Philippines, high humidity can slow down drying times, making good air circulation essential. Keep the drying rack away from direct sunlight, as excessive heat and UV rays from the sun can cause silicone to become brittle and plastic to degrade.
Never use cloth towels, paper tissues, or dishcloths to dry the inside of the dropper tube or bulb. These materials can easily transfer lint, fine fibers, and bacteria back onto the freshly sterilized surfaces. Instead, allow gravity and airflow to do the work naturally.
Before reassembling the dropper for its next use, perform a quick visual inspection checklist:
- Check for cracks, chips, or sharp edges along the glass tube.
- Look for cloudiness, discoloration, or warping in plastic tubes.
- Inspect the silicone bulb for sticky residue, stiffness, or micro-tears.
If you observe any of these signs of wear, discard the dropper immediately. A damaged dropper can lead to inaccurate medication dosages or, in the case of cracked glass, present a direct physical hazard to your baby. Regularly replacing these inexpensive tools is a simple way to maintain high hygiene standards.
Frequently Asked Questions (FAQ)
Can I put a baby dropper in the dishwasher?
You should only place a baby dropper in the dishwasher if the product packaging or manual explicitly states it is dishwasher safe. If permitted, place the small components inside a closed dishwasher-safe utensil basket or a top-rack compartment to prevent them from falling onto the heating element at the bottom of the machine. Additionally, avoid using high-heat drying cycles, as the intense, dry heat can warp plastic tubes or degrade delicate silicone bulbs.
How do I clean mold or stubborn residue inside the dropper tube?
If you notice stubborn residue, you can soak the disassembled parts in a solution of equal parts warm water and white vinegar, provided the manufacturer’s instructions allow it. After soaking for several minutes, scrub the interior thoroughly with a specialized micro-brush and rinse with clean water. However, if you detect any mold spots or dark residue that cannot be completely removed, you must discard and replace the dropper immediately to protect your baby’s health.
Community discussion
Share your experience or ask a question. Comments are reviewed before publication.