
Choosing the right pacifier size for your baby involves matching their current developmental stage with the physical dimensions of the pacifier nipple and shield. While manufacturer age labels provide a helpful starting point, you must also evaluate your baby’s unique oral growth, latch comfort, and facial structure. Ensuring a proper fit is essential not only for soothing but also for preventing choking hazards, supporting natural jaw development, and avoiding skin irritation. By understanding how sizing works and what safety checks to perform, you can confidently select a pacifier that keeps your baby comfortable and safe.
Understanding Pacifier Sizing and Age Labels
Manufacturer age brackets on pacifier packaging are designed to guide you through your baby’s rapid oral development. These brackets typically categorize pacifiers into stages such as 0–6 months, 6–18 months, and 18 months or older. However, these age ranges are not standardized across the baby care industry. One brand’s small size may physically differ from another brand’s equivalent, meaning you should treat these labels as initial suggestions rather than absolute rules.
The physical differences between pacifier sizes involve more than just a longer nipple. As a pacifier size increases, the nipple becomes thicker and firmer to withstand the stronger suction and emerging teeth of an older baby. The shield also expands in width and weight to prevent the baby from drawing the entire pacifier into their mouth. Understanding these structural changes helps you select a size that matches your baby’s current physical growth.
Products mentioned in this guide
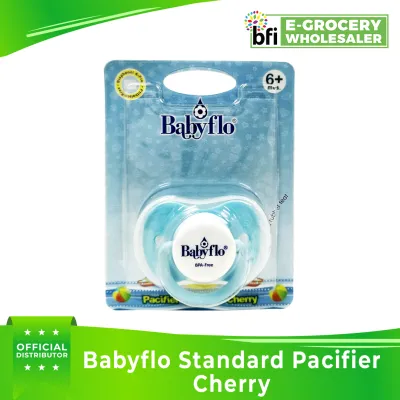
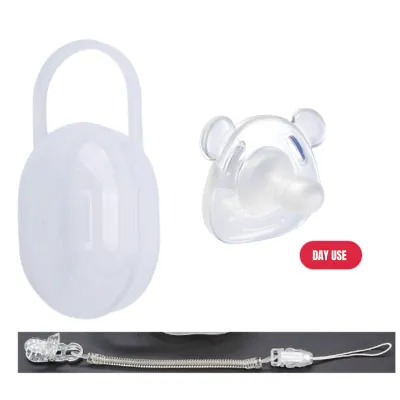
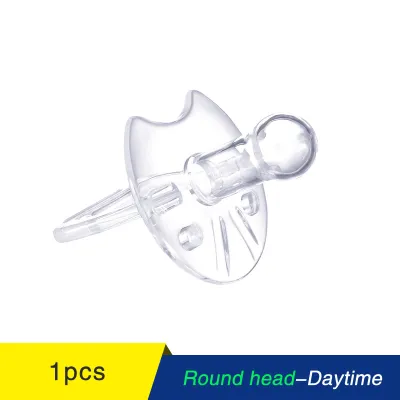
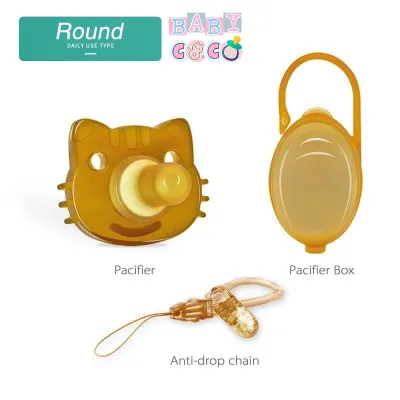
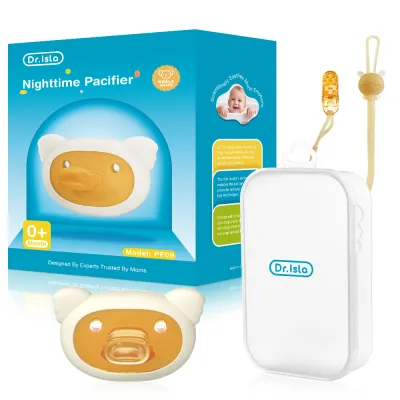
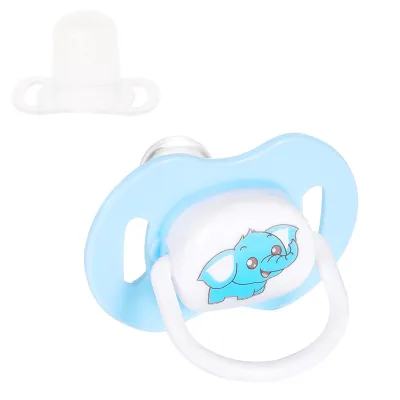
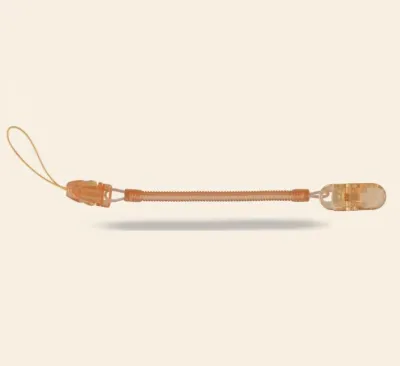
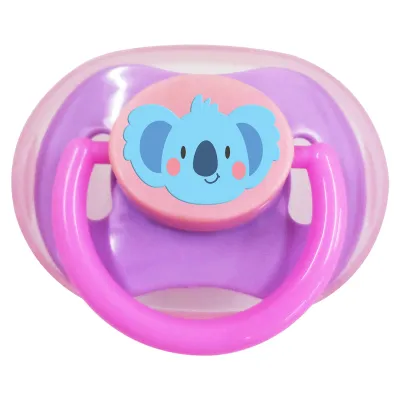
Prices are valid at publication and may change. Please refer to the product page for the latest price.
Using the incorrect pacifier size poses distinct safety and comfort risks. If an older baby uses a pacifier designed for a newborn, the small shield can easily be drawn entirely inside their mouth, presenting a severe choking hazard. Conversely, forcing a larger pacifier on a newborn can trigger their sensitive gag reflex, leading to spitting up, discomfort, and immediate rejection of the pacifier. Regularly assessing how the pacifier fits inside your baby’s mouth prevents these issues.
Matching Shield Shapes to Oral Development
Selecting the right pacifier shape requires looking at both the nipple design and the shield structure. The three most common nipple shapes are orthodontic, symmetrical, and cherry. Orthodontic nipples feature a flat bottom and a rounded top, designed to support natural jaw alignment and mimic the shape of a mother’s breast during feeding. Symmetrical nipples are drop-shaped and fit correctly even if the pacifier is turned upside down, while cherry nipples are round and traditional, though they may exert more pressure on developing gums.

The design of the pacifier shield is equally important for your baby’s comfort, especially in warm and humid tropical climates like the Philippines. A well-designed shield features a curved shape that contours gently around the baby’s mouth without pressing tightly against their nose or chin. Large ventilation holes in the shield are critical because they allow air to circulate freely. Without adequate airflow, trapped saliva and sweat can quickly cause skin redness, chafing, or painful drool rashes around your baby’s delicate lips.
To determine if a specific shape is suitable, closely observe your baby’s latch and skin condition during and after use. If your baby constantly spits the pacifier out, struggles to maintain a secure seal, or shows signs of frustration, the nipple shape may not align with their palate. Additionally, check for any lingering red marks or damp patches on their skin after they spit the pacifier out. If irritation persists, you may need to switch to a shield with larger ventilation holes or a different curvature.
Step-by-Step Selection Process
To simplify your decision-making process, follow this structured checklist before purchasing or introducing a new pacifier to your baby.
Step 1: Verify Age and Weight Recommendations
Always start by reading the manufacturer’s packaging carefully. Check the recommended age and weight ranges printed on the label. While a basic pacifier might cost anywhere from ₱150 to ₱300, safety and material quality should always take priority over price. Never purchase a pacifier that lacks clear age or weight guidelines, as you cannot verify if its structural integrity matches your baby’s developmental stage.
Step 2: Inspect the Shield Dimensions
Before allowing your baby to use a pacifier, hold it up to their face to evaluate the shield size. The shield must be physically wider than your baby’s fully open mouth. This mechanical barrier is your primary defense against accidental swallowing. If the shield looks small enough to fit entirely inside your baby’s mouth, do not use it, regardless of what the age label on the packaging says.
Step 3: Evaluate the Material
Pacifiers are primarily made of either silicone or latex, and each material has distinct properties. Medical-grade silicone is highly durable, odorless, and resistant to heat, making it easy to clean and long-lasting in humid environments. Latex is softer and more flexible, which some babies prefer because it feels more natural, but it degrades much faster when exposed to heat and sunlight. You must also verify if your baby has any sensitivity or allergy to latex before choosing this material.
Step 4: Check for Single-Piece Construction
Examine the physical construction of the pacifier to ensure it is molded as a single, solid piece of material. Single-piece silicone pacifiers are highly recommended because they do not have separate rings, plugs, or decorative plastic parts. Multi-piece pacifiers run the risk of breaking at the joints over time, creating small, detachable parts that can easily become choking hazards if swallowed.
Safety Checks and When to Replace a Pacifier
Establishing a daily inspection routine is vital for maintaining your baby’s safety. Before every use, firmly pull the pacifier nipple in all directions to check for structural integrity. Look closely for tiny hairline tears, weak spots, or a sticky texture, which indicate that the material is beginning to break down. This simple check is especially important once your baby starts teething, as their sharp new teeth can easily puncture and tear the material.
There are several immediate triggers that mean you must discard and replace a pacifier right away. These include visible discoloration, swelling of the nipple, bite marks, or any signs of peeling. Even if a pacifier looks perfectly fine, most manufacturers recommend replacing it every four to eight weeks for hygiene reasons and to account for invisible wear and tear. Keeping a few identical backups on hand ensures you are never left without a safe option.
Proper cleaning and sterilization are essential, but you must always follow the manufacturer’s specific instructions. While some pacifiers are heat-safe and can be boiled or steam-sterilized, others may warp, crack, or release chemicals if subjected to extreme heat. In humid climates, moisture can easily get trapped inside hollow pacifier nipples, creating an environment where mold can grow. Always squeeze the nipple firmly after washing to expel any trapped water, and allow the pacifier to air-dry completely in a clean, well-ventilated space.
Knowing when to stop using a pacifier is just as important as knowing how to choose one. While pacifiers are excellent soothing tools, prolonged use can eventually impact dental alignment and speech development. If you notice changes in how your baby’s front teeth meet, or if you are planning to transition away from pacifier use, consult a pediatric dentist or pediatrician. They can provide personalized guidance on weaning strategies and assess your baby’s oral development.
Frequently Asked Questions (FAQ)
Can I use a larger pacifier size if my baby is bigger than average for their age?
You should prioritize the manufacturer’s age grading over your baby’s physical body weight when choosing a pacifier size. A baby who is larger than average physically does not necessarily have a larger oral cavity or more mature swallowing reflexes. The length and thickness of the pacifier nipple are designed to match the developmental stage of the mouth and jaw, not overall body size. Use the shield width as your primary safety check to ensure it cannot fit inside the mouth, but stick to the recommended age bracket for the nipple size to prevent gagging.
How do I transition my baby to the next pacifier size?
To transition your baby to a larger pacifier size smoothly, introduce the new size during calm, relaxed moments rather than when your baby is highly distressed or trying to fall asleep. You can offer the larger pacifier during playtime when they are happy and distracted. Keep their old, smaller pacifier nearby as a temporary backup if they initially reject the new one. It may take several days of brief, low-pressure introductions for your baby to get used to the slightly heavier weight and firmer texture of the larger size.
Are one-piece silicone pacifiers safer than those with plastic rings?
One-piece silicone pacifiers are generally considered safer because their single-mold construction eliminates joints, seams, and separate plastic rings that could snap off and pose a choking hazard. However, multi-piece pacifiers can still be used safely if they meet recognized safety standards, which you must verify on the product packaging. Regardless of the construction style, always ensure the shield features adequate ventilation holes and that you perform a thorough pull test on the nipple before every use.
Community discussion
Share your experience or ask a question. Comments are reviewed before publication.