
Choosing the right baby hip seat carrier requires looking beyond beautiful designs or convenience. To keep your little one secure and comfortable, you must match the carrier to your baby’s specific developmental milestones and weight. While many parents look for a single carrier to last from birth through toddlerhood, a hip seat carrier is a specialized piece of gear designed for babies who have achieved specific physical milestones. By understanding how your baby’s age and weight interact with the carrier’s structural design, you can protect their developing spine, safeguard their hips, and prevent unnecessary strain on your own back.
Unlike traditional soft-structured carriers that hold a baby snugly against your torso using fabric tension, a baby hip seat carrier features a firm, shelf-like seat secured around the caregiver’s waist. This design shifts the baby’s weight from your upper back and shoulders down to your hips and pelvis. However, because the seat is a solid platform, it requires the baby to actively support their own upper body. Selecting the wrong model or using one too early can compromise your baby’s posture and safety.
Assess Your Baby's Physical and Developmental Readiness
Before purchasing or using a baby hip seat carrier, you must evaluate your baby’s physical development rather than relying solely on their chronological age. Every infant develops at their own pace, meaning a specific age recommendation on packaging is only a general guideline. The absolute primary prerequisite for using any carrier with a hip seat is independent neck and head control. Your baby must be able to hold their head up steadily without any assistance or wobbling, which typically occurs around four to six months of age. If a baby lacks this control, their head can slump forward, potentially compromising their airway.
Products mentioned in this guide
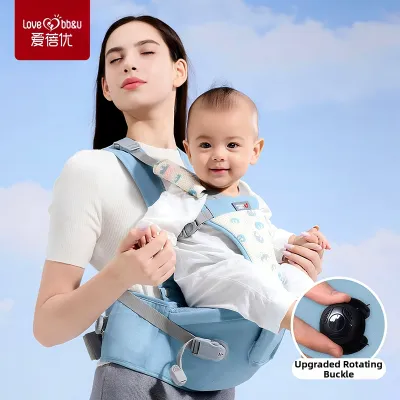
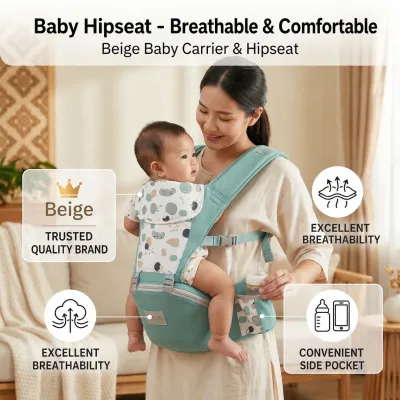
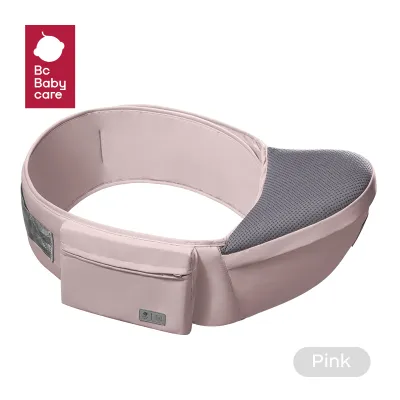
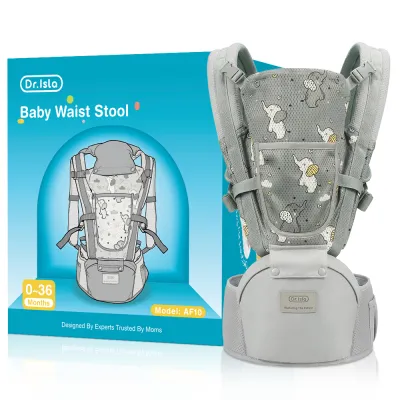
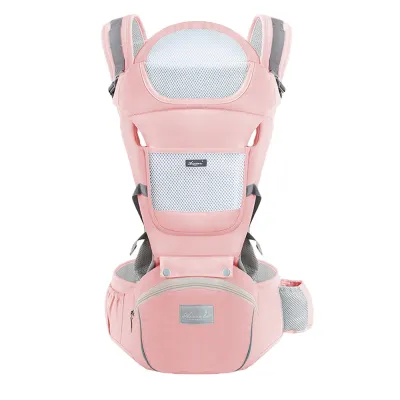
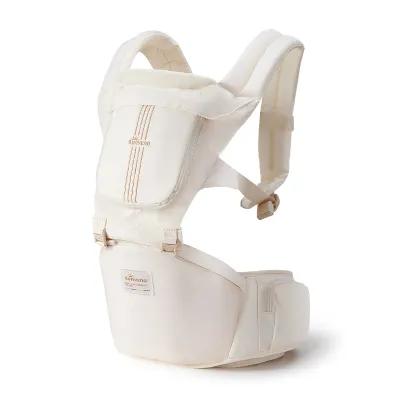
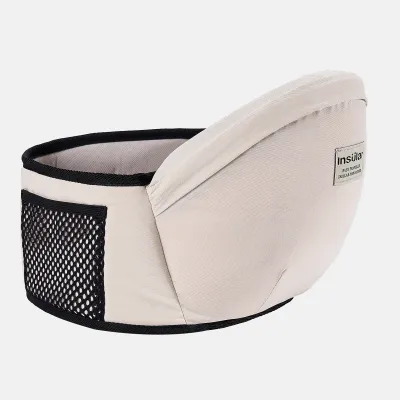
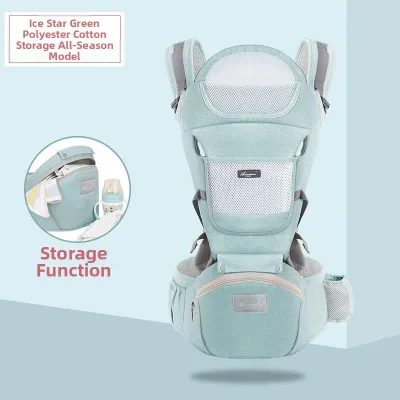
Prices are valid at publication and may change. Please refer to the product page for the latest price.
Spinal development is another critical factor to consider. Infants are born with a primary kyphosis, which is a continuous C-shaped curve of the spine. As they grow and begin to lift their heads, the cervical spine develops its forward curve. Later, as they learn to sit independently, the lumbar curve forms, creating the mature S-shaped spine. A hip seat carrier places the baby in a seated position that requires adequate core strength. If you place a baby on a hip seat before they can sit upright with minimal support, their spine will slump into an exaggerated curve, putting unsafe pressure on their lower back and pelvis.
Healthy hip joint development must also guide your timing. At birth, a baby’s hip joints consist of soft cartilage that gradually hardens into bone over the first year of life. If a baby’s legs are allowed to dangle straight down with their knees fully extended, the constant downward pull can cause the head of the femur to slip out of the hip socket, increasing the risk of hip dysplasia. A proper carrier must support the thighs so that the hips are flexed and abducted, with the knees level with or higher than the hips.
If you are unsure whether your baby has reached the necessary developmental milestones, or if your baby has a history of hip dysplasia, prematurity, or physical developmental delays, consult your pediatrician before using a hip seat carrier. A professional evaluation ensures that your baby’s musculoskeletal system is ready to handle the upright, seated posture required by this specific type of gear.
Verify Weight Limits and Manufacturer Specifications for Your Baby Hip Seat Carrier
Every baby hip seat carrier is engineered and safety-tested to perform within a specific weight range. You must locate and carefully read the minimum and maximum weight limits printed on the product packaging, labels, or instruction manual. These limits are not suggestions; they represent the boundaries within which the buckles, seams, zippers, and seat structure are guaranteed to hold under load.

Understanding Minimum Weight Requirements Never use a hip seat carrier if your baby is below the manufacturer’s stated minimum weight, even if they seem to fit physically on the seat. If a baby is too light or too small, they can easily slide off the side of the seat platform, slip through the leg openings of the attached torso panel, or fail to sit deeply enough to maintain a secure posture. The minimum weight limit is carefully calculated to ensure the baby’s body is large enough to interact safely with the carrier’s structural safety features.
Managing Maximum Weight and Caregiver Strain While most high-quality hip seat carriers specify a maximum weight capacity of around 15 to 20 kilograms (approximately 33 to 44 pounds), your personal physical comfort will also dictate when to stop using the carrier. As your baby grows heavier, the downward force on your pelvis increases. If you experience sharp lower back pain, pelvic discomfort, or find yourself leaning backward or sideways to compensate for the baby’s weight, it is time to transition to a different carrying method or stop using the hip seat.
Checking Specific Manuals and Avoiding Modifications Because weight limits and testing standards vary significantly by brand and model, always check the specific user manual for your exact carrier. Never assume that a weight limit from one brand applies to another. Additionally, do not attempt to modify the carrier, add homemade padding to the seat base, or use unapproved third-party accessories to try to extend its weight capacity or change its fit. Doing so can cause structural failure, void the manufacturer’s warranty, and put your baby at risk of a fall.
In the Philippines, quality hip seat carriers are available across various price ranges. Entry-level models generally cost between ₱1,200 and ₱2,500, while premium, internationally certified ergonomic designs can range from ₱4,500 to ₱8,500 or more. Investing in a reputable, thoroughly tested brand ensures that the structural components can reliably support your baby’s weight over long-term use.
Evaluate Ergonomics and Safety Features for Baby and Caregiver
When comparing different baby hip seat carriers, you must look closely at specific design details to ensure the carrier supports your baby’s physical health while protecting your own body from strain. A well-designed carrier balances comfort, safety, and ease of use.
Hip-Healthy Design and the M-Position
To prevent hip strain and support natural joint development, the carrier must facilitate the “M-position,” also known as the frog-leg position. In this posture, the baby’s hips are spread wide, their thighs are fully supported from knee to knee, and their knees are positioned slightly higher than their bottom. Look for carriers that feature a wide seat base that naturally coaxes the legs into this shape. When shopping, verify if the product packaging or documentation mentions recognition or testing by recognized hip-health organizations.
Seat Angle and Base Construction
Observe the angle of the shelf-like seat base. A high-quality carrier typically features a seat that is angled slightly upward (usually around 30 degrees) toward the caregiver’s body rather than being perfectly flat or sloping downward. This upward angle prevents the baby from sliding forward and slipping off the seat. Additionally, the top of the seat platform should feature a non-slip material, such as textured silicone or high-friction fabric, to keep the baby’s bottom securely in place.
Caregiver Support and Weight Distribution
Because a hip seat concentrates the baby’s weight around your waist, the design of the waistband is critical. Look for a wide, highly padded waist belt made of high-density foam that distributes pressure evenly across your hips and lumbar region. A thin or poorly padded belt will dig into your abdomen and lower back, causing pain. If the carrier includes a removable double-shoulder strap attachment, ensure the straps are wide, thickly padded, and equipped with a sliding chest clip to prevent them from slipping off your shoulders.
Safety Straps, Buckles, and Fasteners
Examine the quality of all fastening mechanisms. The primary waist belt should feature a dual-security system, combining a wide, high-strength hook-and-loop fastener (Velcro) with a heavy-duty, dual-action release buckle. This ensures that even if one fastener slips, the belt remains securely attached. If the carrier features a removable upper torso panel, check that the connecting zippers are robust and accompanied by safety snap buttons or buckles that act as secondary fail-safes.
Breathability and Fabric Choice for Warm Climates
In the warm and humid climate of the Philippines, heat buildup is a major comfort and health consideration. Look for carriers constructed with breathable 3D mesh panels, lightweight cotton, or moisture-wicking fabrics. A zippered front panel on the baby’s backrest that can be rolled down to reveal a mesh cooling window is highly beneficial. This design helps regulate your baby’s body temperature, preventing overheating and painful heat rashes (miliaria rubra) during outdoor use.
Step-by-Step Guide to Fitting, Positioning, and Safety Checks
To ensure your baby hip seat carrier is safe and comfortable, you must follow a precise sequence when putting it on and positioning your child. Proper adjustment prevents the carrier from sagging and minimizes strain on your lower back.
Step 1: Secure the Waist Belt
Before picking up your baby, position the empty hip seat belt around your natural waist, which is higher than your hips. Fasten the hook-and-loop closure snugly, then pull the webbing strap through the safety buckle and tighten it firmly. The belt must fit tightly against your body; if it is too loose, the weight of the baby will cause the front of the seat to sag downward, pulling on your lower back and forcing you to lean forward to compensate.
Step 2: Position the Baby
Carefully lift your baby and place their bottom squarely in the center of the angled seat base. Ensure their weight is distributed evenly across their sit bones rather than resting on their thighs. Gently guide their legs into the M-position, ensuring their thighs are supported by the seat base and their knees are bent higher than their bottom. If you are using the carrier with the upper torso panel attached, pull the panel up over your baby’s back while supporting them with one hand.
Step 3: Fasten and Adjust Shoulder Straps
While holding your baby securely against your chest, slip your arms through the shoulder straps one at a time. Reach behind your neck to fasten the chest buckle, then pull the adjustment straps forward to tighten the carrier. The upper panel should hold your baby’s torso snugly against yours, leaving no large gaps, while still allowing them to move their head freely. Ensure the straps are adjusted evenly so the carrier does not tilt to one side.
Step 4: The Safety Verification Check
Once your baby is secured, perform a quick physical and visual safety check before walking:
- Tightness: The carrier should hold your baby close enough to your body to prevent slumping, but not so tight that it restricts their breathing.
- In View: You must always be able to see your baby's face clearly simply by looking down. Ensure no fabric or clothing covers their nose and mouth.
- Close Enough to Kiss: Your baby's head should be positioned high enough on your chest that you can easily kiss the top of their head by tipping your chin forward.
- Keep Chin Off Chest: Ensure there is always a gap of at least two fingers between your baby's chin and their chest to keep their airway fully open.
- Supported Back: Ensure your baby's back is naturally supported in its slightly curved posture, with no twisting or leaning to the side.
When to Stop Use and Seek Guidance
Immediately remove your baby from the carrier if they show signs of breathing difficulty, turn pale or blue, or display signs of extreme distress. You must also stop use if you experience sharp pain in your back, shoulders, or hips, or if any part of the carrier—such as a buckle, zipper, or seam—shows signs of fraying, cracking, or damage. If you struggle to achieve a safe, comfortable fit despite following the manufacturer’s instructions, stop using the carrier and consult a certified babywearing educator or your pediatrician for professional guidance.
Frequently Asked Questions (FAQ)
Can I use a hip seat carrier for a newborn?
Standard hip seat carriers are not suitable for newborns. Newborns do not have the necessary neck control, spinal strength, or hip stability to sit on a firm platform, and using one can lead to airway obstruction or physical strain. You must wait until your baby has achieved complete head and neck control and meets the manufacturer’s minimum weight requirements. For the newborn stage, consider using a soft fabric wrap or a ring sling designed specifically to support an infant’s fragile physiology.
How long can my baby stay in the hip seat at one time?
While there is no universal time limit, it is best to limit continuous carrying sessions to 30 to 45 minutes. Regularly taking your baby out of the carrier allows them to stretch, move their limbs freely, and change positions, which is vital for healthy circulation and motor development. Additionally, taking breaks helps prevent heat buildup and sweating in tropical climates, reducing the risk of skin irritation for both you and your baby.
Does a hip seat carrier cause back pain for the parent?
A properly fitted hip seat carrier should not cause back pain, but improper use can lead to significant strain. Fastening the waist belt too low on your hips or wearing it too loosely causes the seat to tilt forward, forcing you to arch your lower back to balance the weight. To avoid back pain, always fasten the belt tightly around your natural waist, choose a carrier with excellent lumbar support, and stop carrying your baby if you feel fatigued or experience discomfort.
Community discussion
Share your experience or ask a question. Comments are reviewed before publication.