
Choosing a pacifier for a baby aged 6 to 18 months requires careful attention to physical development, oral changes, and safety features. During this stage, babies grow rapidly, start teething, and develop stronger sucking reflexes. A pacifier that fit perfectly during infancy may now pose a choking hazard or interfere with emerging teeth.
To find the right match, parents must evaluate specific design elements such as nipple size, shield ventilation, material durability, and overall construction. In tropical climates like the Philippines, where heat and humidity can exacerbate skin irritation, choosing a well-ventilated shield is especially important. This guide outlines the key features to check on product packaging and labels to ensure a safe, comfortable fit for your growing child.
Verifying Pacifier Sizing and Age Grading
Pacifier sizing is not a one-size-fits-all system, and chronological age is only a starting point. When searching for a pacifier 6 to 18 months, you must first consult the manufacturer’s specific age grading and size chart printed directly on the packaging. Different brands use distinct sizing scales, meaning a “Stage 2” or “Medium” from one manufacturer might not align with the same dimensions from another.
Products mentioned in this guide
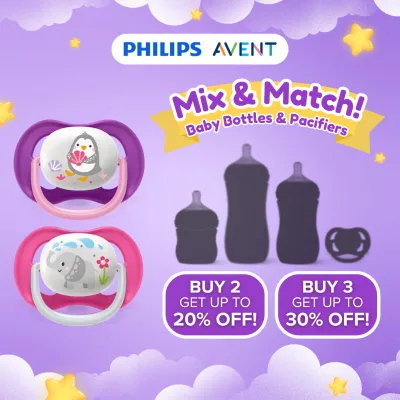
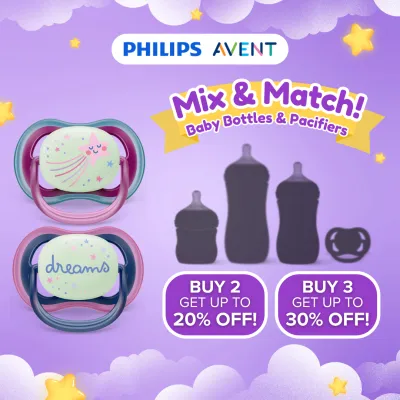
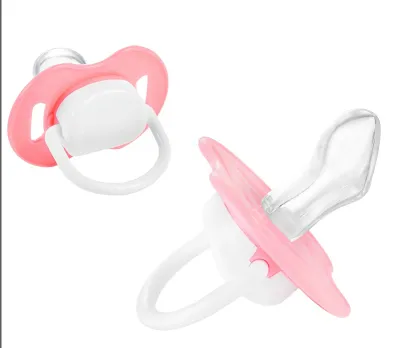
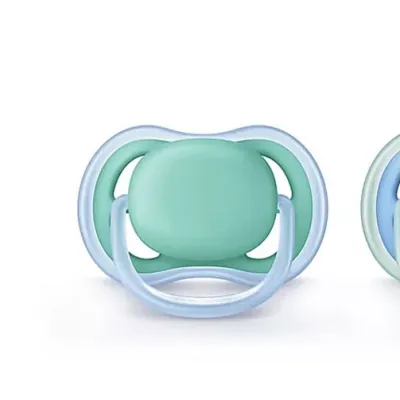
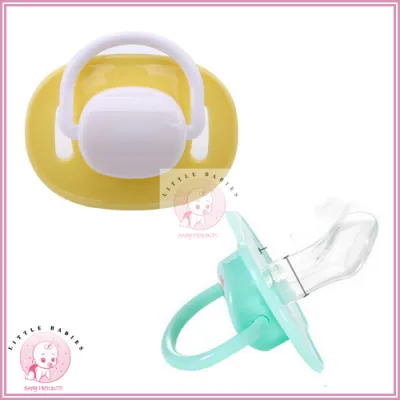
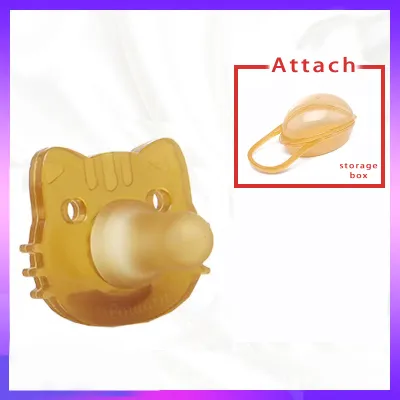
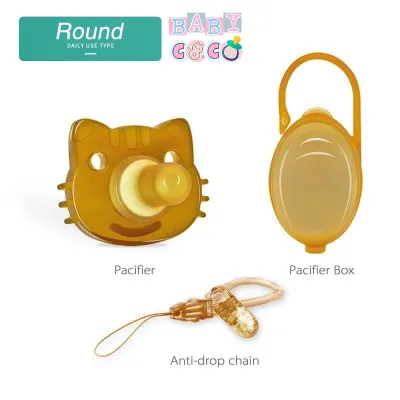
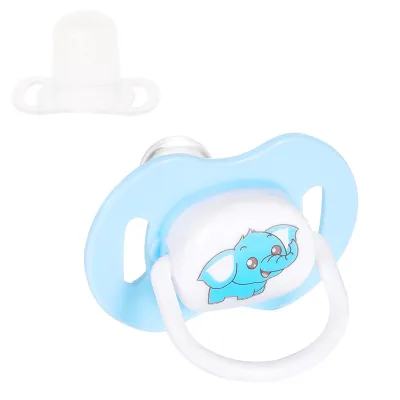
Prices are valid at publication and may change. Please refer to the product page for the latest price.
Observing your baby’s physical development is more reliable than relying solely on the age range printed on the box. Pay close attention to your baby’s mouth size and sucking strength during daily use. If the nipple is too large, it can press against the back of the throat and cause gagging, discomfort, or a refusal to use the pacifier altogether.
Conversely, a nipple that is too small for a growing baby presents its own set of challenges. A small nipple reduces the soothing effectiveness because the baby cannot maintain a secure latch. More importantly, an undersized pacifier can be drawn entirely into a larger baby’s mouth, creating an immediate choking hazard.
Be aware that some manufacturers split the broad 6-to-18-month range into smaller, more precise increments. You may find options labeled specifically for 6 to 12 months, or 12 to 18 months. Reading the exact millimeter dimensions provided by the manufacturer helps you make an informed decision based on your baby’s unique oral structure.
If your baby is reaching the upper limit of a size category or showing signs of rapid oral growth, prepare to transition to the next size up. Always inspect the physical fit of the shield and nipple against your baby’s lips and gums to ensure a comfortable, secure seal that does not restrict breathing or cause physical strain.
Evaluating Nipple Shape and Material for Teething
The shape of the pacifier nipple plays a significant role in supporting your baby’s oral development, especially as primary teeth begin to emerge. Orthodontic nipples are designed with a flat bottom and a rounded top to mimic the natural shape of the breast during feeding and to minimize pressure on developing gums. Many parents choose this shape based on specific guidance from their pediatric dentist to support proper jaw alignment.

Symmetrical and cherry-shaped nipples offer alternative profiles that some babies prefer. Symmetrical nipples are identical on the top and bottom, meaning they always sit correctly in the mouth even if the baby flips the pacifier upside down. Cherry-shaped nipples feature a rounded bulb that mimics traditional bottle nipples, which can be comforting for babies accustomed to that style.
Material selection becomes critical during the teething phase when babies begin to bite down on their pacifiers. Silicone is a highly durable, firm, and odorless material that resists biting and tearing well. It is also easy to clean and does not degrade quickly when exposed to heat, making it a practical choice for daily use.
Latex is softer and more flexible than silicone, which some babies find more comfortable for soothing sore gums. However, latex is more prone to wear, can expand or become sticky over time, and carries a risk of triggering latex allergies. If you choose latex, you must check the packaging for allergy warnings and inspect the material daily for signs of degradation.
Regardless of the material you choose, prioritize one-piece construction when selecting a pacifier for a teething baby. One-piece pacifiers are molded from a single continuous piece of silicone or rubber, eliminating crevices where bacteria, saliva, and moisture can accumulate. This seamless design also prevents the nipple from detaching from the shield, eliminating a major choking risk during vigorous biting.
Checking the Shield and Handle Design for Safety
The pacifier shield serves as the primary barrier preventing the entire object from entering your baby’s mouth. As babies grow stronger between 6 and 18 months, their jaw strength and mouth capacity increase significantly. You must verify that the shield is wide enough to prevent the pacifier from being fully drawn past the lips by checking the manufacturer’s minimum width specifications.
In warm and humid environments like the Philippines, saliva buildup behind the shield can quickly lead to skin irritation, chafing, and painful rashes. To prevent this, ensure the shield features large, adequate ventilation holes that allow air to circulate freely around the mouth and chin. This airflow helps keep the skin dry and reduces the risk of contact dermatitis caused by trapped moisture.
The shape of the shield should also contour comfortably around your baby’s nose and chin. Look for designs with a curved top or a cut-out section that leaves the nose completely unobstructed, ensuring your baby can breathe easily while soothing. A shield that presses against the nose can cause discomfort and may lead to a poor latch.
When evaluating the outer design, you will need to choose between a traditional handle, often called a ring, and a flat button design. A ring handle makes it easy for both caregivers and babies to grasp and retrieve the pacifier quickly. It also provides a convenient attachment point for standard pacifier clips, keeping the pacifier off dirty floors.
A flat button design offers a low-profile alternative that is less likely to get caught on clothing or bedding during sleep. If you prefer a button design, check if the manufacturer offers compatible clips designed specifically for button-style shields. Whichever style you select, ensure the attachment mechanism is secure and does not feature small, detachable parts.
Inspecting Packaging Labels and Safety Warnings
Before purchasing any pacifier, take the time to thoroughly inspect the packaging labels and safety warnings provided by the manufacturer. These labels contain critical instructions regarding the safe use, maximum daily usage duration, and supervision requirements for the product. Never ignore these guidelines, as they are designed to protect your baby from preventable injuries.
Look for recognized safety standard marks or certifications printed on the packaging to verify that the product has undergone safety testing. While specific regulatory marks vary by region, you should verify these marks against local safety standards to ensure compliance. Avoid purchasing products from unverified sources or online marketplaces that do not clearly display safety certifications on their listings.
Pay close attention to warnings regarding the attachment of accessories to the pacifier. You must never attach ribbons, cords, strings, or loose decorative parts to a pacifier, as these pose a severe risk of strangulation or choking. If you use a pacifier clip, ensure it is short, complies with safety length standards, and is only attached to clothing under direct adult supervision.
Inspect the packaging for material safety declarations, such as “BPA-free” or “phthalate-free” labels. While these labels are common, verifying them against the manufacturer’s official documentation or product specifications provides an extra layer of reassurance. If the packaging lacks clear safety warnings or material disclosures, it is best to choose an alternative product.
Establishing a Cleaning Routine and Replacement Schedule
Maintaining a strict hygiene routine is essential for protecting your baby’s health, especially as they explore their environment and put various objects in their mouths. Always follow the manufacturer’s specific sterilization and cleaning instructions, as materials react differently to heat and moisture. Some pacifiers are safe for boiling or steam sterilizing, while others may degrade or warp under high temperatures.
If the manufacturer indicates that the pacifier is dishwasher-safe, ensure you place it only on the top rack to avoid direct contact with heating elements. For daily cleaning, washing with warm water and a mild, baby-safe dish soap is generally sufficient. After washing, squeeze any trapped water out of the nipple and allow it to air dry completely in a clean, dry space.
Perform a thorough visual and physical inspection of the pacifier every single day before giving it to your baby. To do this, pull the nipple firmly in all directions to check for tiny tears, cracks, or structural weaknesses. Look closely for signs of material degradation, such as stickiness, cloudiness, discoloration, or thinning of the silicone or latex.
Establish a regular replacement schedule based on the manufacturer’s recommended lifespan, which typically ranges from four to eight weeks of regular use. Even if a pacifier appears visually intact, the material can weaken over time due to exposure to saliva, heat, and biting. Stop using the pacifier immediately and discard it if you detect any signs of wear, damage, or structural compromise.
Frequently Asked Questions (FAQ)
How do I know if my baby is ready to transition to the 6-18 month pacifier size?
Age ranges printed on pacifier packaging are general guidelines rather than strict rules. Your baby’s physical mouth size and oral development are the true indicators of when it is time to transition to a larger size. If your baby’s current pacifier frequently slips out of their mouth, or if they seem to be sucking with excessive force to keep it in place, they may need a larger nipple. When transitioning, carefully observe how the new size fits; the shield should rest comfortably outside the lips without pressing into the nose, and the longer nipple should not cause your baby to gag or struggle to maintain a latch.
What should I check before using a liquid-filled teething pacifier?
Liquid-filled teething pacifiers require extra vigilance due to the risk of leakage and material puncture. Before using one, you must strictly follow the manufacturer’s instructions regarding cooling, freezing, and cleaning, as extreme temperatures can compromise the integrity of the outer shell. Never place a liquid-filled pacifier in the freezer unless the manufacturer explicitly states it is safe to do so, as freezing can make the plastic brittle and prone to cracking. Inspect the inner seal and outer material thoroughly before every single use, checking for any signs of punctures, weakness, stickiness, or fluid leakage, and discard the item immediately if any defects are found.
Community discussion
Share your experience or ask a question. Comments are reviewed before publication.