
Sucking is a natural reflex for newborns, providing comfort and security during their first few months of life. For parents of babies aged 0 to 3 months, finding the right newborn pacifier is a practical way to help soothe their little one between feeds. However, walking down the baby care aisle or browsing online marketplaces reveals an overwhelming array of options. The decision comes down to understanding how different materials and shapes interact with your baby’s developing mouth and feeding routine.
By focusing on the key differences between silicone and latex, and comparing orthodontic shapes to traditional designs, you can make an informed choice. This guide outlines the essential factors to consider, including material durability, oral development, safety standards, and cleaning practices, helping you build a safe and effective shortlist for your newborn.
Understanding Pacifier Materials: Silicone vs. Latex
Silicone is a synthetic material widely used in baby products due to its durability and hygienic properties. It is firm, hypoallergenic, and completely resistant to absorbing odors, flavors, or colors. Because silicone is a stable material, it does not degrade quickly when exposed to heat, making it highly compatible with frequent sterilization. For parents looking for a low-maintenance option that can withstand daily boiling or steam sterilization, silicone is often the practical choice.
Products mentioned in this guide
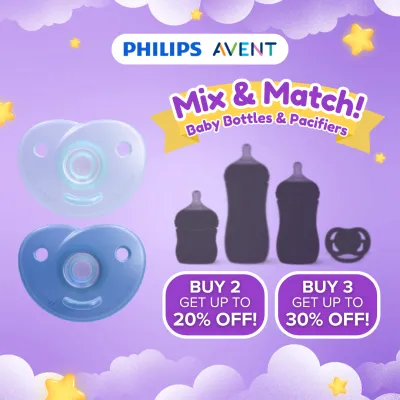

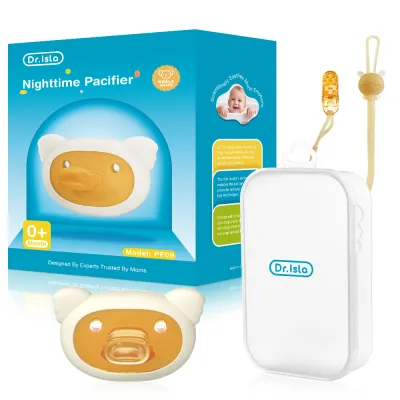
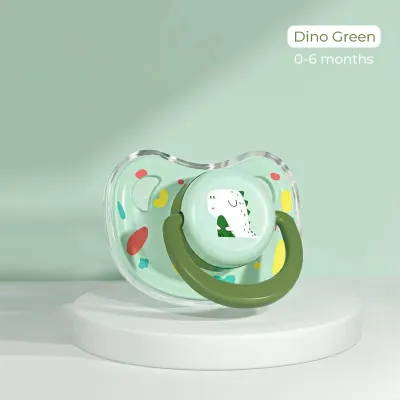
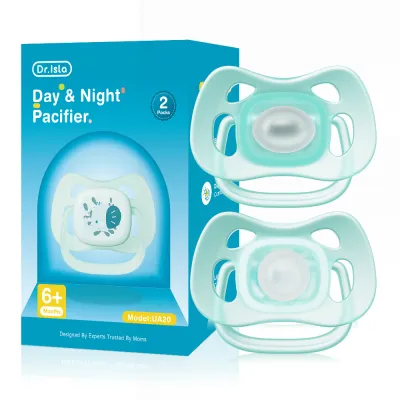
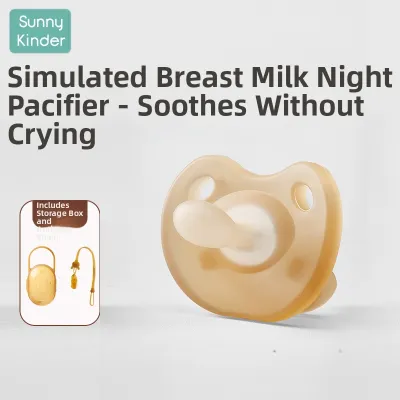
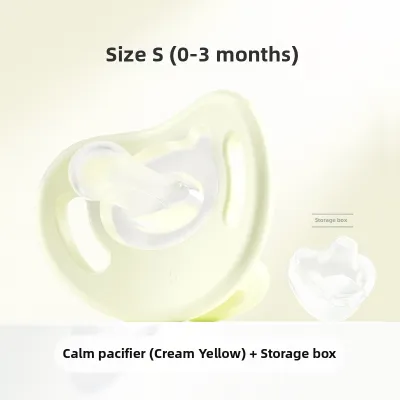
Prices are valid at publication and may change. Please refer to the product page for the latest price.
Latex, on the other hand, is made from natural rubber, which gives it a distinct set of physical characteristics. It is significantly softer and more flexible than silicone, closely mimicking the natural texture and warmth of skin. Many newborns prefer the gentle, pliable feel of latex, especially if they find firmer silicone nipples difficult to latch onto. However, latex is a natural material, meaning it is susceptible to wear and can trigger natural rubber latex allergies in sensitive infants.
Hygiene and sterilization limits differ greatly between these two materials, and parents must always verify the manufacturer’s specific instructions. Silicone pacifiers can generally tolerate various sterilization methods, including boiling water, electric steam sterilizers, and UV sterilizers. Latex pacifiers are much more sensitive to high temperatures and prolonged exposure to moisture. Boiling latex too frequently or leaving it in a sterilizer for too long can cause the material to warp, weaken, or lose its structural integrity.
The way these materials degrade over time also requires careful observation. Silicone tends to maintain its shape and firmness for a long time, but it can develop tiny tears or punctures if subjected to rough handling or early teeth. Latex degrades much faster and more visibly. Over time, exposure to baby saliva, heat, and cleaning agents causes latex to swell, discolor, and become sticky to the touch.
In warm and humid climates, such as in the Philippines, the degradation of latex pacifiers can occur even more rapidly. The combination of ambient heat and moisture accelerates the breakdown of natural rubber, making regular inspection crucial. If you choose latex, you must store the pacifiers in a cool, dry, and well-ventilated space to prevent premature stickiness and mold growth.
Choosing the Right Nipple Shape for Oral Development
The shape of the pacifier nipple plays a significant role in supporting your baby’s healthy palate and jaw development. Orthodontic pacifiers are specifically designed with a flat bottom and a rounded, sloped top. This asymmetrical shape is engineered to mimic the natural contour of a baby’s mouth and palate during feeding. By flattening slightly against the tongue, an orthodontic nipple helps distribute sucking pressure evenly across the gums and developing jaw, reducing the risk of dental misalignment later on.

Traditional, or cherry-shaped, pacifiers feature a symmetrical, round bulb design. This shape is highly familiar to many infants because it closely resembles the round nipples found on standard baby bottles. Because they are symmetrical, there is no “right side up,” making it easy for the pacifier to remain positioned correctly in the baby’s mouth even if it rotates. While traditional shapes are widely accepted by newborns, they do not offer the same pressure-distribution benefits as orthodontic designs.
Observing your baby’s latch and comfort is the most reliable way to determine which shape they prefer. When you introduce a pacifier, watch how your baby’s lips and tongue interact with the nipple. A proper latch is indicated by the baby’s lips flaring outward around the base of the shield, with the tongue cupping comfortably underneath the nipple. If your baby constantly spits the pacifier out, gags, or struggles to maintain suction, it may be a sign that the shape or size is not compatible with their oral anatomy.
It is vital to select a pacifier shape that does not interfere with your baby’s natural oral motor skills. The tongue must be able to move freely to support healthy swallowing and future speech development. If you notice your baby biting down excessively or showing signs of discomfort, consult a pediatrician or a pediatric dentist to evaluate their oral structure and get personalized recommendations.
Safety Standards and What to Check Before Buying
Before purchasing any newborn pacifier, verifying its structural safety and design features is paramount to protecting your baby from potential hazards. One of the most critical safety features to look for is one-piece construction. Pacifiers molded from a single, continuous piece of silicone or plastic eliminate the risk of the nipple detaching from the shield. Multi-piece pacifiers have joints and seams that can weaken over time, creating a serious choking hazard if the nipple separates during use.
The design of the pacifier shield also requires close inspection. The shield must be large enough that it cannot fit entirely inside your baby’s mouth, preventing accidental swallowing or choking. Additionally, the shield must feature ventilation holes to ensure continuous airflow. These holes are essential for safe breathing in case the pacifier is accidentally pulled too close to the face, and they also prevent moisture from pooling against the baby’s delicate skin.
In tropical environments, trapped moisture behind a solid shield can quickly lead to painful drool rashes, yeast infections, or skin irritation. Ensuring there is adequate chin and nose clearance is equally important. The shield should curve away from the baby’s nose and chin, leaving a visible gap that allows air to circulate freely and prevents friction against the skin.
Always check the product packaging for age-appropriate sizing, specifically looking for labels indicating suitability for newborns aged 0 to 3 months. Using a pacifier designed for older babies can cause gagging and discomfort, while a pacifier that is too small for an older infant can pose a choking risk. Furthermore, verify that the packaging explicitly states the product is BPA-free and phthalate-free. Look for recognized safety standards and certification marks on the label, and check the manufacturer’s documentation to confirm compliance with international safety regulations.
Building Your Shortlist: Matching Features to Feeding Methods
Your newborn’s current feeding routine is a primary factor in determining which pacifier features will work best. For breastfed babies, some lactation consultants recommend waiting to introduce a pacifier until breastfeeding is firmly established, which typically takes about three to four weeks. This waiting period helps prevent nipple confusion and ensures the baby develops a strong, natural latch on the breast. When you do introduce a pacifier, choosing a shape that encourages a wide, active latch can help maintain consistency with breastfeeding mechanics.
For bottle-fed babies, matching the pacifier’s material and shape to the bottle nipples they already use can significantly increase acceptance. If your baby is accustomed to a specific type of silicone bottle nipple, they are more likely to accept a silicone pacifier with a similar contour. Paying attention to these subtle similarities can make the transition smoother and reduce the trial-and-error process for parents.
Creating a low-risk trial strategy is highly recommended when building your shortlist. Instead of purchasing expensive multi-packs of a single brand or style, buy single units of a few different pacifiers. Select one silicone orthodontic pacifier, one silicone traditional pacifier, and perhaps a latex option if you wish to test material preferences. This approach allows you to observe your baby’s reaction without committing to a large inventory of a product they might reject.
Evaluate your baby’s acceptance during calm, relaxed moments rather than when they are overly hungry or distressed. If they accept the pacifier easily, soothe quickly, and can hold it in their mouth without constant assistance, you have found a suitable match. If they reject a particular style, simply set it aside and try another option from your trial list after a day or two, keeping in mind that preferences can change as their oral muscles develop.
Cleaning, Maintenance, and When to Replace
Maintaining strict hygiene practices is essential for protecting your newborn’s developing immune system. Daily cleaning should involve washing the pacifier with warm water and a mild, baby-safe dish soap, ensuring all soap residue is thoroughly rinsed away. For babies under three months old, daily sterilization is highly recommended. Depending on the manufacturer’s instructions, you can sterilize silicone pacifiers using boiling water, steam sterilizers, or UV sterilizers. Latex pacifiers, however, require gentler care and should only be sterilized according to the specific guidelines on their packaging to avoid heat damage.
Performing a routine safety inspection before every single use is a critical habit for caregivers. Conduct a “pull test” by grasping the nipple firmly and tugging it in all directions. This test helps reveal tiny tears, cracks, or structural weaknesses that might not be visible at first glance. Inspect latex pacifiers closely for any signs of swelling, stickiness, or discoloration, and check silicone pacifiers for bite marks, cloudiness, or punctures.
Even if a pacifier appears to be in perfect condition, manufacturers generally recommend replacing them every four to eight weeks. This regular replacement timeline is a standard safety precaution to account for invisible material fatigue and hygiene concerns. If you notice any tears, stickiness, or changes in texture during your daily inspection, discard the pacifier immediately and replace it with a new one.
Proper storage is also vital for preventing contamination between uses. After cleaning and thoroughly drying the pacifier, store it in a clean, ventilated container. In humid climates, ensuring the pacifier is completely dry before storage is crucial to prevent the growth of mold and bacteria. Keep the storage container in a cool, dry place away from direct sunlight, which can rapidly degrade both silicone and latex materials.
Frequently Asked Questions (FAQ)
Can I introduce a pacifier to a newborn immediately?
While some newborns may use a pacifier in the hospital, general guidelines suggest waiting until breastfeeding is well-established—typically around three to four weeks—before introducing one. This helps ensure that the baby’s latch and your milk supply are stable. However, if your baby is bottle-fed, or if a pediatrician or lactation consultant recommends early pacifier use for specific soothing or medical needs, you can introduce it sooner. Always consult a healthcare professional for personalized advice tailored to your baby’s development.
How do I know if the pacifier shield is the right size?
The pacifier shield should be wider than your baby’s mouth to prevent it from being drawn inside. When the pacifier is in use, there should be a visible gap between the shield and your baby’s nose and chin, ensuring their airway remains completely clear. Check that the ventilation holes are open and unobstructed to allow air to circulate. In warm, humid climates, this airflow is essential to prevent saliva from pooling behind the shield, which can cause skin irritation and rashes.
Community discussion
Share your experience or ask a question. Comments are reviewed before publication.