
A secure baby changing table must feature a robust combination of structural stability, physical containment, and reliable restraint systems to protect your infant during daily diaper changes. Specifically, a safe setup requires a wall-anchoring anti-tip kit, raised guardrails on all sides, and a contoured changing pad secured with safety straps. These physical features work together to prevent falls, which are among the most common nursery-related accidents.
However, no mechanical feature or physical barrier can ever replace the active, continuous supervision of a caregiver. The absolute baseline for diapering safety is the “one hand on the baby” rule, meaning you must keep physical contact with your infant at all times while they are on an elevated surface. A safe diapering routine is a combination of well-designed furniture, a thoughtfully arranged nursery layout, and consistent safety habits.
Before assembling or using any nursery furniture, always check the product’s label and the manufacturer’s instructions for specific weight limits, assembly steps, and safety warnings. If the instructions provided with your furniture conflict with third-party accessories, or if you are unsure of the weight limits, stop using the item and consult the manufacturer directly.
Products mentioned in this guide
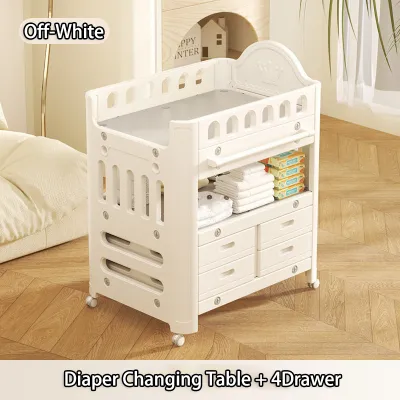
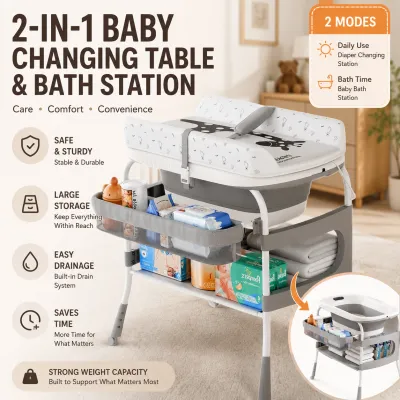
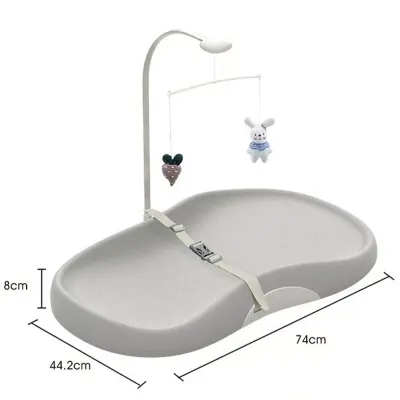
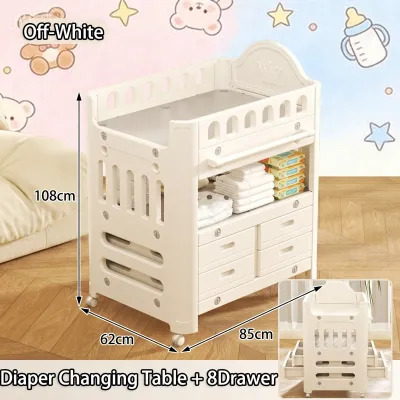
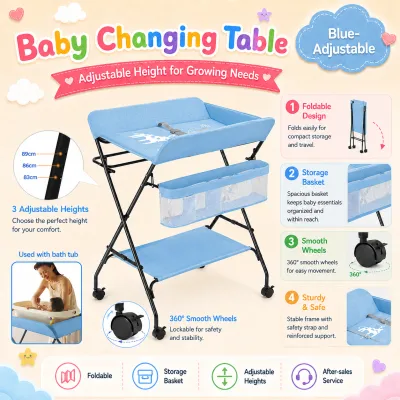
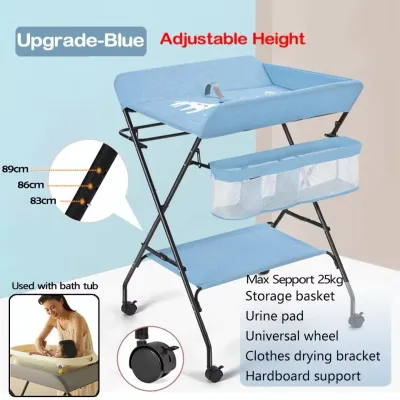
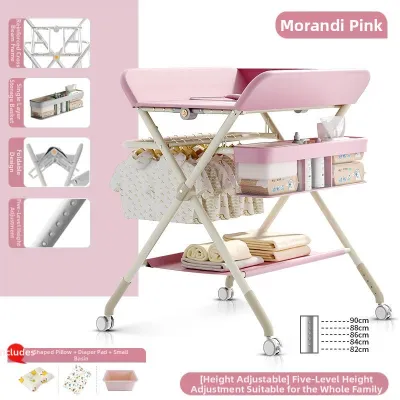
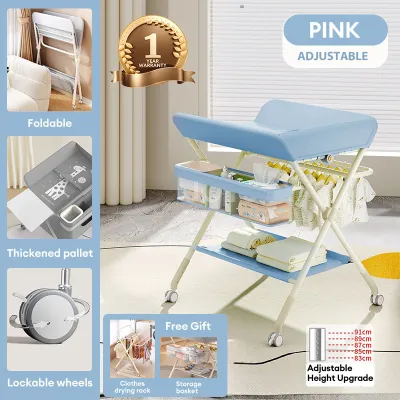
Prices are valid at publication and may change. Please refer to the product page for the latest price.
Preventing Tip-Overs: Anchoring and Structural Stability
To ensure your changing station is safe, you must first address the risk of the furniture tipping over. Babies grow rapidly, and as they become more active, their movements can cause the furniture to shift or rock. A stable base and secure wall anchoring are essential to prevent catastrophic tipping accidents in the nursery.
Wall Anchoring and Anti-Tip Kits
Anchoring your changing table to the wall is a mandatory safety step rather than an optional precaution. Many modern changing tables and dressers include anti-tip kits, which typically consist of brackets, straps, and screws designed to secure the furniture directly to a wall stud or solid wall structure.
When installing these kits, you must verify that the included hardware is compatible with your specific wall type. For example, in many Philippine homes, walls are constructed from solid concrete, concrete hollow blocks, or plaster rather than wood studs and drywall. Standard drywall screws will not hold securely in concrete; instead, you must use masonry drill bits, heavy-duty concrete screws, or plastic expansion wall plugs. If your changing table does not include the correct hardware for concrete walls, visit a local hardware store to purchase appropriate masonry anchors, or consult a professional installer to ensure the unit is immovably fixed to the wall.
Weight Limits and Base Construction
Before purchasing or assembling a changing table, look up the manufacturer’s stated maximum weight limit for both the wooden frame and the compatible changing pad. These limits can vary significantly depending on whether the table is a lightweight folding model, a classic open-shelved wooden table, or a heavy combo dresser. Never assume a table can support a toddler simply because it looks sturdy.
Inspect the physical construction of the table before its first use. A safe changing table features a wide, low center of gravity and a solid base that resists wobbling when you apply gentle pressure to the top edges. Examine the joints, screws, and brackets to ensure everything fits tightly without gaps. In tropical climates with high humidity, low-grade fiberboard or compressed wood can absorb moisture over time, leading to swelling, warping, or weakened joints. To mitigate this risk, prioritize solid wood or high-quality treated materials, and regularly inspect the hardware to ensure screws have not loosened due to seasonal humidity changes.
Keeping Baby Secure: Guardrails, Pads, and Straps
Once the table is structurally stable and anchored, the next layer of defense is the immediate changing surface. The physical design of the tabletop must prevent your baby from rolling off the edge, even during sudden, unexpected movements.

Raised Guardrails and Contoured Pads
Select a changing table that features raised guardrails on all four sides, or at least on three sides if the front remains open for the caregiver. These guardrails should create a continuous protective barrier around the changing surface. Always verify the manufacturer’s recommended guardrail height, which typically must stand several inches above the compressed changing pad to prevent an active infant from rolling over the barrier.
To complement the guardrails, use a contoured changing pad with raised outer edges that naturally guide the baby toward the center of the table. The pad must fit snugly inside the table’s frame without any gaps along the sides where a baby’s arm, leg, or head could become wedged. Most safety-conscious changing pads include fabric security straps on the underside; these must be screwed or buckled directly to the back of the changing table frame to keep the pad from sliding off the wooden surface during a diaper change.
Because the local climate is warm and humid, choose a changing pad with a waterproof, wipeable vinyl or polyurethane cover that prevents sweat, urine, and liquid messes from soaking into the foam. To keep your baby comfortable against the plastic-like material, place a breathable, washable cotton cover over the pad, ensuring it fits tightly and does not interfere with the safety straps.
Safety Straps and the Limits of Restraints
Most changing tables and contoured pads come equipped with an adjustable safety strap, featuring a buckle that secures across the baby’s torso. This strap serves as a helpful secondary backup to keep a squirming infant centered on the pad while you reach for supplies.
However, you must recognize the strict limitations of these fabric restraints. Safety straps are not designed to hold a baby unattended, nor do they guarantee that an active baby cannot wiggle free or shift their weight enough to cause a fall. Never rely on the buckle as a replacement for your physical presence. Your hand must remain on your baby’s body at all times during the change, even when the safety strap is securely fastened.
Optimizing Your Nursery Layout for Safe Diaper Changes
A safe physical product is only effective if the surrounding environment is organized to prevent hazards. Many diaper-changing accidents occur when a caregiver turns away for just a second to grab a fresh diaper, a wipe, or a tube of rash cream. By optimizing your nursery layout, you can eliminate the need to ever let go of your baby.
To achieve a safe layout, follow these practical steps:
- Apply the Arm's Reach Rule: Organize all essential diapering supplies—including clean diapers, wet wipes, rash creams, and change of clothes—in open bins, hanging organizers, or top drawers directly at the changing station. Everything must be within arm's reach so you can retrieve items with one hand while keeping your other hand firmly on your baby.
- Position Away from Hazards: Place the changing table far away from windows, window blind cords, electrical outlets, and wall-mounted fans. Active babies can quickly reach out and grab cords, creating a severe strangulation or electrical hazard. Avoid hanging heavy framed pictures, mirrors, or floating shelves directly above the changing table, as earthquakes or daily vibrations could cause them to fall.
- Ensure Proper Lighting: Install a soft, glare-free nightlight or an adjustable LED lamp near the changing station. This ensures you have clear visibility during late-night changes without turning on harsh overhead lights that might startle the baby or disrupt their sleep patterns.
- Manage Cord Safety: If you use a baby wipe warmer or a small fan near the changing area, ensure the power cords are routed behind the furniture and plugged into outlets that are completely inaccessible to a crawling or standing child.
Recognizing When It Is Time to Stop Using the Changing Table
As your baby grows, their physical strength and mobility will eventually make an elevated changing table unsafe. You must proactively monitor your child’s developmental milestones and physical measurements to determine when to transition to a different diapering method.
First, consult the manufacturer’s documentation for the absolute maximum weight and height limits of both the changing table and the changing pad. Once your baby reaches either of these limits, you must stop using the elevated table immediately, regardless of the child’s age. The physical dimensions and structural integrity of the table are engineered for specific developmental ranges, and exceeding them increases the risk of structural failure or tipping.
Second, pay close attention to your baby’s behavioral milestones. If your baby begins to roll over aggressively, push up on their hands and knees, sit up independently, or attempt to pull themselves up using the guardrails, the elevated platform becomes a high-risk fall zone. An active baby can easily launch themselves over the guardrails in a split second.
When these milestones are met, transition your diapering routine to the floor. Use a portable, wipeable changing mat laid flat on a clean rug or play mat. This simple transition completely eliminates the risk of falls, keeping your growing baby safe while making diaper changes easier to manage as they become more active.
Frequently Asked Questions (FAQ)
Can I use a regular dresser as a baby changing table?
Yes, you can convert a sturdy wooden dresser into a changing station, provided it meets specific safety criteria. The dresser must stand at a comfortable, ergonomic height for you to change diapers without straining your back, and it must have a wide, flat, and stable top surface that easily accommodates a contoured changing pad.
To make the conversion safe, you must anchor the dresser securely to the wall using an anti-tip kit suitable for your wall type. Additionally, you must purchase a contoured changing pad that includes safety straps, and screw or bolt those straps directly into the back of the dresser frame. This prevents the pad from sliding or shifting while your baby is on top. Never simply place a loose changing pad on top of a dresser.
What should I do if my baby outgrows the changing table but still needs diaper changes?
When your baby outgrows the changing table’s weight limits or starts climbing, the safest alternative is to move the diaper-changing routine entirely to the floor. This eliminates any risk of accidental falls from an elevated surface.
To keep this transition convenient and organized, assemble a portable diaper caddy. Fill a lightweight basket or fabric bin with diapers, wipes, rash creams, and a foldable, waterproof changing mat. You can easily carry this caddy to any room in the house, lay the mat on the floor, and complete the diaper change safely. This setup maintains the same level of organization as a traditional changing table while adapting to your child’s growing mobility.
Community discussion
Share your experience or ask a question. Comments are reviewed before publication.