
Traveling with an infant or toddler requires careful preparation, especially when clean public restrooms are miles away or entirely inaccessible during long road trips. A portable urine container serves as a practical solution for these urgent moments, but choosing the wrong model can lead to messy spills and hygiene issues inside your diaper bag. To find a reliable option, you must prioritize a secure, leak-proof seal, an appropriate capacity for your child’s developmental stage, and materials that are easy to clean and sanitize on the go.
In tropical climates like the Philippines, where high humidity and warm temperatures can accelerate bacterial growth, the design of your travel gear becomes even more critical. A well-designed container allows you to manage your child’s needs discreetly and hygienically, whether you are stuck in heavy highway traffic or exploring outdoor destinations. By focusing on specific structural features and material safety, you can ensure that your travel kit remains clean, dry, and ready for any journey.
Core Features for Leak-Proof and Spill-Free Travel
The primary concern when carrying a portable urine container in a diaper bag is preventing leaks. A single failure can ruin clothing, diapers, and other travel essentials, making the sealing mechanism the most critical feature to evaluate. When comparing options, look closely at how the lid secures to the body of the container.
Products mentioned in this guide
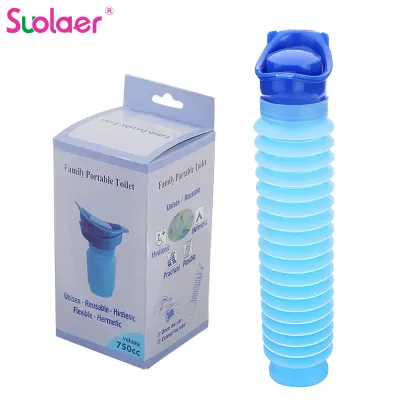
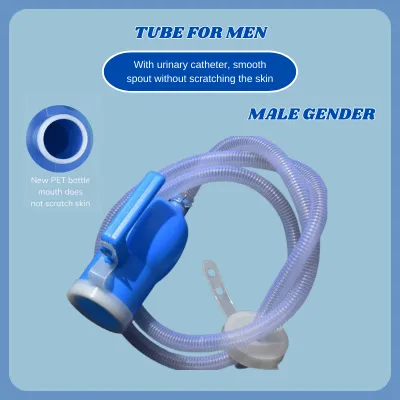
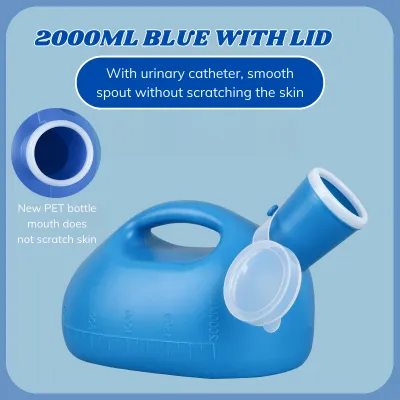
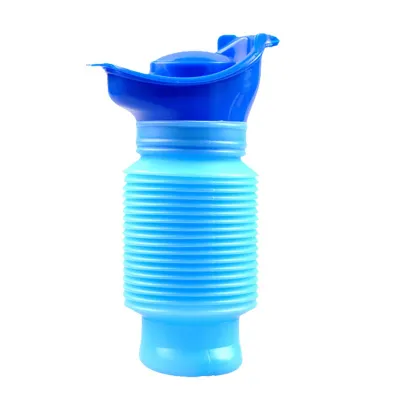
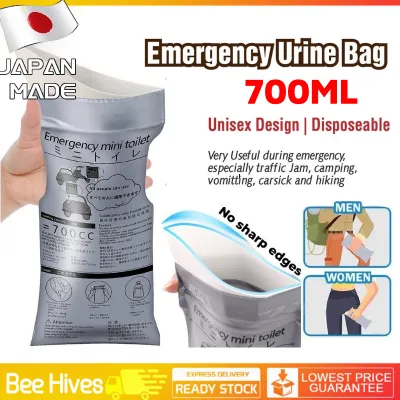
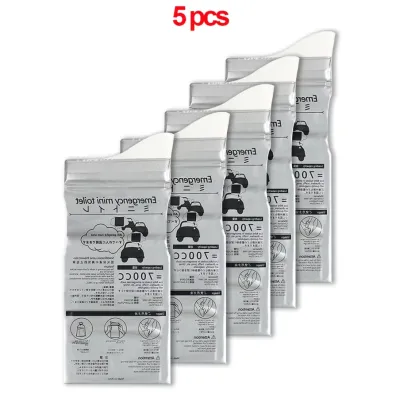
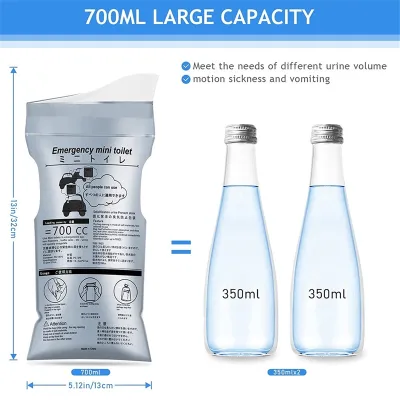
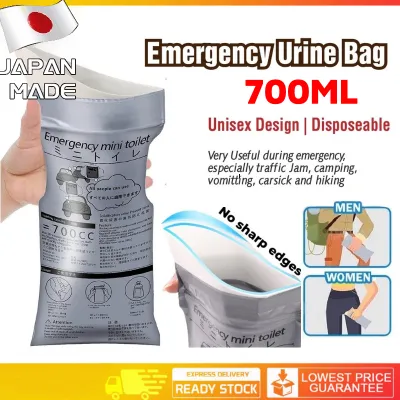
Prices are valid at publication and may change. Please refer to the product page for the latest price.
Screw-top lids equipped with integrated silicone gaskets generally offer a highly reliable barrier against liquid escape. The silicone gasket acts as a flexible seal that fills any microscopic gaps between the lid and the rim, maintaining its integrity even when the container is jostled or turned upside down. In contrast, snap-on flip lids offer quicker one-handed access but can be prone to popping open if they brush against other items in a packed bag. If you choose a flip-lid design, ensure it features a secondary physical lock—such as a metal latch or a sliding plastic button—that prevents accidental opening by curious toddlers or shifting cargo.
Beyond the lid itself, inspect the quality of the container’s neck and threading. High-quality models feature smooth, thick threads that align easily without cross-threading. Sharp or uneven plastic threads can strip over time, compromising the seal and allowing slow, hard-to-detect leaks to develop. Additionally, look for a design that avoids deep, narrow crevices around the rim where liquid can become trapped, as these areas are difficult to wipe clean during transit and can become breeding grounds for odor-causing bacteria.
Capacity and Size Considerations for Different Ages
Selecting the right container volume requires balancing your child’s physiological needs with the practical limits of your travel luggage. An infant’s bladder capacity is relatively small, meaning they produce frequent but low-volume amounts of urine. For babies under one year old, a compact container with a capacity of 150 to 200 milliliters is often sufficient for short outings, allowing you to keep your diaper bag light and streamlined.

As children transition into toddlerhood and undergo potty training, their bladder capacity increases significantly. For toddlers, a container with a capacity of 350 to 500 milliliters is more appropriate, especially during long car rides where stopping immediately is not an option. However, larger capacity should not come at the expense of portability. Look for a streamlined, cylindrical shape that fits easily into standard diaper bag side pockets or vehicle cup holders, ensuring the container remains upright and accessible throughout the trip.
Another valuable feature to look for is graduated measurement markings molded directly into the exterior wall of the container. These markings allow you to monitor your child’s output without needing to open the lid, which is particularly helpful in hot, tropical weather where tracking hydration levels is essential to prevent dehydration. Ensure these markings are raised or deeply engraved rather than simply printed on, as printed ink can quickly wear off after repeated washings and exposure to sanitizing agents.
Material Safety and Ease of Cleaning
Because this container will hold biological waste and be handled near your child’s sensitive skin, material safety is paramount. Always verify the material composition by checking the product packaging or the manufacturer’s official specifications. Look for clear labels indicating that the product is free from harmful chemicals such as BPA, phthalates, and heavy metals, and opt for food-grade plastics or high-grade silicone.
Cleaning a travel urine container can be challenging when you are away from home, making a simple, seamless interior design highly desirable. Prioritize containers with wide-mouth openings that allow you to easily insert a standard bottle brush or sponge. Avoid models with complex internal valves, narrow tubes, or decorative molded shapes on the inside; these design elements create hard-to-reach corners where residue can accumulate, leading to persistent odors and mold growth, which is accelerated by humid tropical climates.
Before purchasing, check the manufacturer’s care instructions regarding temperature limits. Some plastics can warp or degrade when exposed to boiling water or high-heat dishwasher cycles. If you prefer to sanitize your baby gear using steam sterilizers or boiling water, verify that the container is rated to withstand these temperatures. If the manufacturer specifies hand-washing only, ensure you have a dedicated travel brush and baby-safe dish soap packed in your travel kit to maintain proper hygiene on the road.
Portability and On-the-Go Convenience
A portable urine container must be easy to handle in less-than-ideal environments, such as moving vehicles, cramped public restroom stalls, or outdoor rest stops. Look for ergonomic design details that improve your grip. Textured exterior surfaces, molded finger grooves, or non-slip silicone sleeves help prevent the container from slipping out of your hands when your attention is divided or when the container’s surface is wet.
Discretion and ease of transport are also key factors for comfortable travel. Many parents prefer containers with opaque or semi-opaque finishes that obscure the contents, providing privacy when using the container in public spaces. Additionally, practical accessories like an attached carrying loop or a dedicated, waterproof travel pouch make it easier to clip the container to the outside of a stroller or keep it isolated from clean items inside your bag.
Finally, evaluate the stability of the container’s base. A wide, flat, and slightly weighted bottom prevents the container from tipping over when placed on a flat surface, such as a car seat or a public changing table. This stability is crucial during the hectic moments immediately after use, allowing you to secure your child first before capping and storing the container.
Evaluation Checklist for Your Travel Needs
To choose the right portable urine container for your family, it helps to weigh your specific travel habits against the key features of different models. If your travel primarily consists of short flights or mall outings, a compact, highly discreet model with a secure double-lock lid may be your best option. For long road trips through areas with limited facilities, prioritizing a larger capacity and a stable, non-tip base will provide greater peace of mind.
When evaluating potential products, watch out for common dealbreakers. Avoid containers that feature thin, flimsy sealing rings that can easily fall out during washing, as losing this small component renders the container prone to leaks. Similarly, steer clear of products with complex, multi-piece lids that require intricate assembly, as these are difficult to clean thoroughly while traveling and increase the risk of misplacing crucial parts.
Always prepare a backup strategy for situations where immediate cleaning is impossible. Keeping a supply of sealable plastic disposal bags or disposable liners (which typically cost around ₱150 to ₱300 per pack) in your travel kit allows you to store a used container securely until you reach a location with running water and soap. Additionally, carrying a small dry bag can help isolate the container from the rest of your baby gear, ensuring your diaper bag remains clean and sanitary throughout your journey.
Frequently Asked Questions (FAQ)
Can I use a regular wide-mouth water bottle as a travel urine container?
While a standard wide-mouth water bottle might seem like an easy, cost-effective alternative, it lacks the specialized features required for safe and hygienic waste collection. Standard drinkware is not designed with the ergonomic shapes or splash guards necessary to prevent spills during use with an infant or toddler. Furthermore, repurposing food-grade drinkware for waste collection poses a significant risk of cross-contamination, as it can easily be confused with active drinking bottles in a busy diaper bag. Dedicated travel urine containers are specifically engineered with secure, non-spill entryways and distinct visual designs to prevent these hygiene hazards.
How do I clean and sanitize the container while on the road?
When you do not have access to a full kitchen, you can maintain hygiene by performing a basic road-trip rinse. First, empty the contents into a toilet or designated waste disposal area as soon as possible. Rinse the interior thoroughly using clean bottled water and a few drops of travel-sized, baby-safe dish soap, shaking the closed container to clean all surfaces. For the exterior and lid, use sanitizing wipes or a baby-safe sanitizing spray, paying close attention to the threading and sealing gasket. Allow all components to air-dry completely in a well-ventilated area before reassembling and storing the container, as trapping moisture inside in humid climates can lead to mold and mildew.
Community discussion
Share your experience or ask a question. Comments are reviewed before publication.