
The transition from milk to solid foods is a monumental milestone in your baby’s development, but navigating the sea of weaning cutlery can feel overwhelming. To set your child up for a lifetime of happy, independent eating, you need utensils designed specifically for their anatomical development and motor skills at each stage. Choosing the right spoon and fork for kids is not just about avoiding spills; it is about protecting sensitive gums, preventing choking hazards, and encouraging the natural hand-eye coordination required for self-feeding.
Every infant develops at their own pace, meaning their cutlery needs will shift rapidly over their first two years. A spoon that works perfectly for a six-month-old receiving their first taste of mashed kalabasa (squash) will frustrate a ten-month-old attempting to scoop up rice. By understanding the specific design features required for each developmental phase, you can select utensils that reduce mealtime frustration and support your child’s growing independence.
Core Criteria for Choosing Your Baby's First Cutlery
Before browsing the aisles of baby boutiques or scrolling through online marketplaces, it is essential to establish the foundational criteria for safe and effective infant cutlery. The primary decision dimensions for kids’ utensils are safety, ergonomic design, and bowl depth. Evaluating these factors beforehand allows you to filter out poorly designed options that could hinder your baby’s progress or pose safety risks.
Products mentioned in this guide
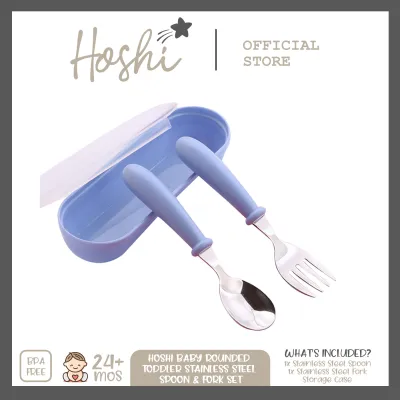
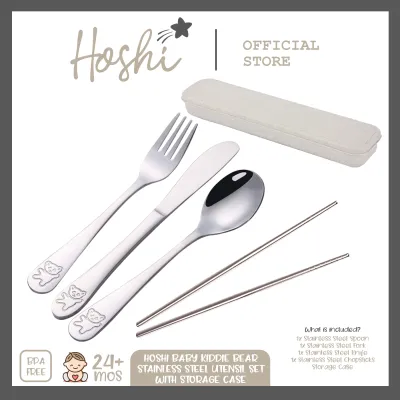
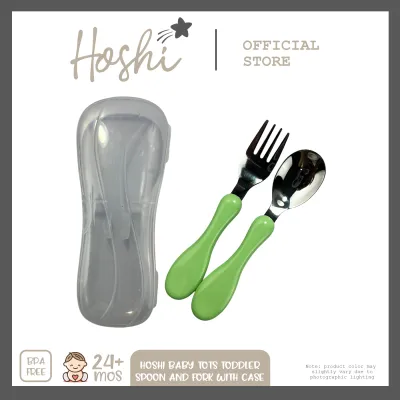
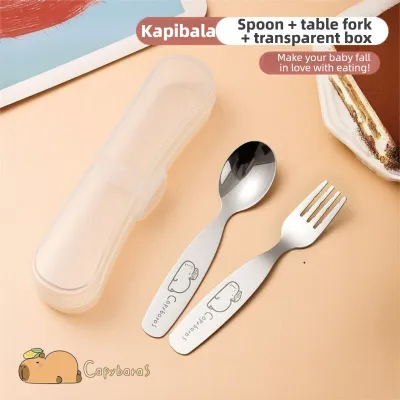
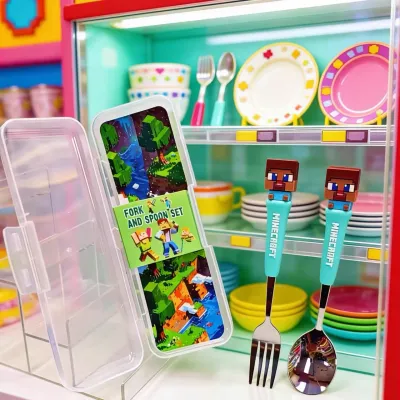
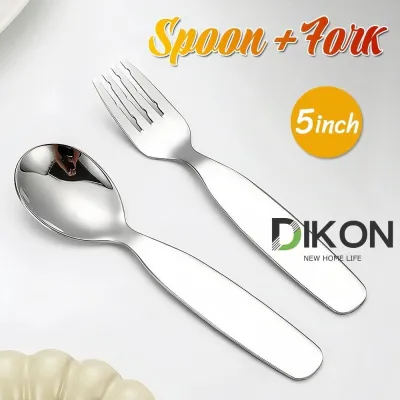
Prices are valid at publication and may change. Please refer to the product page for the latest price.
Adult spoons and standard metal teaspoons are entirely unsuitable for infants. The bowls of adult spoons are too deep, making it impossible for a baby’s small mouth and undeveloped lips to clear the food effectively. Furthermore, hard materials like stainless steel or rigid plastic can easily bruise sensitive gums or chip newly emerging teeth. Adult utensils also feature long, thin handles that require a mature pincer grasp and advanced wrist rotation to balance, which are skills infants will not develop for many months.
When evaluating baby cutlery, prioritize food-grade, toxic-free materials. Look for products explicitly labeled as BPA-free, lead-free, PVC-free, and phthalate-free. Rather than relying on generic marketing terms like “baby spoon,” always check the manufacturer’s packaging for specific age, weight, and developmental stage recommendations. These labels indicate that the manufacturer has designed the product’s size, weight, and flexibility to match the physical capabilities of a child in that specific age bracket.
Keep in mind that your baby’s utensil needs will evolve quickly. A complete weaning journey typically requires transitioning through at least three distinct sets of cutlery. Investing in stage-specific utensils ensures that your baby is neither rushed into using tools they cannot control nor held back by tools they have outgrown.
Stage 1: First Solids and Purees (Parent-Led Feeding)
Around six months of age, most infants show signs of readiness for solid foods, such as sitting up with minimal support and losing the tongue-thrust reflex. At this initial stage, feeding is primarily parent-led. The baby’s oral cavity is exceptionally delicate, their gums are highly sensitive due to teething, and they are just beginning to adapt to the sensation of a solid object entering their mouth.

For this introductory phase, the ideal utensil type is a long-handled, shallow spoon made of soft, flexible silicone. These spoons are specifically designed to make the transition from liquid to solid food as gentle as possible for both parent and child.
Functional Benefits of Stage 1 Spoons
- Long, Ergonomic Handles: The extended handle length allows parents to maintain a comfortable, steady grip while feeding. It also makes it easy to reach the bottom of deep puree jars or small storage containers without getting food on your fingers.
- Shallow Spoon Bowls: Infants do not yet know how to scrape food off a deep spoon. A shallow bowl holds just the right amount of puree (around a quarter-teaspoon) and allows the baby to easily clear the food using only their upper lip.
- Soft, Flexible Silicone: The pliable nature of silicone ensures that if the baby suddenly moves or bites down on the spoon, the material cushions the impact, protecting their delicate gums and emerging teeth from injury.
Buyer’s Checklist for Stage 1
- Material Verification: Confirm that the spoon is made of 100% food-grade silicone. You can verify this by twisting the spoon bowl; high-quality silicone will not turn white at the bend point.
- Structural Integrity: Ensure the spoon is flexible but not flimsy. The inner core of the handle should be rigid enough to scoop thicker purees, while the tip remains soft.
- Seamless Construction: Choose one-piece, molded silicone spoons. Avoid designs with joints or crevices where food particles, moisture, and bacteria can become trapped.
Safety Boundary: Always inspect silicone spoons before every single use. Bend the tip and pull the material gently to check for micro-tears, bite marks, or degradation, especially if your baby has started teething. If you detect any damage, discard the spoon immediately to prevent small pieces from detaching and becoming a choking hazard. Never leave your baby unattended with a spoon during mealtime.
Stage 2: Learning to Self-Feed (Building Coordination)
Between seven and nine months, babies typically enter a highly active phase of physical development. They begin to develop a palmar grasp, which involves using their entire fist to clutch objects. During meals, you will notice your baby trying to grab the spoon from your hand, mimicking your movements, and frequently dropping or throwing utensils onto the floor.
To support this burgeoning desire for independence, transition your baby to short-handled, chunky-grip pre-spoons and training sporks. These tools are engineered to work with your baby’s natural grasp rather than against it.
The Design Logic of Stage 2 Utensils
- Short, Thick Handles: A long handle acts as a lever, making it incredibly difficult for a baby to guide the spoon to their mouth without poking themselves in the eye or throat. A short, bulbous handle fits perfectly inside a baby’s small fist, reducing the distance between their hand and their mouth.
- Textured Non-Slip Grips: Babies often have slippery, food-covered hands during self-feeding. Utensils with raised ridges, silicone bumps, or contoured handles provide the friction needed to keep the tool securely in their hand.
- Pre-Spoon Technology: Traditional spoons require wrist rotation to keep food balanced in the bowl. Pre-spoons feature flat, textured heads with channels or holes. When dipped into thick purees, yogurt, or mashed sweet potato (kamote), the food clings to the textured surface through surface tension, allowing the baby to get food into their mouth regardless of which angle they hold the utensil.
Key Features to Look For
- Integrated Choke Guards: Look for training spoons that feature a wide collar or shield built into the handle. This physical barrier prevents the baby from shoving the utensil too deep into their mouth and triggering a painful gag reflex.
- Symmetrical Designs: At this stage, babies do not distinguish between the front and back of a spoon. Symmetrical pre-spoons work no matter which way they are turned, minimizing frustration.
Actionable Advice: Meal times at this stage are notoriously messy. It is highly recommended to purchase training cutlery in multi-packs of identical items. When your baby inevitably drops their spoon onto the floor, you can immediately hand them a clean backup from the set, keeping the mealtime momentum going without constant trips to the kitchen sink.
Stage 3: Independent Eating (Scooping and Piercing)
By ten to twelve months and beyond, your toddler’s fine motor skills will have improved significantly. They are transitioning from a full-fist palmar grasp to a more refined pincer grasp, using their thumb and index finger. At this stage, their diet expands to include chopped family meals, requiring them to learn two distinct physical actions: scooping loose foods and piercing solid pieces.
This developmental shift requires a transition to toddler forks with blunt, rounded tines and deeper, contoured spoons with slightly longer, ergonomic handles.
Navigating the Fork Transition Safely
Introducing a fork can make parents anxious, but it is a vital tool for learning how to eat solid foods like steamed carrots, soft pasta, or chunks of ripe mango. To ensure safety, toddler forks must have blunt, rounded tines. These tines should be sharp enough to pierce soft, cooked foods when pressed down, but completely dull to the touch so they cannot puncture the gums, tongue, or roof of the mouth. Avoid plastic forks with sharp, brittle tines that can easily snap off in the mouth if chewed.
Buying Criteria for Stage 3 Cutlery
- Hybrid Construction: Look for utensils featuring stainless steel heads paired with thick silicone or textured plastic handles. The metal head provides the rigidity and thin edge necessary to slide under grains of rice or pierce food, while the soft, chunky handle maintains a comfortable grip for toddler hands.
- Deep Spoon Bowls: Unlike the shallow spoons used in Stage 1, Stage 3 spoons require a deeper bowl to hold loose grains, stews, and soups as your toddler practices bringing liquid foods to their mouth.
- Slightly Curved Handles: Some training sets feature handles that are curved toward the child’s mouth. This assists with the natural wrist rotation that toddlers are still perfecting, reducing spills.
Safety Boundary: The transition to metal-headed utensils must always take place under active adult supervision. Before purchasing, verify the manufacturer’s minimum age recommendation (typically 12 months or older for metal cutlery). If you observe your child biting, chewing, or grinding their teeth on the stainless steel tines or spoon bowl, temporarily stop using the metal set and revert to firm silicone training utensils until the chewing behavior subsides.
Material Comparison and Care in Humid Climates
Choosing the right material for your child’s cutlery involves balancing safety, durability, and ease of maintenance. In the tropical and highly humid climate of the Philippines, proper care and storage are critical to prevent the growth of mold and bacteria.
| Material | Pros | Cons | Ideal For |
|---|---|---|---|
| Food-Grade Silicone | Soft on gums, highly flexible, heat-resistant, drop-proof | Can absorb food odors, prone to staining from bright foods (like tomato or squash) | Stage 1 (First Solids) and Stage 2 (Self-Feeding) |
| Stainless Steel | Highly durable, hygienic, non-porous, excellent for piercing/scooping | Hard on gums, conducts heat quickly, requires advanced motor skills | Stage 3 (Independent Eating) |
| Bamboo / Wood | Natural, lightweight, biodegradable, aesthetic | Highly porous, prone to cracking, high maintenance in humid conditions | Occasional use under strict maintenance |
Caring for Utensils in Humid Climates
Because of the consistently high relative humidity in the Philippines, bamboo and wooden baby utensils require meticulous care. Wood is a highly porous natural fiber that easily absorbs moisture. If wooden cutlery is stored in a dark, poorly ventilated kitchen cabinet while still damp, it can develop invisible mold spores and bacterial colonies within hours.
To prevent this, always hand-wash wooden and bamboo utensils using a mild, baby-safe dishwashing liquid. Do not let them soak in water. Immediately after washing, wipe them thoroughly with a clean, dry microfiber cloth. Store them on an open, well-ventilated drying rack in a bright area of your kitchen, completely away from standing water or enclosed, humid drawers.
General Maintenance and Disposal Rules
Always check the manufacturer’s care instructions regarding dishwasher safety. While food-grade silicone and stainless steel are generally dishwasher-safe, the intense heat of a dishwasher cycle can warp certain plastics and degrade the adhesive bonds on hybrid metal-and-silicone utensils over time.
Establish a routine of inspecting your child’s cutlery weekly. Discard plastic spoons immediately if they develop deep scratches, as these crevices can harbor bacteria that standard washing cannot eliminate. Replace silicone spoons at the first sign of tears, stickiness, or structural softening. For stainless steel utensils, stop use and discard them if you notice any signs of rust, pitting, or if the metal head becomes loose from its plastic or silicone handle.
Frequently Asked Questions (FAQ)
When should I introduce a fork to my baby?
You can typically introduce a toddler fork when your baby is between 9 and 12 months old, provided they have developed the fine motor skills required to intentionally spear and lift food. Look for signs of readiness, such as your baby trying to use their fingers to pierce soft foods, mimicking your use of a fork, or successfully using a spoon to scoop food. Always start with a specialized toddler fork featuring blunt, rounded tines, and use soft foods like steamed carrots or bananas for practice. If you have any concerns about your child’s oral motor development, coordination, or transition to textured foods, consult your pediatrician or a pediatric occupational therapist for personalized guidance.
Are silicone spoons better than plastic for weaning?
High-quality, food-grade silicone spoons are generally superior to hard plastic spoons for the early stages of weaning. Silicone is much softer on a baby’s sensitive, teething gums, highly flexible, and possesses excellent heat resistance, meaning it will not leach chemicals when exposed to warm purees. Plastic spoons, while lightweight and affordable, can have sharp edges from manufacturing seams, can warp or degrade under high heat, and are prone to scratching. Regardless of which material you choose, you must verify that the product is certified BPA-free, PVC-free, and phthalate-free. Ensure the design is solid and free of small, detachable parts that could pose a choking hazard if your baby chews on the handle.
Community discussion
Share your experience or ask a question. Comments are reviewed before publication.