
Choosing the right pacifier for your baby involves matching their exact age, oral developmental stage, and skin sensitivity with the correct nipple size and shield design. Using an incorrectly sized pacifier can pose choking risks, cause skin irritation, or interfere with natural oral development. To ensure your baby’s comfort and safety, you must carefully interpret the manufacturer’s age labels, compare shield structures, and establish a strict daily inspection and maintenance routine.
In the tropical climate of the Philippines, where high humidity and heat can affect both baby skin comfort and material durability, selecting the right pacifier requires extra attention to detail. A pacifier that is too small can become a choking hazard if the entire shield fits inside the baby’s mouth, while one that is too large can press against their nose, obstructing their breathing. By understanding how pacifier dimensions change across developmental milestones, parents can make informed decisions that support healthy oral growth and provide reliable soothing.
Understanding Avent Pacifier Age Stages and Sizing
Avent pacifiers are designed in distinct size categories that correspond to specific monthly age ranges and oral developmental milestones. These categories typically include newborn (often labeled as 0-2 months), 0-6 months, 6-18 months, and 18+ months. The primary difference between these stages lies in the physical size, thickness, and firmness of the silicone nipple, as well as the overall dimensions of the plastic shield.
Products mentioned in this guide
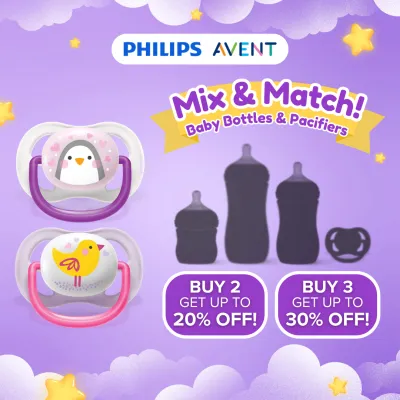
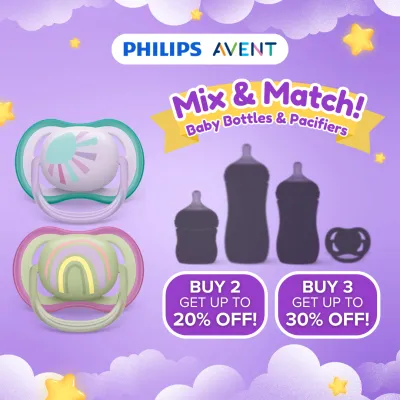
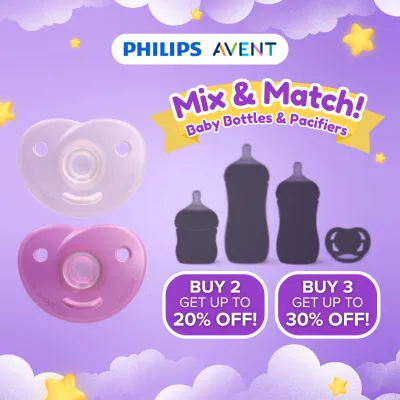
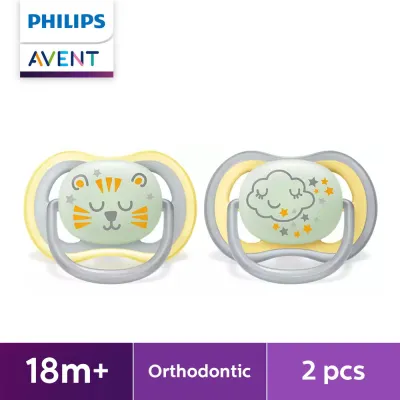
Prices are valid at publication and may change. Please refer to the product page for the latest price.
As a baby grows, their oral cavity expands, and their sucking reflex changes. A newborn requires a smaller, softer nipple that does not put excessive pressure on their developing palate and gums. If you give a newborn a pacifier designed for a 6-to-18-month-old, the nipple may be too long or thick, causing gagging, discomfort, or improper tongue positioning. Conversely, giving an older infant a newborn-sized pacifier can be dangerous because their stronger suction and larger mouth could allow them to draw the entire pacifier, including the shield, into their oral cavity.
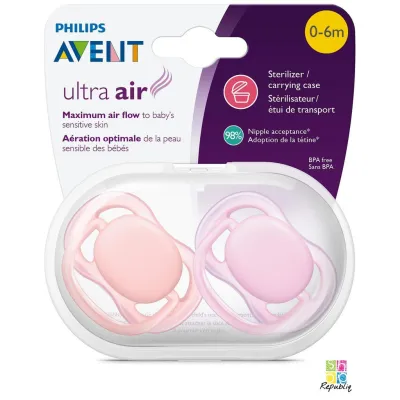
To locate the age recommendations, always inspect the front and back of the product packaging before purchasing. The manufacturer prints clear age indicators, such as “0-6m” or “6-18m,” in highly visible areas. These labels are not merely suggestions; they are calibrated safety guidelines based on average oral dimensions at each stage of infancy. When shopping in local department stores or browsing online marketplaces, verify these printed numbers rather than relying on the visual appearance of the pacifier through the plastic window.
Recognizing when your baby is ready to transition to the next pacifier size requires careful observation of their daily behavior and physical appearance. One clear sign that a pacifier is too small is if the shield sits very close to or inside the lips, rather than resting comfortably on the outside of the mouth. If your baby frequently sucks the entire shield into their mouth, or if you notice the nipple seems to disappear completely when they suck, it is time to transition to a larger size immediately.
Another observable sign of an incorrect fit is when the baby struggles to keep the pacifier in their mouth. If the nipple is too large or firm for their current developmental stage, they may repeatedly spit it out, gag, or show signs of frustration when trying to latch. Additionally, if the shield is too large, it may press against the bottom of their nose, leaving red marks or visibly restricting their nasal breathing. Regularly check how the shield sits against your baby’s face during use to ensure there is a clear gap between the plastic edge and their nostrils.
Comparing Shield Designs and Material Options
The design of the pacifier shield plays a critical role in maintaining skin health, especially in warm and humid environments. Avent offers different shield structures, such as those with extra-large ventilation holes designed for maximum airflow, and one-piece silicone constructions that eliminate joints where dirt can accumulate. Understanding these structural differences allows you to match the pacifier to your baby’s specific skin sensitivity and daily comfort needs.

In tropical regions like the Philippines, sweat and saliva can easily become trapped behind a pacifier shield, leading to localized skin irritation. Shields with large ventilation holes are specifically designed to allow air to circulate freely around the baby’s mouth. This increased airflow helps evaporate trapped moisture, reducing the risk of saliva rash, chafing, and redness. For babies with highly sensitive skin, choosing a shield with maximum ventilation can prevent painful rashes from developing during long soothing sessions.
One-piece silicone pacifiers offer a different set of benefits, primarily related to hygiene and flexibility. Because these pacifiers are molded from a single piece of medical-grade silicone, they have no seams, cracks, or joints where moisture, saliva, or bacteria can hide. The soft, flexible nature of a one-piece silicone shield also means it conforms gently to the contours of the baby’s face, minimizing the risk of hard plastic edges pressing into the skin when the baby sleeps or rests their cheek against a surface.
To determine if your baby’s current shield style is suitable, you must regularly inspect the skin around their mouth immediately after removing the pacifier. Look for signs of localized redness, dampness, or deep indentations left by the plastic edges. If you observe persistent red rings or a wet rash around the lips, it indicates that moisture is trapped and the current shield design does not provide adequate ventilation. In such cases, transitioning to a model with larger air holes or a softer, more flexible shield material can help alleviate the issue.
When selecting a pacifier, always verify the material specifications and safety claims directly on the product packaging. Look for explicit labels confirming that the product is made from BPA-free materials and utilizes food-grade or medical-grade silicone. Avoid making assumptions about material safety based on the product’s color or texture. Reading the manufacturer’s official packaging ensures that the materials have been verified to withstand high-temperature sterilization without degrading or releasing harmful chemical residues.
Safety Checks, Maintenance, and Replacement Rules
Establishing a rigorous safety inspection routine is essential to protect your baby from choking hazards and infections. Before every single use, perform a physical pull test on the pacifier. To do this, grasp the nipple firmly with one hand and the shield or ring with the other, then pull the nipple vigorously in all directions. This test helps identify micro-tears or structural weaknesses that may not be visible to the naked eye but could cause the nipple to detach during active sucking.
In addition to the pull test, conduct a thorough visual inspection under good lighting. Look for any signs of physical wear, such as tiny cracks, punctures, changes in color, cloudiness, or a sticky texture. Silicone naturally degrades over time due to exposure to saliva, heat, and repeated sterilization. If you notice any of these changes, or if the nipple becomes sticky, soft, or swollen, discard the pacifier immediately and replace it with a new one.
There are several critical stop-use conditions that require immediate disposal of the pacifier. If the nipple shows any visible tear or split, even a microscopic one, it must be thrown away instantly, as the baby’s strong suction can quickly enlarge the tear and cause a piece of silicone to break off in their mouth. Never attempt to repair a damaged pacifier with glue or tape, as these substances are highly toxic and will not hold under pressure. Furthermore, if the pacifier has been recalled by the manufacturer or shows signs of mold that cannot be cleaned, dispose of it safely.
Proper cleaning and sterilization are vital to prevent the growth of harmful bacteria, especially in humid climates where mold and microbes thrive. Always follow the manufacturer’s specific sterilization instructions printed on the product insert. Some models come with a dedicated carrying case that doubles as a microwave sterilizer box, while others require boiling in water for a specified number of minutes. Avoid using unverified home remedies, harsh dishwashing detergents, or abrasive scrubs, as these can scratch the silicone surface and create microscopic grooves where bacteria can multiply.
Even if a pacifier appears to be in perfect condition, manufacturers generally recommend replacing it after a routine interval of four to eight weeks of regular use. This guideline is printed on the packaging to account for the natural wear and tear of the material over time. Keep track of when you first introduced each pacifier, and proactively replace them to ensure the structural integrity of the silicone remains intact. If your baby has multiple pacifiers in rotation, inspect each one individually to ensure none are kept past their safe usage lifespan.
Your Step-by-Step Selection Checklist
To help you confidently navigate physical baby stores or online marketplaces, use this practical step-by-step checklist to select the right pacifier for your baby.
Step 1: Confirm Your Baby's Exact Age and Developmental Stage
Before browsing any products, note your baby’s current age in months and observe their oral habits. If your baby is growing rapidly or showing signs of early teething, their oral structure may require a firmer nipple than what is typical for their exact monthly age. Always use their chronological age as the baseline, but be prepared to adjust if they show signs of discomfort or gagging with their current size.
Step 2: Inspect the Physical Packaging for Age and Material Details
When examining pacifiers, look closely at the printed packaging for the official age grading (such as 0-6m or 6-18m). Verify that the package explicitly states the materials used are BPA-free and made of high-quality silicone. Avoid purchasing products with damaged, opened, or missing packaging, as you will not be able to verify these critical safety details or the manufacturer’s sterilization instructions.
Step 3: Evaluate the Shield Size and Ventilation Features
Hold the pacifier package up or examine the product dimensions to ensure the shield is proportionate to your baby’s face. The shield must be wide enough to prevent it from entering the mouth entirely, but small enough that it does not block their nose or press tightly against their cheeks. Look for prominent ventilation holes that will allow air to circulate, especially if your baby is prone to drooling or skin rashes.
Step 4: Verify Cleaning and Sterilization Guidelines
Check the back of the packaging or the enclosed instruction leaflet to ensure the product includes clear, easy-to-follow cleaning guidelines. Confirm whether the pacifier is compatible with your existing home sterilizer, or if it includes a microwave-safe sterilization case. Having accessible instructions ensures you can maintain proper hygiene standards from the very first use without damaging the materials.
Frequently Asked Questions (FAQ)
Can I use a larger pacifier if my baby is physically bigger than average?
No, you should not size up a pacifier based solely on your baby’s physical weight or height. Sizing is calibrated to the developmental stage of the baby’s oral cavity, palate, and jaw muscles, which mature according to chronological age rather than overall body size. Using a larger pacifier too early can cause gagging, put improper pressure on developing gums, and interfere with natural swallowing patterns. Always follow the manufacturer’s age labels strictly to ensure the nipple shape provides the correct support for their current oral stage.
How should I sterilize a new Avent pacifier before the first use?
To sterilize a new pacifier safely, you must read and follow the specific instructions printed on the product packaging or insert. Many models can be sterilized by boiling them in water for five minutes, or by using the included microwave sterilization case with a measured amount of water as directed by the manufacturer. Never use harsh chemical disinfectants, bleach, or unverified home cleaning solutions, as these can degrade the silicone material, leave toxic residues, and compromise the safety of the pacifier. Allow the pacifier to cool completely and squeeze out any trapped water from the nipple before giving it to your baby.
Community discussion
Share your experience or ask a question. Comments are reviewed before publication.